Removing Distracting Objects (Healing Brush)
The Healing Brush is ideal for removing spots, little rips, stains, and stuff like that because it keeps more of the original texture and the fixes look more realistic, but it isn’t as good as the Clone Stamp tool at removing larger, unwanted objects. For example, if the thing you want to remove is all by itself (it’s not overlapping or touching anything else in your photo), then it works great. If not, it “frays” the ends and looks messy. So here you’ll see how it works, why it doesn’t always work, and a great trick for making it work most of the time (with some help from the Clone Stamp tool).
Step One:
In this example, we’re going to remove the creases and cracks in this old photo, so it looks like new. We’re going to use a combination of the Healing Brush and a little bit of the Clone Stamp tool to clean it up.

CARL ZUMBANO
Step Two:
First we’ll look at how the Healing Brush works, and then you’ll see what its limitations are. Start by pressing Z to get the Zoom tool and zoom in to an area you want to fix (in this case, we’ll start with the crack in the top right). Press J until you get the Healing Brush, and then Alt-click (Mac: Option-click) in a clean area near the object you’re removing (here, I’m Alt-clicking in a clean area of background just above the crack). At this stage, the Healing Brush works kind of like the Clone Stamp tool, so I’ll just click-and-drag on the crack (you’ll have to Alt-click a few times to resample as you move over it). See, it’s almost gone. Piece of cake so far.

Now you’re going to see the main limitation of the Healing Brush—when objects touch or are near an edge. Look at the crack in his hair, where his head meets the background. That’s trouble. Watch what happens when I Alt-click anywhere near that part of the photo and try to use the Healing Brush to remove that area. Ahh, now you see the problem: Where his head meets the background, it’s all smudged. The Healing Brush only gives you a clean removal if you can paint around the entire object without hitting an edge.

Step Four:
Press S to get the Clone Stamp tool from the Toolbox, and then Alt-click (Mac: Option-click) once just to the right of the smudged area. Now paint a stroke right over the smudge, where the hair meets the background, to remove it. Then, switch back to the Healing Brush and finish removing the crack in his hair. In the example here, the plus-sign cursor shows where I sampled, and the circular brush cursor shows where I’ve painted over.

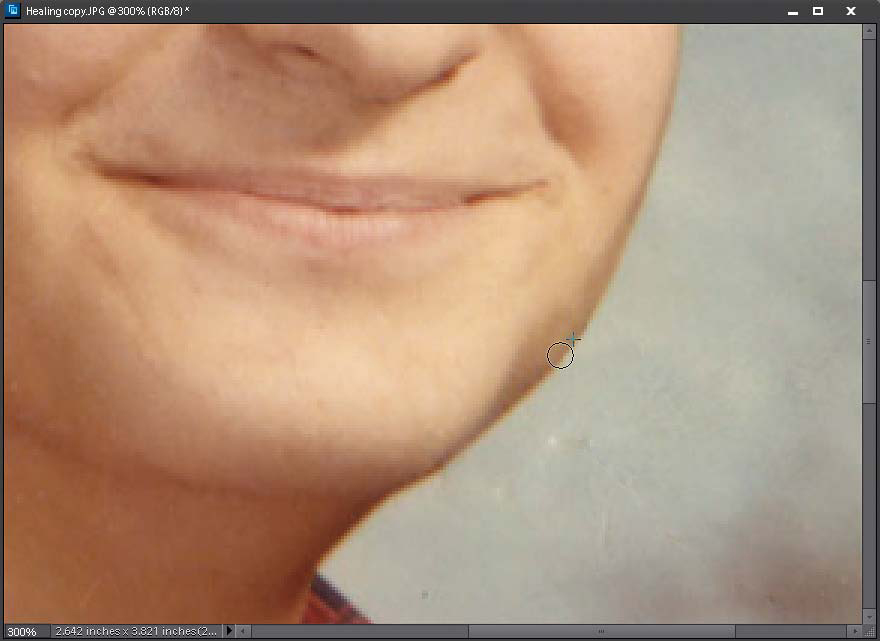
Next, remove the crease on his jaw. First, sample the background and paint over the crease right up to (but not actually touching) his face. Then, sample again on his jaw and paint another stroke right to the edge of his face. Again, don’t paint on to the edge or it’ll smear.

Step Six:
Switch to the Clone Stamp tool once more, zoom in on the tiny bit of the crease that’s left over, and sample the edge of his face just above the remaining crease. Then, paint over whatever is left and you’ll have a much cleaner looking result than if you had just used the Healing Brush. So, basically, if you don’t mind using the Clone Stamp tool just a little bit, you can turn the Healing Brush into a real power tool for removing larger, unwanted objects.