Setting Up Your Color Management
Most of the color management decisions in Elements come later, in the printing process (well, if you actually print your photos), but even if you’re not printing, there is one color management decision you need to make now. Luckily, it’s a really easy one (and one you might have already made if you read Chapter 4).
Step One:
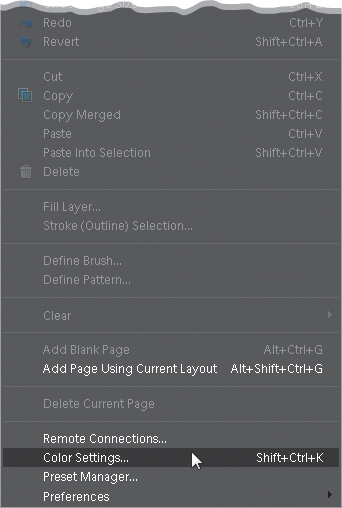
In the Elements Editor, go under the Edit menu and choose Color Settings (or just press Ctrl-Shift-K [Mac: Command-Shift-K]).
Step Two:
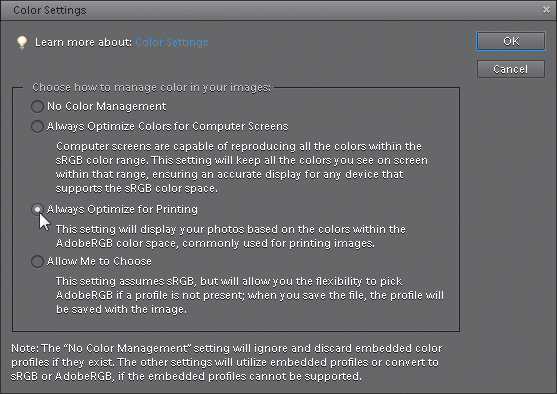
This brings up the Color Settings dialog. By default, Elements is set to Always Optimize Colors for Computer Screens, which uses the sRGB color space. However, if you’re going to be printing to your own color inkjet printer (like an Epson, HP, Canon, etc.), you’ll want to choose Always Optimize for Printing, which sets your color space to the Adobe RGB color space (the most popular color space for photographers), and gives you the best printed results. Now just click OK, and you’ve done it—you’ve configured Elements’ color space for the best results for printing. Note: You only want to make this change if your final prints will be output to your own color inkjet printer. If you’re sending your images out to an outside lab for prints (or your final images will only be viewed onscreen), you should probably stay in sRGB, because most labs are set up to handle sRGB files. Your best bet: ask your lab which color space they prefer.