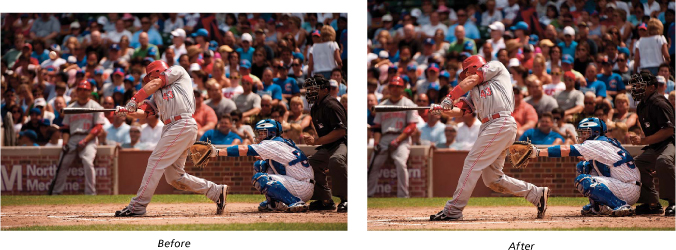
Cropping to an Exact Custom Size
Okay, now you know how to crop to Elements’ built-in preset sizes, but how do you crop to a nonstandard size—a custom size that you determine? Here’s how:
Step One:
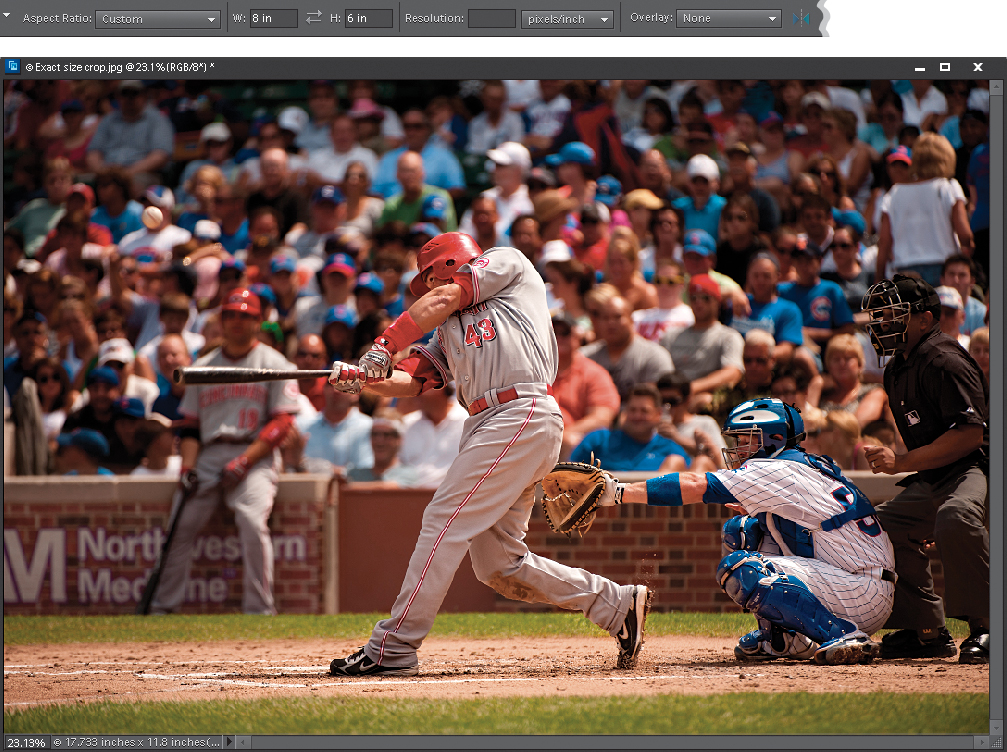
Open the photo that you want to crop in the Elements Editor. (I want to crop this image to 8x6″.) First, press C to get the Crop tool. In the Options Bar, you’ll see fields for Width and Height. Enter the size you want for Width, followed by the unit of measure you want to use (e.g., enter “in” for inches, “px” for pixels, “cm” for centimeters, “mm” for millimeters, etc.). Next, press the Tab key to jump over to the Height field and enter your desired height, again followed by the unit of measure.
SCOTT KELBY
Once you’ve entered these figures in the Options Bar, click within your photo with the Crop tool and drag out a cropping border. (Note: To hide the Rule of Thirds overlay grid, choose None from the Overlay pop-up menu on the right side of the Options Bar.) You’ll notice that as you drag, the border is constrained to an 8x6″ aspect ratio; no matter how large of an area you select within your image, the area within that border will become your specified size. When you release your mouse button, you’ll still have both side handles and corner handles visible, but the side handles will act like corner handles to keep your size constrained.

Step Three:
Once your cropping border is onscreen, you can resize it using the corner handles or you can reposition it by moving your cursor inside the border. Your cursor will change to a Move arrow, and you can now click-and-drag the border into place. You can also use the Arrow keys on your keyboard for more precise control. When it looks right to you, press Enter (Mac: Return) to finalize your crop or click on the checkmark icon beneath the bottom-right corner of your cropping border. Here, I made the rulers visible (Ctrl-Shift-R [Mac: Command-Shift-R]) so you could see that the image measures exactly 8x6″.

Once you’ve entered a Width and Height in the Options Bar, those dimensions will remain there. To clear the fields, just choose No Restriction from the Aspect Ratio pop-up menu. This will clear the Width and Height fields, and now you can use the Crop tool for freeform cropping (you can drag it in any direction—it’s no longer constrained to your specified size).

Cooler Tip: Changing Dimensions
If you already have a cropping border in place, you can change your dimensions without re-creating the border. All you have to do is enter the new sizes you want in the Width and Height fields in the Options Bar, and Elements will resize your cropping border.