Auto-Cropping to Standard Sizes
If you’re outputting photos for clients, chances are they’re going to want them in standard sizes so they can easily find frames to fit. If that’s the case, here’s how to crop your photos to a predetermined size (like a 5x7″, 8x10″, etc.):
Step One:
Open an image in the Elements Editor that you want to crop to be a perfect 5x7″ for a vertical image, or 7x5″ if your image is horizontal. Press C to get the Crop tool, then go to the Options Bar, and from the Aspect Ratio pop-up menu, click on the words “No Restriction.” When the list of preset crop sizes appears, click on 5x7 in. (Note: To hide the Rule of Thirds overlay grid, choose None from the Overlay pop-up menu on the right side of the Options Bar.)

SCOTT KELBY
The Width and Height fields are populated based on the type of image you open—7x5″ for horizontal images and 5x7″ for vertical images. If you opened a horizontal image, but your crop is going to be vertical (tall), you’ll need to swap the figures in the Width and Height fields by clicking on the Swaps icon between the fields in the Options Bar (as shown here).

Now click-and-drag the Crop tool over the portion of the photo that you want to be 7x5″ (if your image is vertical, Elements will automatically adjust your border to 5x7″). While dragging, you can press-and-hold the Spacebar to adjust the position of your border, if needed.

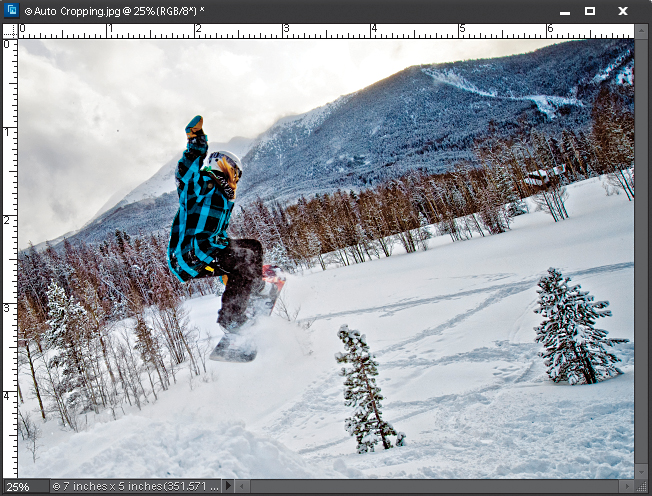
Step Three:
Once it’s set, press the Enter (Mac: Return) key and the area inside your cropping border will become 7x5″ (as shown here).