My Elements 10 Workflow from Start to Finish
One of the questions I get asked the most is “What is your suggested digital workflow?” (Which actually means, “What order are you supposed to do all this in?” That’s all “digital workflow” means.) We wrote this book in kind of a digital workflow order, starting with importing and organizing your photos, correcting them, sharpening them, and then at the end, printing. But I thought that seeing it all laid out in one place (well, in these five pages), might be really helpful, so here ya go.
Step One:
You start your workflow by importing your photos into the Organizer (we learned this in Chapter 1). While you’re in the Photo Downloader (shown here), I recommend adding your metadata (your name and copyright info) during this import process. Also, while you’re in the Photo Downloader, go ahead and rename your photos now, so if you ever have to search for them, you have a hope of finding them (searching for photos from your trip to Hawaii is pretty tough if you leave the files named the way your camera named them, which is something along the lines of “DSC_1751.JPG”). So give them a descriptive name while you import them. You’ll thank me later.

SCOTT KELBY
Step Two:
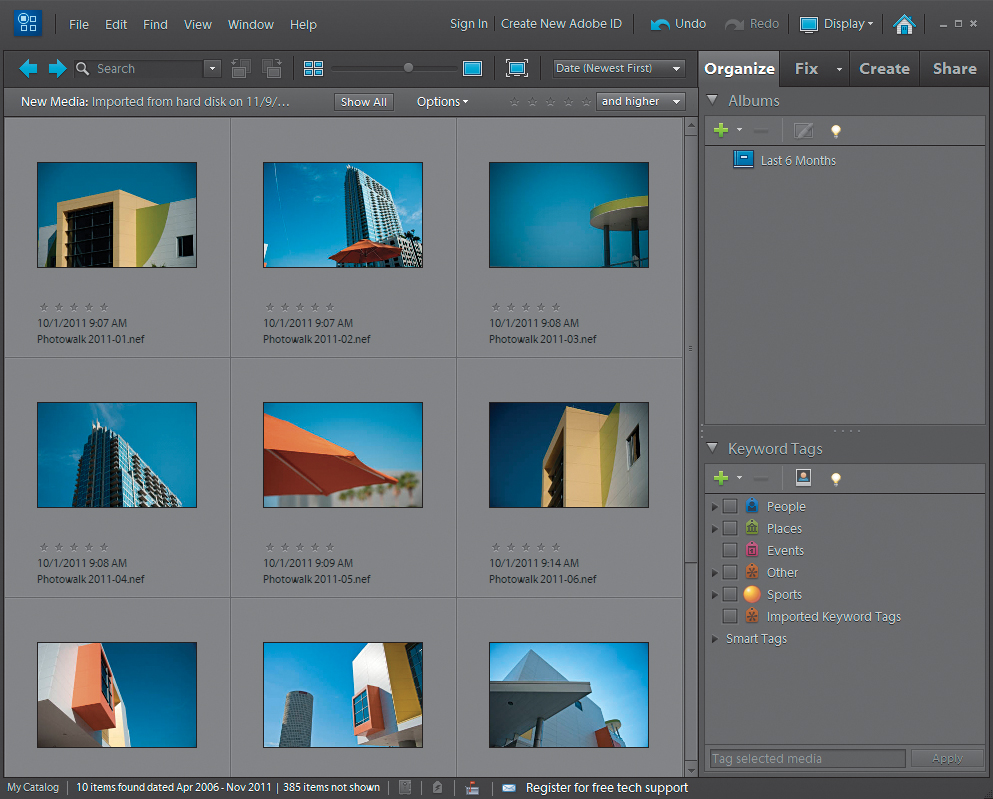
Once your photos appear in the Organizer, first take a quick look through them and go ahead and delete any photos that are hopelessly out of focus, were taken accidentally (like shots taken with the lens cap still on), or you can see with a quick glance are so messed up they’re beyond repair. Get rid of these now, because there’s no sense wasting time (tagging, sorting, etc.) and disk space on photos that you’re going to wind up deleting later anyway, so make your job easier—do it now.
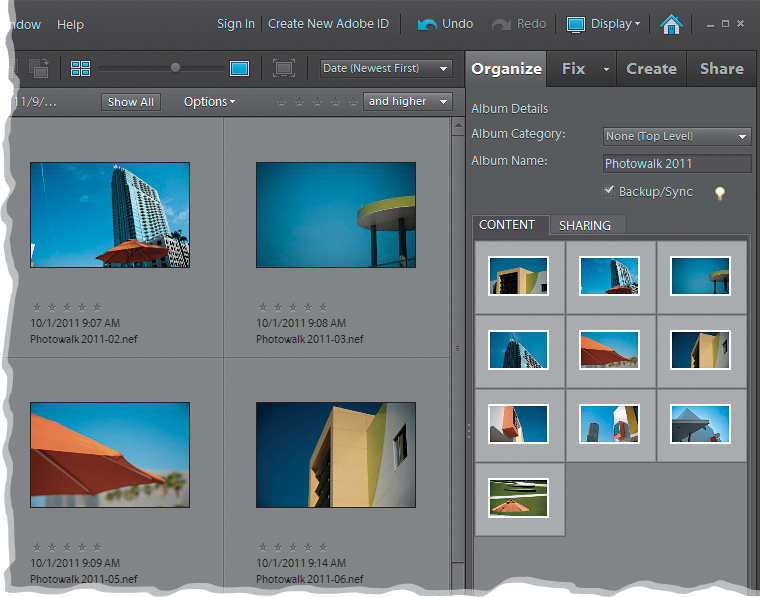
Once you’ve deleted the obviously bad ones, here’s what I would do next: go through the photos one more time and then create an album of just your best images (see Chapter 1 for how to create an album). That way, you’re now just one click away from the best photos from your shoot.
Step Four:
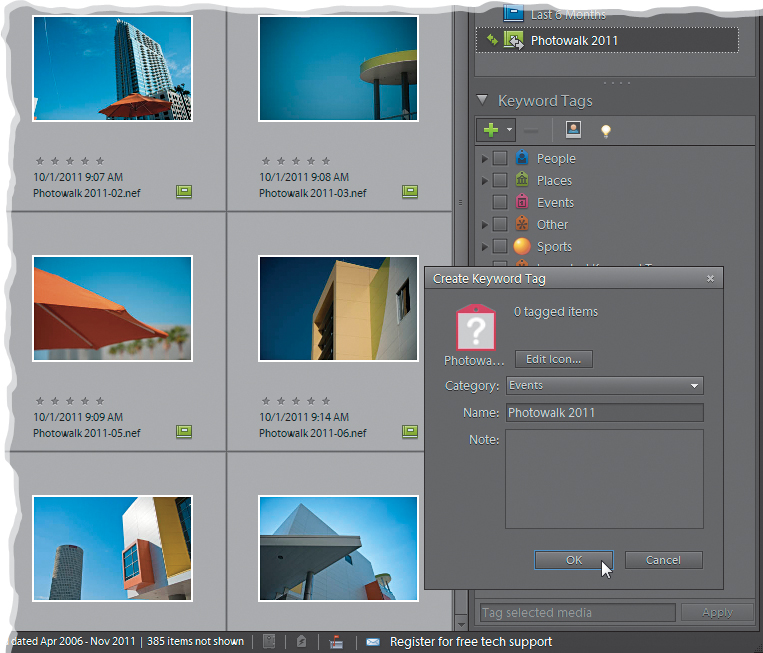
There’s another big advantage to separating out your best images into their own separate album: now you’re only going to tag and worry about color correcting and editing these photos—the best of your shoot. You’re not going to waste time and energy on photos no one’s going to see. So, click on the album, then go ahead and assign your keyword tags now (if you forgot how to tag, it’s back in Chapter 1). If you take a few minutes to tag the images in your album now, it will save you literally hours down the road. This is a very important step in your workflow (even though it’s not a fun step), so don’t skip it—tag those images now!
Now that you’ve got your best photos in an album and they’re tagged, it’s time to start editing the best images. So let’s say you open an image that you can tell needs editing in the Elements Editor to look the way you want it to look. What do you do first? Generally, I try to deal with the biggest problem first (whatever you see as the biggest problem). If you feel like the photo is too dark, start with that. If it has a distracting color cast and you won’t be able to concentrate on anything else, then fix that first. Underexposure, over-exposure, your subject is in the shadows, white balance (color) problems (which this image had)—all that can be fixed within Camera Raw if your image is in RAW, JPEG, or TIFF format. So, I’d go there (see Chapter 2 for opening JPEGs and TIFFs in Camera Raw). If you’d prefer to skip Camera Raw, then go to the Editor to work on things like general color correction using the Enhance menu options or even Quick Fix.

Step Six:
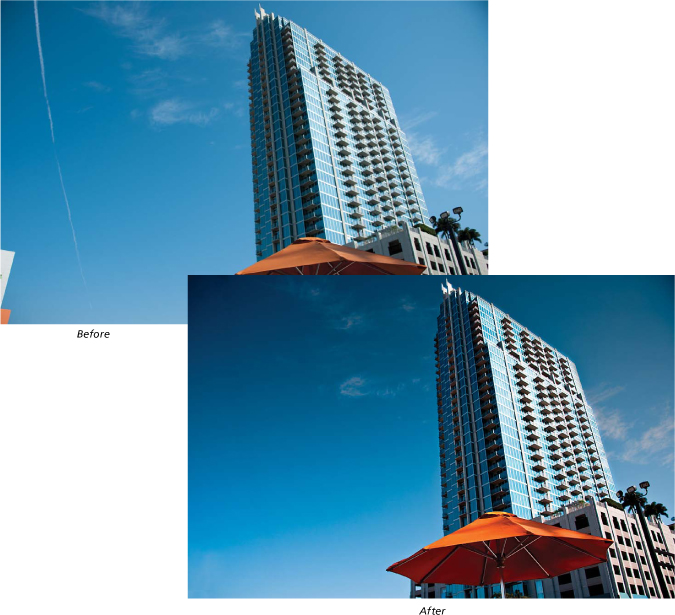
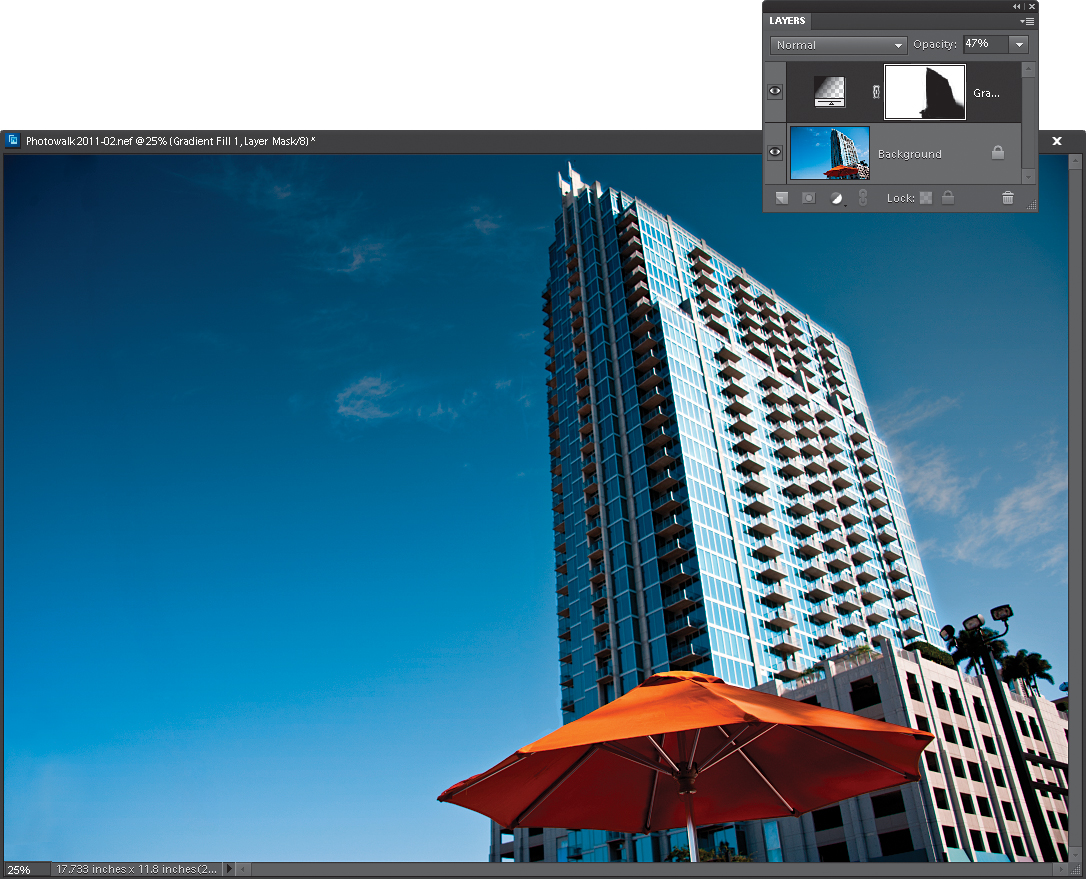
After all your color correction is done, fix any problems that your image may have (using the techniques you learned in Chapter 8). Here, I used the Spot Healing Brush tool set to Content-Aware to remove the contrail in the sky, and then I used the Clone Stamp tool to remove the edge of the building on the bottom left. Now you can add any special effects or finishing moves like softening, or vignetting effects, or duotones (or basically any of the things found in Chapter 9). Here, I’ve added a Gradient adjustment layer (see “Neutral Density Gradient Filter”), and then I painted in black on the layer mask so that the adjustment only affected the sky.
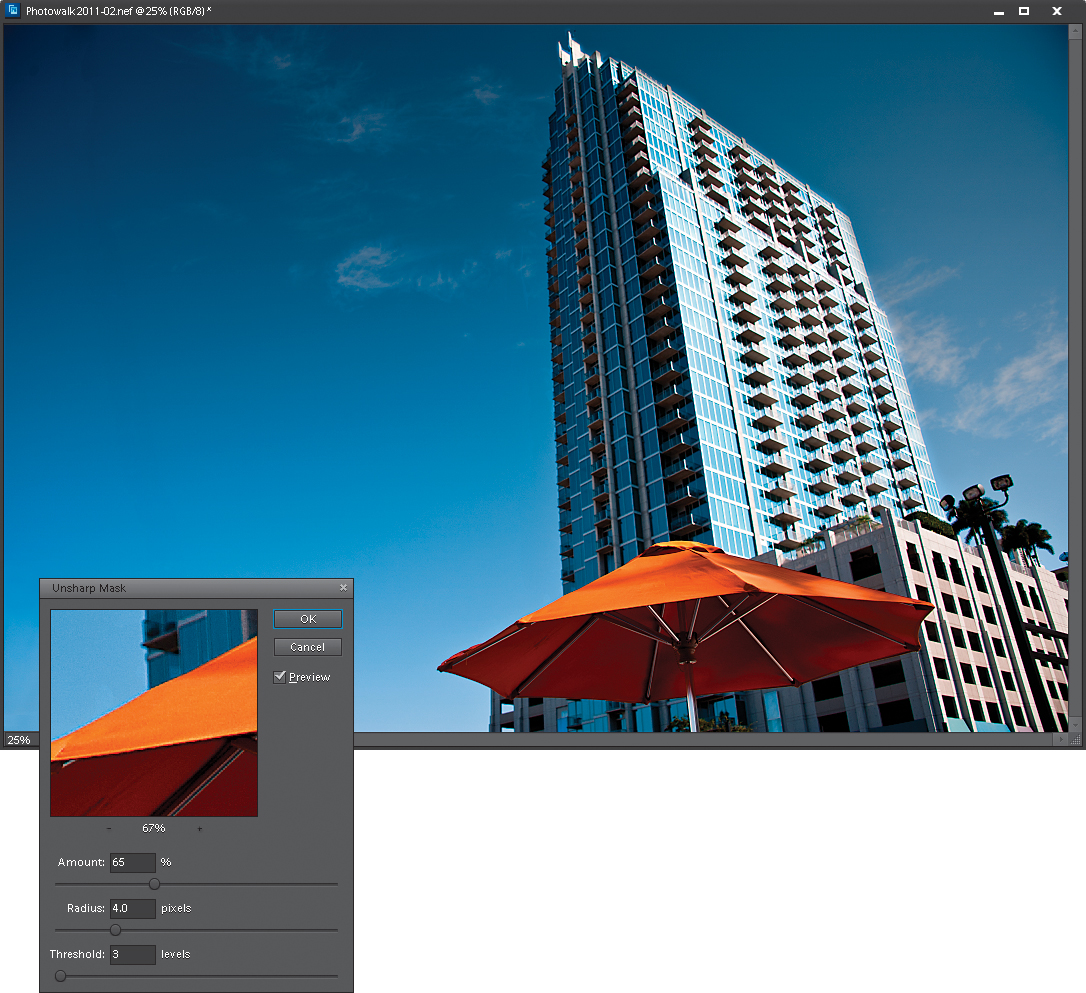
After all the effects you want have been added (Tip: Don’t get carried away by using too many effects. When it comes to effects, less is more), it’s time to sharpen the photo using either the Unsharp Mask filter or the Adjust Sharpness control (see Chapter 10 for settings). We save this until the final editing stage (after fixing problems, after color correction, after special effects). Now, the photo is essentially done and you can add border effects, frame edges, and other presentation effects (see the “How to Show Your Work” video on the website mentioned in the book’s introduction) around or behind your photo (you normally don’t have to sharpen them—just the photo, so you can add these after sharpening the photo).
Step Eight:
Lastly, now that you have a complete and final image, you can turn your final image into a creation (photo collage, online album, slide show, etc. [see the “How to Show Your Work” video on the book’s companion website]), or just simply print your finished image on your color inkjet printer (see the “Making the Print” tutorial earlier in this chapter for a refresher on that). Well, there you have it, a Photoshop Elements 10 workflow from import to output, done in the same order I do it myself. Hope this helps. :-)