Edge Sharpening Technique
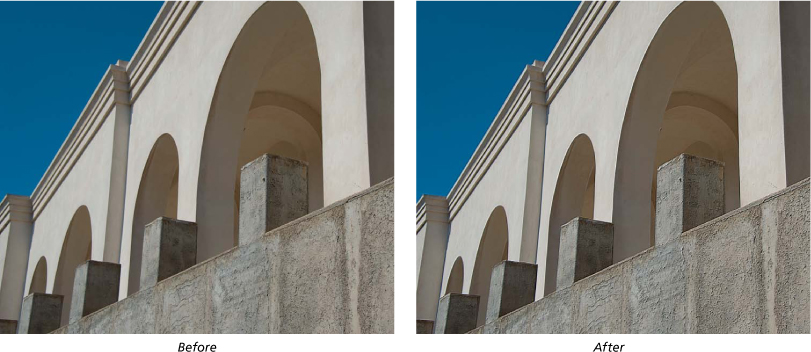
This is a sharpening technique that doesn’t use the Unsharp Mask filter, but still leaves you with a lot of control over the sharpening, even after it’s applied. It’s ideal to use when you have an image that can really hold a lot of sharpening (a photo with a lot of edges) or one that really needs a lot of sharpening.
Step One:
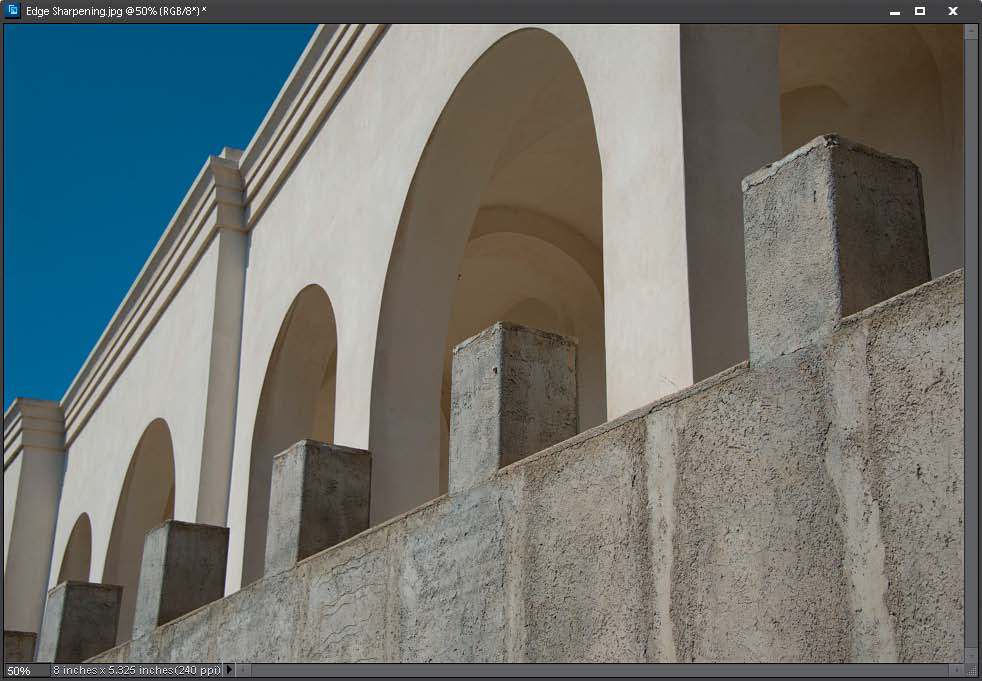
Open a photo that needs edge sharpening.
SCOTT KELBY
Step Two:
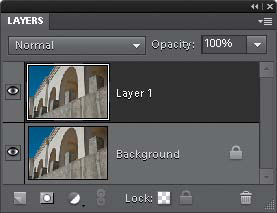
Duplicate the Background layer by going under the Layer menu, under New, and choosing Layer via Copy (or pressing Ctrl-J [Mac: Command-J]). This will duplicate the Background layer onto a new layer (Layer 1).
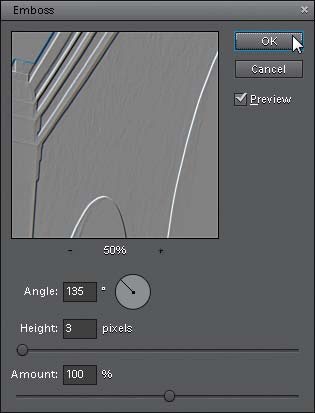
Go under the Filter menu, under Stylize, and choose Emboss. You’re going to use the Emboss filter to accentuate the edges in the photo. You can leave the Angle and Amount settings at their defaults (135° and 100%), but if you want more intense sharpening, raise the Height amount from its default setting of 3 pixels to 5 or more pixels (in the example here, I left it at 3). Click OK to apply the filter, and your photo will turn gray, with neon-colored highlights along the edges.
Step Four:
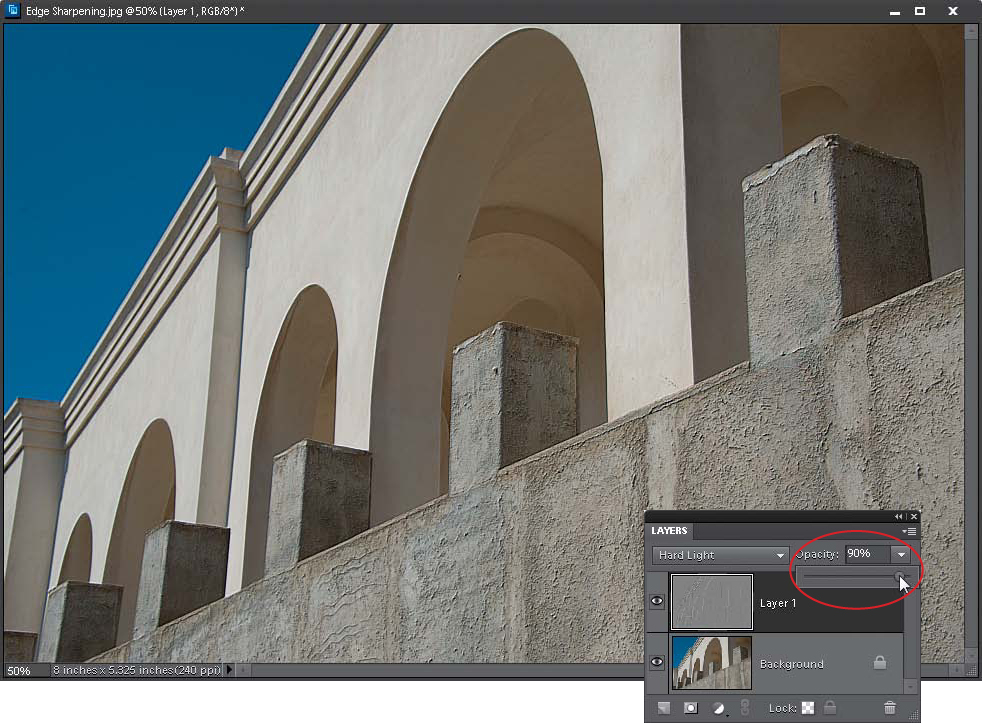
In the Layers palette, change the layer blend mode of this layer from Normal to Hard Light. This removes the gray color from the layer, but leaves the edges accentuated, making the entire photo appear much sharper.
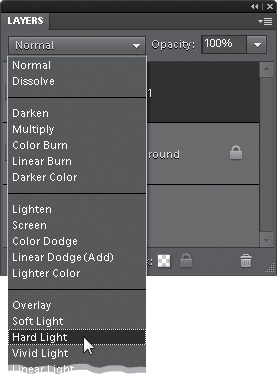
If the sharpening seems too intense, you can control the amount of the effect by simply lowering the Opacity of this top layer in the Layers palette.