Letting Camera Raw Auto Correct Your Photos
If you’re not quite comfortable with manually adjusting each image, Camera Raw does come with a one-click Auto function, which takes a stab at correcting the overall exposure of your image (including shadows, fill light, contrast, and recovery). If you like the results, you can set up Camera Raw’s preferences so every photo, upon opening in Camera Raw, will be auto adjusted using that same feature. Ahhh, if only that Auto function worked really well.
Step One:
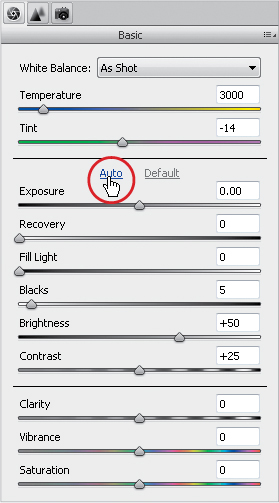
To have Camera Raw auto adjust your image, click on the Auto button (it’s the underlined word Auto that appears just below the Tint slider). Sometimes this works, sometimes it does very little (other than adjusting the Exposure and Recovery sliders to eliminate highlight clipping), but most times, to me it seems to way overexpose the photo. It usually pushes the Exposure slider as far to the right as it can without clipping the highlights, which I guess in theory gives you a full range of exposure, but in reality gives you what looks like (to me anyway) an overexposed photo. If you don’t like the Auto results, you can click on the Default button (to the immediate right of the Auto button) to reset the photo to what it looked like when you first opened it in Camera Raw.
Step Two:
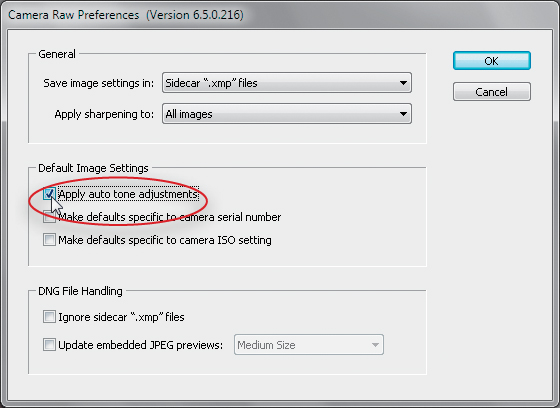
To have Camera Raw apply this Auto adjustment to every photo you open, just click on the Preferences icon up in Camera Raw’s toolbar (the third from the right), and turn on the checkbox for Apply Auto Tone Adjustments (shown circled in red here), then click OK. Again, if you don’t like the Auto correction, just click on the Default button (the Auto button will be grayed out because it has already been applied).