In this chapter, you will learn to: | |
✓ | Enter text. |
✓ | Edit text. |
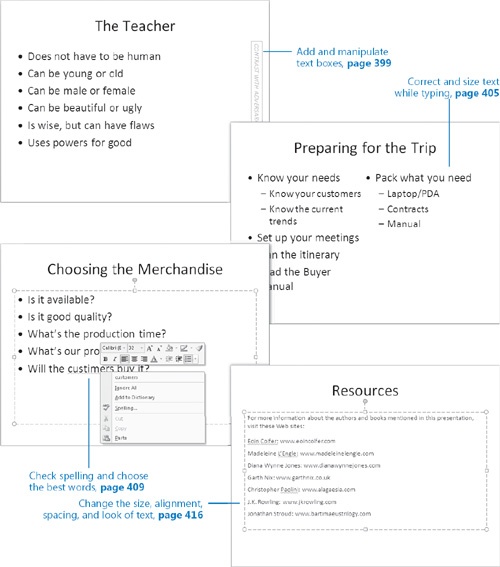
✓ | Add and manipulate text boxes. |
✓ | Correct and size text while typing. |
✓ | Check spelling and choose the best words. |
✓ | Find and replace text and fonts. |
✓ | Change the size, alignment, spacing, and look of text. |
In later chapters of this book, we show you ways to add fancy effects to electronic slide shows to really grab the attention of your audience. But no amount of animation, jazzy colors, and supporting pictures will convey your message if the words on the slides are inadequate to the task. For most of your presentations, text is the foundation on which you build everything else, so this chapter shows you various ways to work with text to ensure that the words on your slides are accurate, consistent, and appropriately formatted.
In this chapter, you will learn how to enter and edit text on slides, on the Outline tab, and in text boxes. You will see how the AutoCorrect feature can help you avoid typographical errors, and how the spell-checking feature can help you correct misspellings after the fact. For those times when a word or phrase is correct but you want to substitute a different word or phrase, you will learn how to replace one word with another throughout a presentation by using the Find And Replace feature, which you also use to ensure the consistent use of fonts. Finally, you will vary the size, alignment, spacing, and look of words and phrases on individual slides.
See Also
Do you need only a quick refresher on the topics in this chapter? See the Quick Reference entries at the beginning of this book.
Important
Before you can use the practice files in this chapter, you need to install them from the book’s companion CD to their default location. See "Using the Book’s CD" at the beginning of this book for more information.
Troubleshooting
Graphics and operating system–related instructions in this book reflect the Windows Vista user interface. If your computer is running Microsoft Windows XP and you experience trouble following the instructions as written, please refer to the "Information for Readers Running Windows XP" section at the beginning of this book.
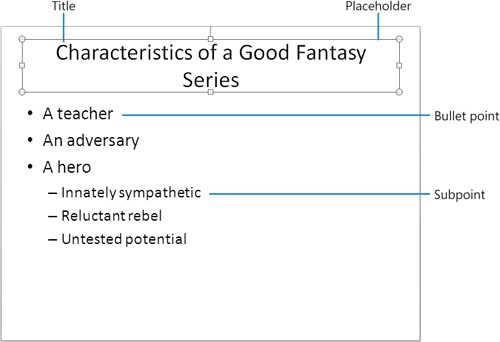
When you add a new slide to a presentation, the layout you select indicates the type and position of the objects on the slide with placeholders. For example, a Title And Content slide has placeholders for a title and either a bulleted list with one or more levels of bullet points (and subordinate levels called subpoints) or an illustration such as a table, chart, graphic, or movie clip. You can enter text directly into a placeholder on a slide in the Slide pane, or you can enter text on the Outline tab of the Overview pane, where the entire presentation is displayed in outline form.
Tip
If you want to add text to a slide that has no text placeholder—for example, if you want to add an annotation to a graphic—you can create an independent text box and enter the text there. For information about creating text boxes, see "Adding and Manipulating Text Boxes" later in this chapter.
When you point to a placeholder on a slide or to text on the Outline tab, the pointer changes to an I-beam. When you click the placeholder or text, a blinking insertion point appears where you clicked to indicate where characters will appear when you type. As you type, the text appears both on the slide and on the Outline tab.
In this exercise, you will enter slide titles, bullet points, and subpoints, both directly in slides and on the Outline tab. There are no practice files for this exercise.
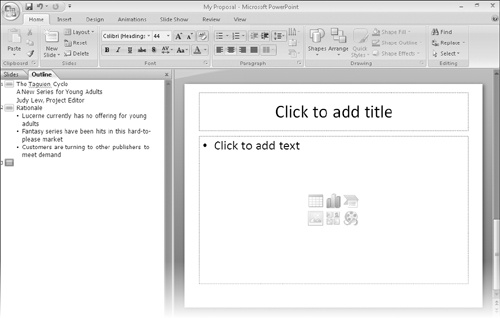
In the Slide pane, click the slide’s Click to add title placeholder.
A selection box surrounds the placeholder, and a blinking insertion point appears in the center of the box, indicating that the text you type will be centered in the placeholder.
Type The Taguien Cycle.
Do not type the period. By tradition, slide titles have no periods. PowerPoint’s spell-checking feature indicates with a red wavy underline that Taguien is a possible spelling error. This word is a proper name and is correct.
Tip
If you make a typing error while working through this exercise, press Backspace to delete the mistake, and then type the correct text. For information about checking and correcting spelling, see "Checking Spelling and Choosing the Best Words" later in this chapter.
In the Overview pane, click the Outline tab, and notice that the text you typed also appears there.
In the Slide pane, click the Click to add subtitle placeholder.
The title placeholder is deselected, and the subtitle placeholder is selected.
Type A New Series for Young Adults, and then press
 to move the insertion point to a new line in the same placeholder.
Type Judy Lew, Project Editor.
As you enter titles and bullet points throughout the exercises, don’t type any ending punctuation marks.
On the Quick Access Toolbar, click the Save button, and save the presentation in the Chapter14 subfolder with the name My Proposal.
We won’t tell you to save your work again in this exercise. Suffice it to say that you should save often.
Add a new slide with the Title and Content layout.
See Also
For information about adding slides, see "Creating a Presentation Based on a Ready-Made Design" in Chapter 13.
PowerPoint creates a new slide with placeholders for a title and a bulleted list. The Outline tab now displays an icon for a second slide, and the status bar displays Slide 2 of 2.
Without clicking anywhere, type Rationale.
If you start typing on an empty slide without first selecting a placeholder, PowerPoint enters the text into the title placeholder. The title appears on both the slide and the Outline tab.
On the Outline tab, click to the right of Rationale, and then press
.PowerPoint adds a new slide to the presentation, and an icon for Slide 3 appears in the Outline pane.
The Slide 3 icon changes to a bullet on Slide 2. The bullet is gray until you enter text for the bullet point.
Type Lucerne currently has no offering for young adults, and then press
.PowerPoint adds a new bullet at the same level.
Type Fantasy series have been hits in this hard-to-please market, and then press
.Type Customers are turning to other publishers to meet demand, and then press
.On the Outline tab, the bullet changes into an icon for Slide 3. The new slide is displayed in the Slide pane.
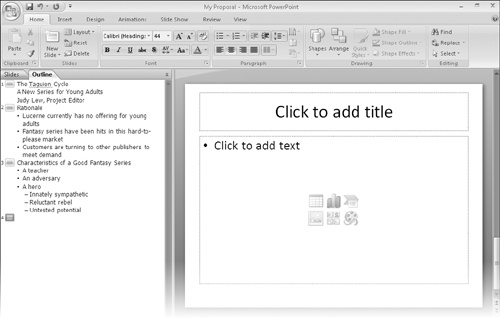
Type Characteristics of a Good Fantasy Series, press
, and then press  .
.This slide title is too long to fit in the title placeholder at its default font size, so PowerPoint decreases the size to make it fit.
Type A teacher, press
, type An adversary, press , type A hero, and then press .On the Home tab, in the Paragraph group, click the Increase List Level button.
PowerPoint creates a subpoint.
Tip
You can use the Increase List Level button to change slide titles to bullet points and bullet points to subpoints both on the slide and on the Outline tab. You can also use the Decrease List Level button to change subpoints to bullet points and bullet points to slide titles in both places. However, when you are entering text on the Outline tab, it is quicker to use keys—Tab and Shift+Tab—to perform these functions than it is to take your hands off the keyboard to use your mouse.
Type Innately sympathetic, press
, type Reluctant rebel, press , and then type Untested potential.Instead of creating another bullet, PowerPoint creates a new slide.