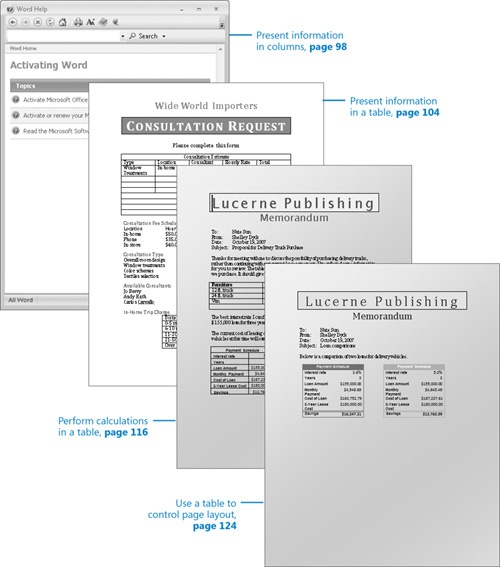
In this chapter, you will learn to: | |
✓ | Present information in columns. |
✓ | Create a tabular list. |
✓ | Present information in a table. |
✓ | Format table information. |
✓ | Perform calculations in a table. |
✓ | Use a table to control page layout. |
When creating a Word document, you might find it useful to organize certain information into columns or tables. Flowing text in multiple columns is common practice in newsletters, flyers, and brochures. After you specify the number of columns, Word flows the text from one column to the next. You can also manually end one column and move subsequent text to the next column.
It is often more efficient to present numeric data in a table than to explain it in a paragraph of text. Tables make the data easier to read and understand. Small amounts of data can be displayed in simple columns separated by left, right, centered, or decimal tab stops to create a tabular list. Larger amounts or more complex data is better presented in a Word table that includes a structure of rows and columns, frequently with row and column headings.
A Word table is useful not only for presenting data but also for providing the structure for complex document layouts. For example, you can set up a table with two columns and two rows to present a set of four paragraphs, four bulleted lists, or four tables in a format in which they can be easily compared.
In this chapter, you will create and modify columns of text, create a simple tabular list, create tables from scratch and from existing text, format a table in various ways, and perform calculations within a table. You will copy and paste worksheet data, link to worksheet data, and create an Excel object. And finally, you will create a table for the purpose of displaying two other tables side by side.
See Also
Do you need only a quick refresher on the topics in this chapter? See the Quick Reference entries at the beginning of this book.
Important
Before you can use the practice files in this chapter, you need to install them from the book’s companion CD to their default location. See "Using the Book’s CD" at the beginning of this book for more information.
Troubleshooting
Graphics and operating system–related instructions in this book reflect the Windows Vista user interface. If your computer is running Microsoft Windows XP and you experience trouble following the instructions as written, please refer to the "Information for Readers Running Windows XP" section at the beginning of this book.
By default, Word displays text in one column, but you can specify that text be displayed in two, three, or more columns to create layouts like those used in newspapers and magazines. When you format text to flow in columns, the text fills the first column and then moves to the top of the next column. You can insert a column break to move to the next column before the current column is full.
Word provides several standard options for dividing text into columns. You have the choice of one, two, or three equal columns, or two other two-column formats: one with a narrow left column and the other with a narrow right column. No matter how you set up the columns initially, you can change the layout or column widths at any time.
You can format the text in columns the same way you would any text. If you justify the columns for a neater look, you might want to have Word hyphenate the text to ensure that there are no large gaps between words.
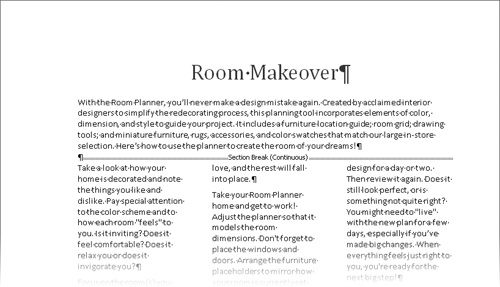
In this exercise, you will divide part of a document into three columns. You will then justify the columns, change the column spacing, hyphenate the text, and indent a couple of paragraphs. You’ll also break a column at a specific location instead of allowing the text to flow naturally from one column to the next.
Note
USE the 01_Columns document. This practice file is located in the Chapter04 subfolder under SBS_Office2007.
BE SURE TO display the rulers and non-printing characters before starting this exercise.
OPEN the 01_Columns document.
Click just to the left of the paragraph that begins Take a look (do not click in the selection area). Then scroll the end of the document into view, hold down the
 key, and click just to the right of the period after credit cards.
Word selects the text from the Take a look paragraph through the end of the document.
On the Page Layout tab, in the Page Setup group, click the Columns button, and then click Three.
Press
 to move to the top of the document.
Word has inserted a section break above the selection and formatted the text after the section break into three columns.
On the Home tab, in the Editing group, click the Select button, and then click Select All.
In the Paragraph group, click the Justify button.
The spacing of the text within the paragraphs changes so the right edge of the paragraph is straight.
Press
to deselect the text and move to the top of the document, and then in the Paragraph group, click the Center button to center the title.At the right end of the status bar, click the Zoom button. Then in the Zoom dialog box, click 75%, and click OK.
You can now see about two-thirds of the first page of the document.
Click anywhere in the first column.
On the horizontal ruler, Word indicates the margins of the columns.
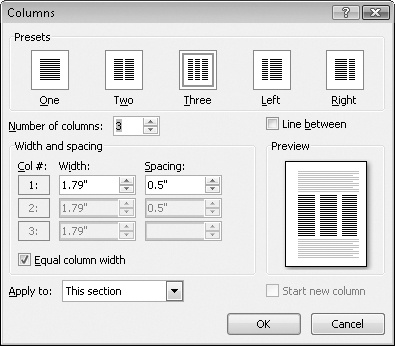
On the Page Layout tab, in the Page Setup group, click the Columns button, and then click More Columns.
The Columns dialog box opens. Because the Equal Column Width check box is selected, you can adjust the width and spacing of only the first column.
Under Width and spacing, in the Spacing column, click the down arrow until the setting is 0.2".
Word changes the measurement in the box below and widens all the columns to reflect the new setting.
Click OK.
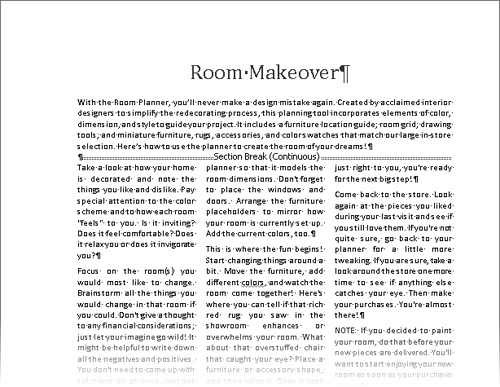
Word reflows the columns to fit their new margins.
Click immediately to the left of Take a look. Then in the Page Setup group, click the Hyphenation button, and click Automatic.
Word hyphenates the text of the document, which fills in some of the large gaps between words.
Click anywhere in the NOTE paragraph in the third column.
On the horizontal ruler, in the third column, drag the Hanging Indent marker 0.25 inch (two marks) to the right.
All the lines in the NOTE paragraph except the first are now indented, offsetting the note from the paragraphs above and below it.
Click just to the left of Take your Room Planner home at the bottom of the first column on Page 1. Then in the Page Setup group, click the Breaks button, and click Column.
The text that follows the column break moves to the top of the second column.
Click just to the left of If you’re not sure at the bottom of the third column on Page 1, and then on the Quick Access Toolbar, click the Repeat Insertion button to insert another column break.
The text that follows the column break moves to the top of the first column on Page 2.