In this chapter, you will learn to: | |
✓ | Connect to your primary e-mail account. |
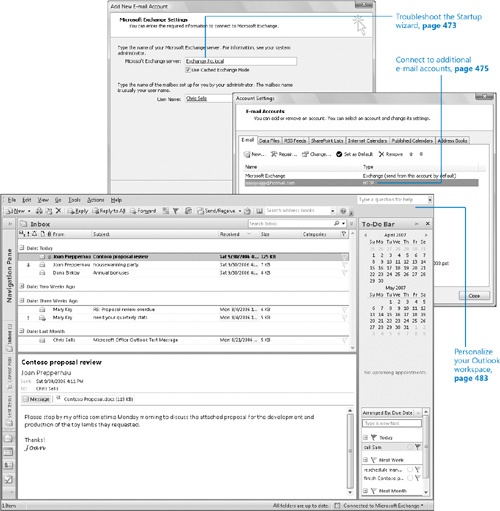
✓ | Troubleshoot the Startup wizard. |
✓ | Connect to additional e-mail accounts. |
✓ | Create additional Outlook profiles. |
✓ | Personalize your Outlook workspace. |
✓ | Explore the Advanced toolbar. |
Before you can begin using Outlook, you need to configure it to connect to your e-mail server, and thereby create your e-mail profile. Your profile consists of information about your e-mail account such as the user name, display name, server name, password, and where your Outlook data is stored. You can connect to more than one e-mail account, to manage all your e-mail communications through Outlook.
The Outlook user interface is organized in a manner intended to enable most people to easily view, locate, and link to information. You might find, though, that it is not perfectly suited for the way that you work on a day-to-day basis. Or perhaps you’d just like to try a different layout. There are many ways in which you can personalize the way Outlook appears and functions.
In this chapter, you will configure Outlook to connect to different types of e-mail accounts. You will also create additional Outlook profiles and personalize your Outlook workspace layout to suit your needs.
See Also
Do you need only a quick refresher on the topics in this chapter? See the Quick Reference entries at the beginning of this book.
Important
No practice files are required to complete the exercises in this chapter. For more information about practice files, see "Using the Book’s CD" at the beginning of this book.
Troubleshooting
Graphics and operating system–related instructions in this book reflect the Windows Vista user interface. If your computer is running Microsoft Windows XP and you experience trouble following the instructions as written, please refer to the "Information for Readers Running Windows XP" section at the beginning of this book.
The automatic setup functionality provided by the Outlook 2007 Startup wizard is a significant improvement over previous versions of Outlook, which required that you provide much more information. It might not work under all circumstances, but it generally does a very good job. In most cases, the only information you need is your e-mail address and password.
See Also
If the Outlook automatic setup functionality doesn’t work for you, see "Troubleshooting the Startup Wizard" later in this chapter.
In this exercise, you will start Outlook and configure it to connect to a Microsoft Exchange Server account. Although we demonstrate connecting to an Exchange Server account, you can follow the same basic process to connect to another type of e-mail server. There are no practice files for this exercise.
Note
BE SURE TO have your e-mail address and password available before beginning this exercise. If connecting to an Exchange Server account, you must be connected to your network. If you are working off-network, you might first need to establish a virtual private network (VPN) connection.
On the taskbar, click the Start button.
On the Start menu, point to All Programs, click Microsoft Office, and then click Microsoft Office Outlook 2007.
Tip
If the E-mail link at the top of the Start menu specifies Microsoft Office Outlook as your default e-mail program, you can click that link instead.
Outlook 2007 starts. If Outlook hasn’t yet been configured to connect to an e-mail account, the Outlook 2007 Startup wizard starts.
See Also
If Outlook is already configured to connect to an e-mail account and you would like to configure a second account, see "Connecting to Additional E-Mail Accounts" later in this chapter.
On the welcome page, click Next.
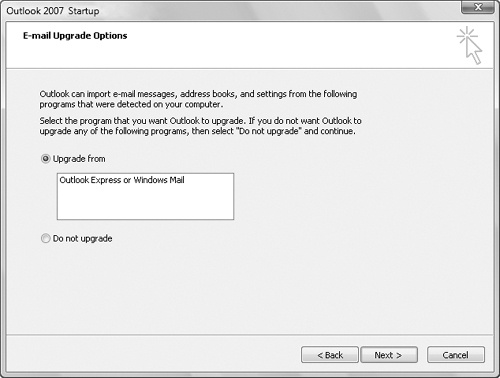
If you have an e-mail account set up in another e-mail program on this computer, Outlook offers the option of importing account information from that account. For the purposes of this exercise, we will not select that option, but you might find it convenient to do so when setting up your own account.
On the E-mail Upgrade Options page, select the Do not upgrade option, and then click Next.
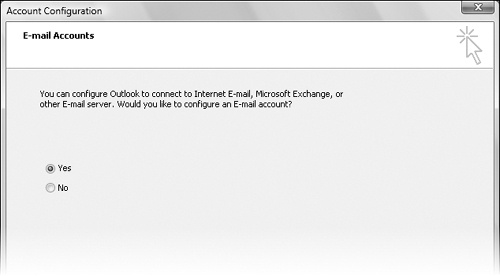
On the E-mail Accounts page, with the Yes option selected, click Next.
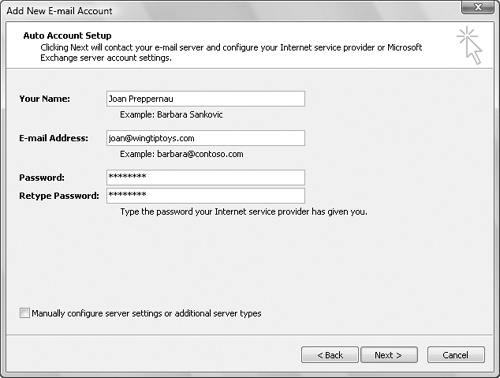
On the Auto Account Setup page, enter your name, e-mail address, and password in the corresponding text boxes.
Notice the option here to manually configure your server settings. If you have trouble configuring Outlook by using the automatic setup tool, you can make manual changes by selecting this check box and then clicking Next.
See Also
For information about manually setting up Outlook, see "Troubleshooting the Startup Wizard" later in this chapter.
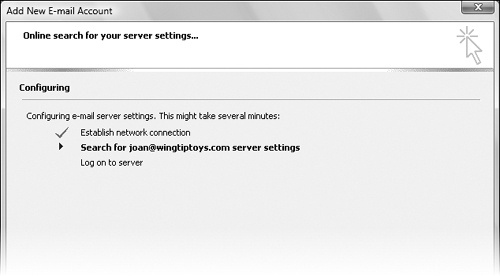
On the Auto Account Setup page, click Next.
Provided it doesn’t encounter any connection or security issues, Outlook uses the minimal information you provided to connect to your e-mail server and create your Outlook profile.
Tip
If this is the first time you have started a 2007 Microsoft Office System program, Office prompts you to enter your full name and initials. This information is used throughout the Office system when tracking changes, responding to messages, and so on. Then Office prompts you to select the type of information you want to share over the Internet, and finally, offers the option of signing up for automatic program updates from the Microsoft Update service. None of these options place you at risk, and all can be quite useful.
The first time you start Outlook, it asks whether you want to combine and synchronize RSS feeds in Outlook and Microsoft Internet Explorer.
Unless you have a reason not to do so, in the Microsoft Office Outlook message box asking whether to combine the RSS Feed lists, click Yes.
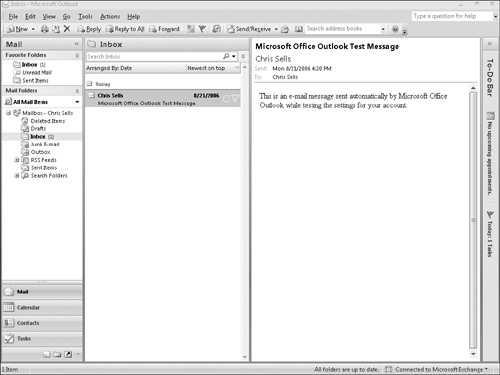
Outlook displays your Inbox.
A test message from Outlook appears at the top of the Inbox. Your other e-mail messages will appear below the test message.