
Using the Crop Tool to Add More Canvas Area
I know the heading for this technique doesn’t make much sense—“Using the Crop Tool to Add More Canvas Area.” How can the Crop tool (which is designed to crop photos to smaller sizes) actually make the canvas area (white space) around your photo larger? That’s what I’m going to show you.
Step One:
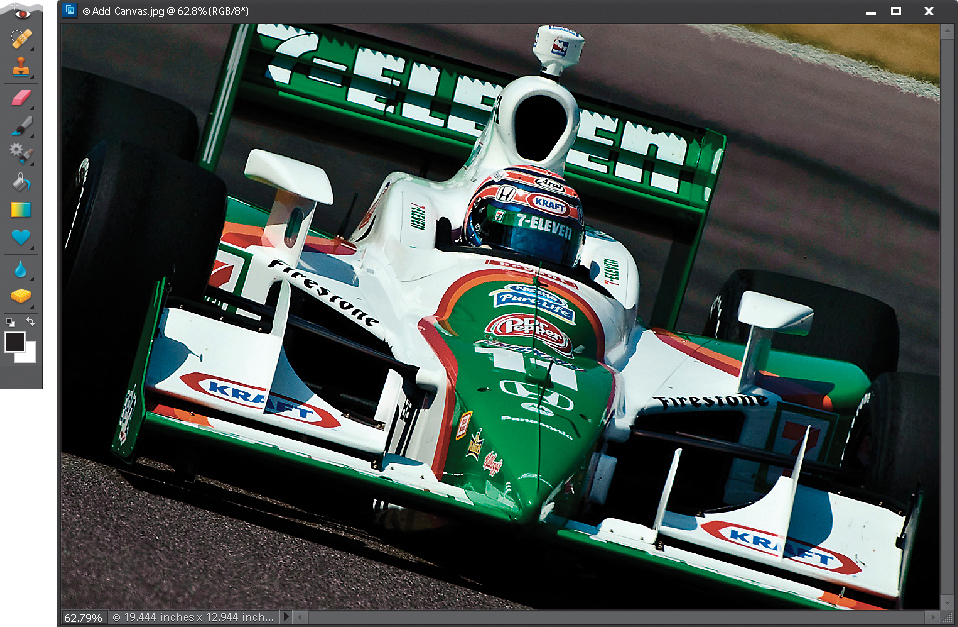
In the Elements Editor, open the image to which you want to add additional blank canvas area. Press the letter D to set your Background color to its default white.
SCOTT KELBY
Step Two:
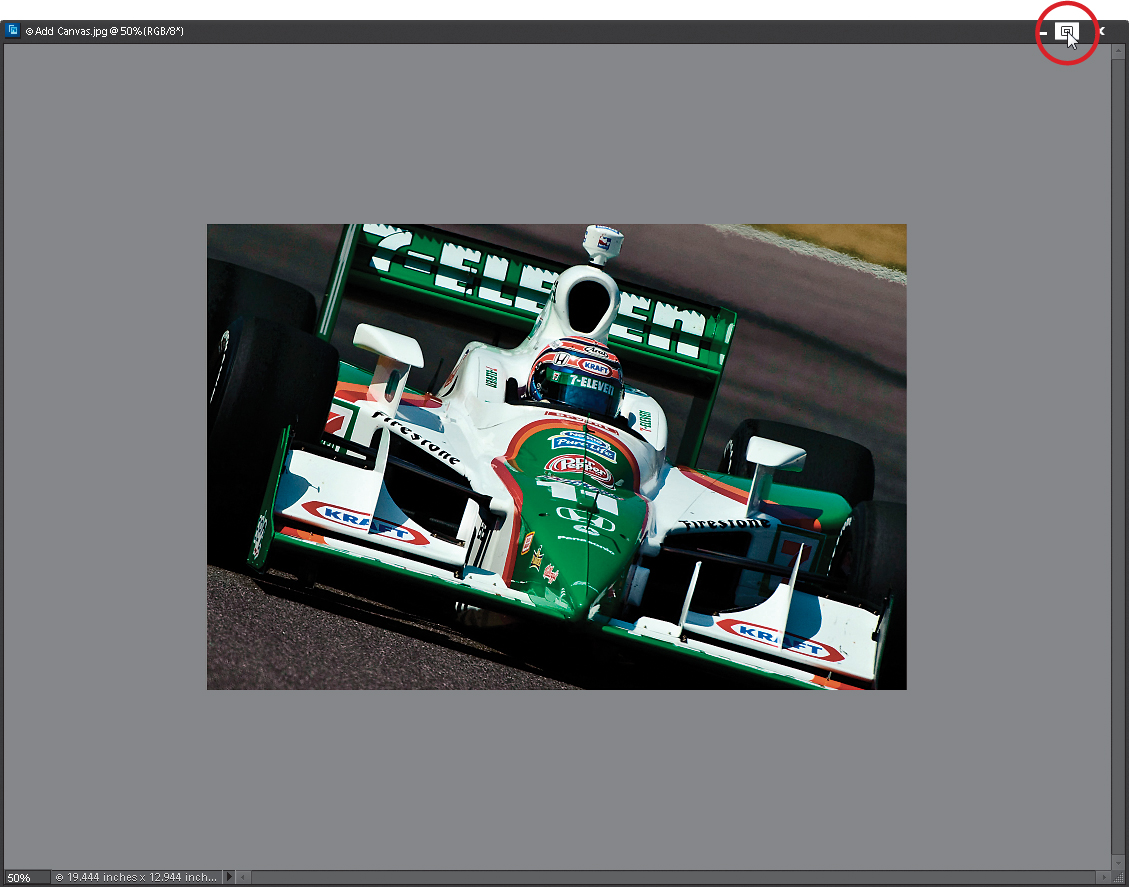
If you’re in Maximize Mode or tabbed viewing, press Ctrl-– (minus sign; Mac: Command-–) to zoom out a bit (so your image doesn’t take up your whole screen). If your image window is floating, click-and-drag out the bottom corner of the document window to see the gray desktop area around your image. (To enter Maximize Mode, click the Maximize Mode icon in the top-right corner of the image window. To enter tabbed viewing, go under the Window menu, under Images, and choose Consolidate All to Tabs.)
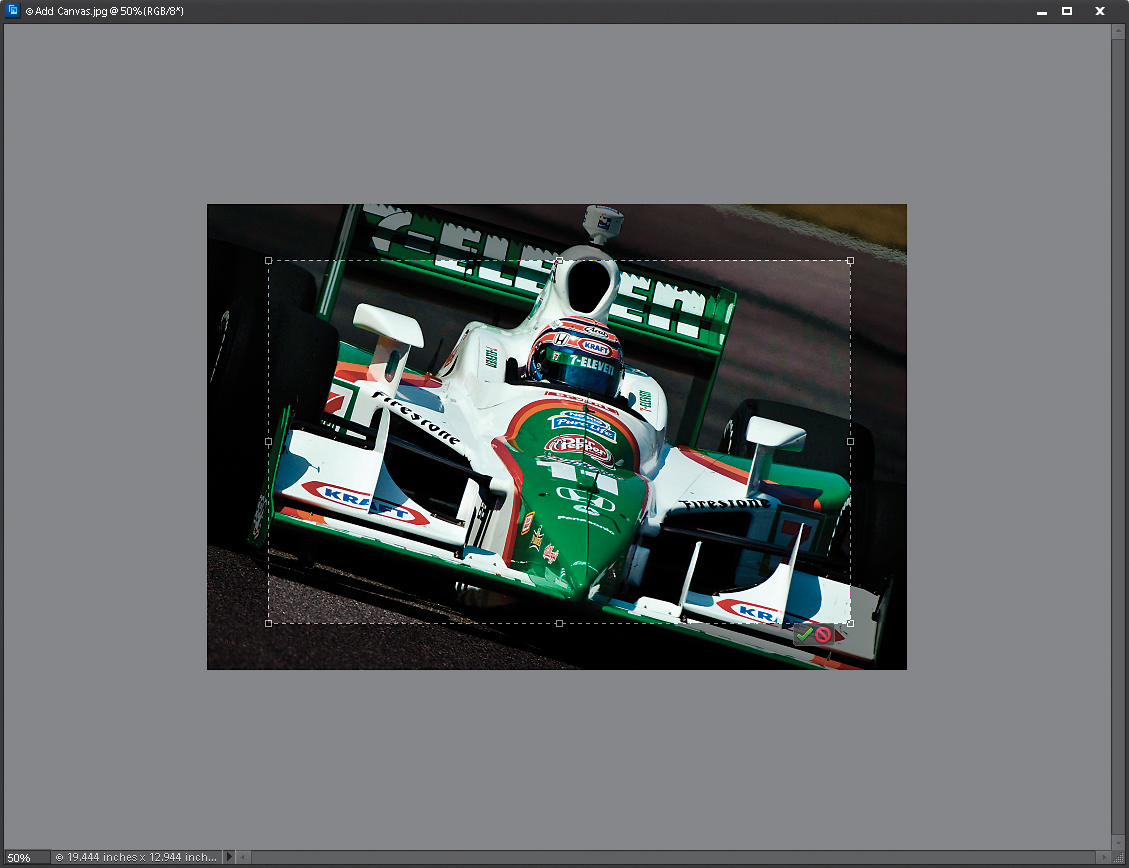
Press the letter C to switch to the Crop tool and drag out a cropping border to any random size (it doesn’t matter how big or little it is at this point).
Step Four:
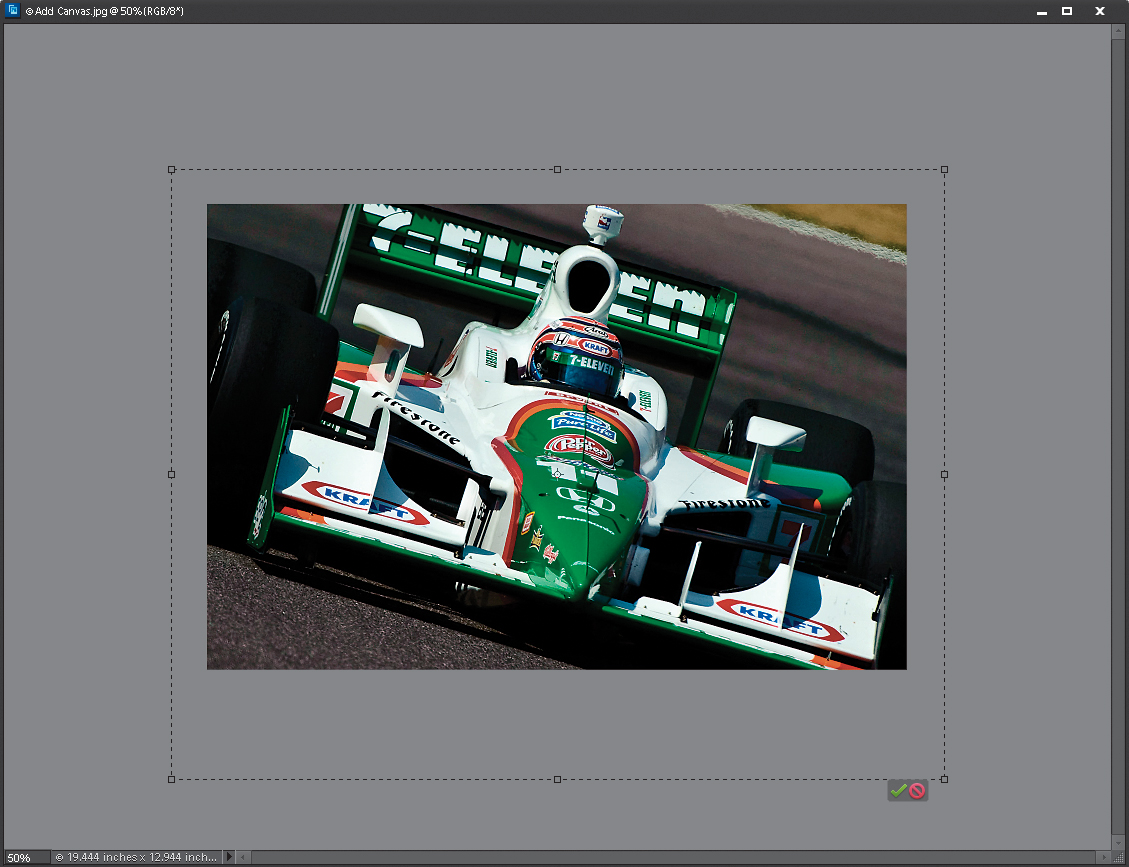
Now, grab any one of the side or corner handles and drag outside the image area, out into the gray area that surrounds your image. The cropping border extending outside the image is the area that will be added as white canvas space, so position it where you want to add the blank canvas space.
Step Five:
Now, just press the Enter (Mac: Return) key to finalize your crop, and when you do, the area outside your image will become white canvas area.
