In this chapter, you will learn to: | |
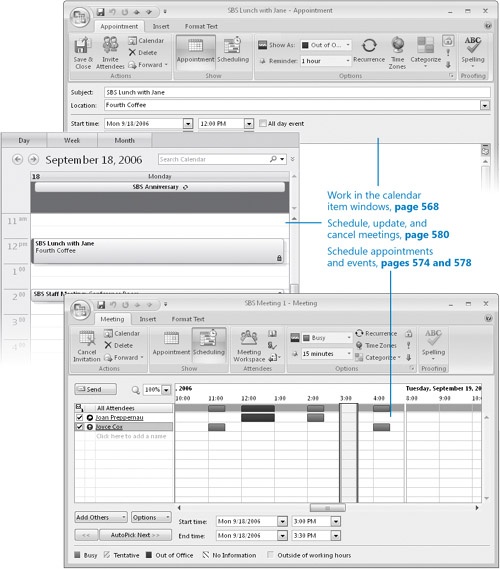
✓ | Work in the calendar item windows. |
✓ | Schedule and change appointments and events. |
✓ | Schedule, update, and cancel meetings. |
✓ | Respond to meeting requests. |
You might find that your Microsoft Office Outlook Calendar runs your life—but that isn’t necessarily a bad thing! Using the Calendar effectively can help you to stay organized, on task, and on time. You can schedule and track appointments, meetings, and events. Because Outlook 2007 maps your scheduled tasks to your calendar, you can look at your calendar in Day view or Week view to see the tasks that need to be completed that day, and you can track your progress by marking tasks as complete when you finish them.
In this chapter, you will record different types of information in your Outlook calendar, scheduling an appointment and an event on your own calendar and then scheduling a meeting with another person. If your organization is running Microsoft Exchange Server, you will learn methods of determining meeting times during which other people are available—these vary depending on the version of Exchange Server. Then you will learn about responding to, updating, and canceling meeting requests.
See Also
Do you need only a quick refresher on the topics in this chapter? See the Quick Reference entries at the beginning of this book.
Important
No practice files are required to complete the exercises in this chapter. For more information about practice files, see "Using the Book’s CD" at the beginning of this book.
Troubleshooting
Graphics and operating system–related instructions in this book reflect the Windows Vista user interface. If your computer is running Microsoft Windows XP and you experience trouble following the instructions as written, please refer to the "Information for Readers Running Windows XP" section at the beginning of this book.
We refer to the window in which you create or respond to an appointment as the appointment window, to a meeting as the meeting window, and to an event as the event window; collectively we refer to these windows as the calendar item windows. Like the contact and message windows, the calendar item windows contain their own commands, arranged on the new Office Ribbon instead of on menus and toolbars.
In this exercise, you will take a tour of the calendar item window elements that differ from the contact and message window elements discussed in earlier chapters, and you’ll learn about the differences between the types of calendar items. There are no practice files for this exercise.
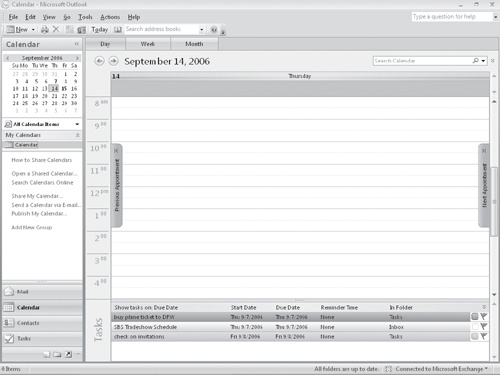
In the Navigation Pane, click the Calendar button to display the Calendar module.
On the Standard toolbar, click the New Appointment button.
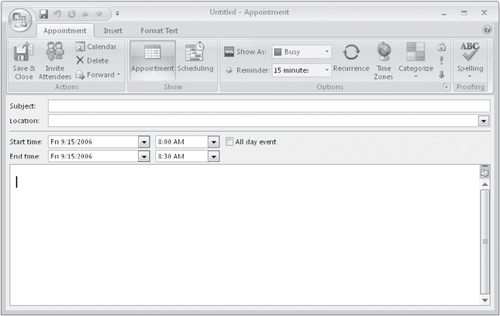
An untitled appointment window opens.
Important
Depending on your screen resolution and the size of the appointment window that opens, you might see more or fewer buttons in each of the groups, or the buttons you see might be represented by larger or smaller icons than those shown in this book. Experiment with the size of the appointment window to understand the effect on the appearance of the Ribbon.
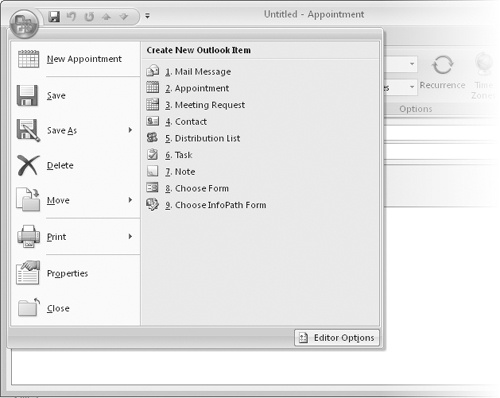
In the upper-left corner of the appointment window, click the Microsoft Office Button.
Commands related to managing appointments (such as creating, saving, deleting, and printing) are available from the Office menu that appears.
Click away from the Office menu to close it.
The appointment window commands are organized in groups on three tabs:
Appointment
Insert
Format Text
Tip
Depending on what programs you have installed on your computer, tabs and groups other than those described here might also appear on the Ribbon. For example, if Microsoft Office OneNote is installed on your computer, a OneNote group appears on the Appointment tab.
The Appointment tab is active by default. Buttons representing commands related to creating appointments are organized on this tab in four groups:
Actions
Show
Options
Proofing
You can create a simple appointment by using only the commands available on this tab.
Click the Insert tab.
Buttons representing commands related to items you can insert are organized on this tab in six groups:
Include
Tables
Illustrations
Links
Text
Symbols
Click the Format Text tab.
Buttons representing commands related to the appearance of message content are organized on this tab in six groups:
Clipboard
Font
Paragraph
Styles
Zoom
Editing
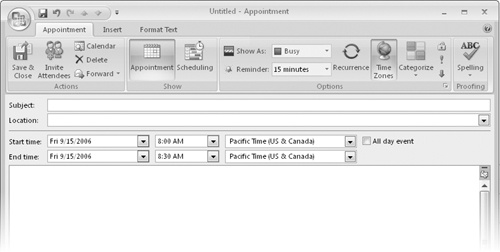
On the Appointment tab, in the Options group, click the Time Zones button.
A new field displaying the time zone for each of the start and end times appears. With this useful Outlook 2007 feature, you can schedule an appointment that crosses time zones—for instance, a flight from Los Angeles to New York.
See Also
For more information about configuring Outlook for different time zones, see the sidebar "Configuring Outlook for Multiple Time Zones" in Chapter 21.
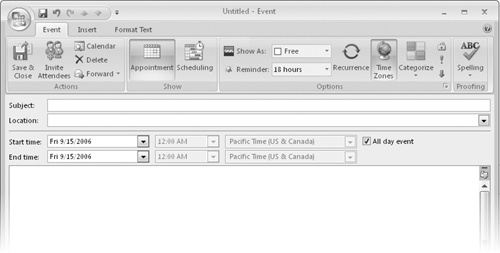
In the Start time area, select the All day event check box.
The window changes from an appointment window to an event window. The contents of the Format Text and Insert tabs don’t change, but an Event tab replaces the Appointment tab.
Click the Event tab.
The Event tab contents are nearly identical to the Appointment tab contents—the only change is that on the Event tab, in the Options group, by default your time is shown as Free rather than Busy, and the reminder is set to display 18 hours prior to the event rather than 15 minutes.
In the Start time area, clear the All day event check box to change the event to an appointment.
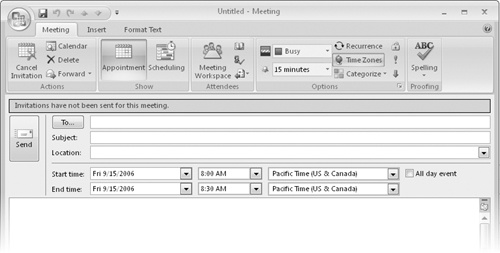
In the Actions group, click the Invite Attendees button.
The window changes from an appointment window to a meeting window. The contents of the Format Text and Insert tabs don’t change, but a Meeting tab that includes two additional groups replaces the Appointment tab:
Send
Attendees
Tip
You can invite people to an event in the same way you do to a meeting, by clicking the Invite Attendees button from within an event window.
The meeting window header includes a To field in addition to the standard Subject and Location fields. You can invite attendees by entering them in the To field or by clicking the Scheduling button in the Show group.