Now we have an understanding of our application scope and design, let's start customizing Microsoft CRM 2011.
Let's create our custom
solution and name it IssueManager. (Please refer to Chapter 2, Customizing Microsoft Dynamics CRM 2011, to create a Solution in Microsoft CRM 2011).
Perform the following steps to create the Issue entity:
- Open the
IssueManagersolution. - Navigate to Components | Entities | New.
- Enter the following information:
- Display Name: Issue
- Plural Name: Issues
- Ownership: User or Team
- Area that display this entity: Workplace
- Communication & Collaboration: Check the Notes & Activities checkbox only
- Click on Save to create the entity.
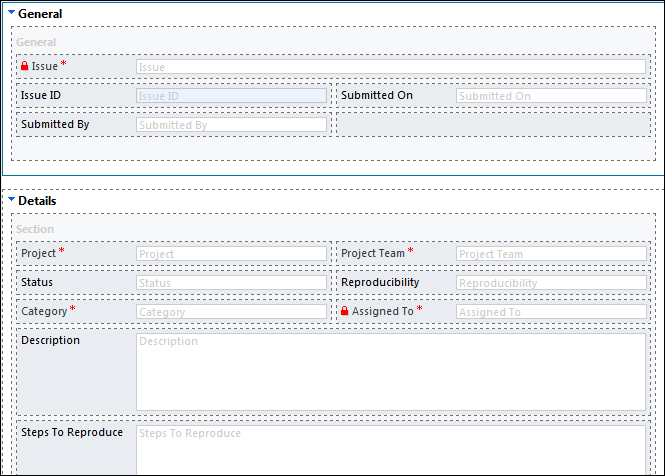
Now we have created the entity, so let's add an attribute to the Issue entity. Please refer to Appendix A, Data Model, for the Issue entity data model. Once the attribute is created/modified, we need to place our fields on the entity form. Open the main entity form and double-click on the fields to place them on the form. Once done, our issue form should look like the following screenshot:
Now, we need to create views for open and close issues; perform the following steps to create a view for an open issue:
- Navigate to Views and click on New.
- Enter
Open Issuesin the Name field andview for open issuein the Description field. - Click on Add Columns to add the required columns, and the view should look like the following screenshot:

- Click on Edit Filter Criteria to add a filter condition.
- Filter criteria should look like the following screenshot:

- Click on Save and Close.
In the same way, we can set up views for other statuses as well.
Now let's create our Project entity; use the following information to create the Project entity:
- Display Name: Project
- Plural Name: Projects
- Ownership: User or Team
- Area that display this entity: Workplace
- Communication & Collaboration: Check the Notes & Activities checkbox only
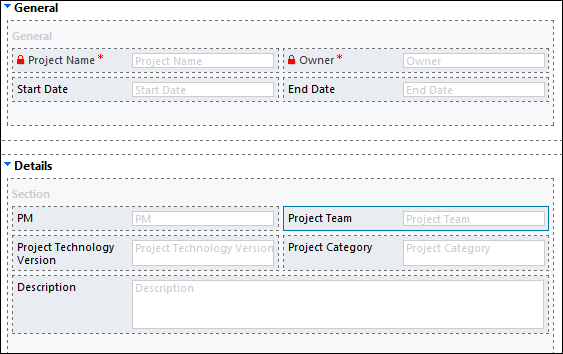
Please see Appendix A, Data Model, for the Project entity data model to create attributes for the Project entity and place them on the main form. Our project entity form should look like the following screenshot:
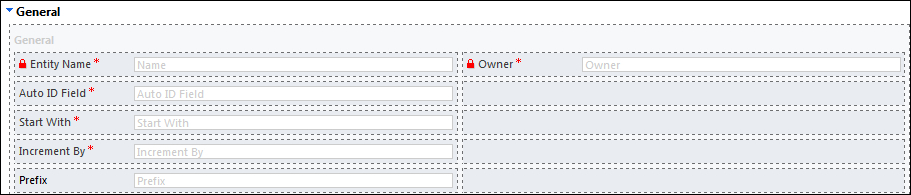
Now let's create our Auto ID Setup entity. Use the following information to create the Auto ID Setup entity:
- Display Name: Auto ID Setup
- Plural Name: Auto ID Setups
- Ownership: User or Team
- Area that display this entity: Workplace
- Communication & Collaboration: Uncheck all selected checkboxes
Please see Appendix A, Data Model, for the Project entity data model to create attributes for the Auto ID Setup entity and place them on the main form. Our Auto ID Setup entity form should look like the following screenshot: