9.1. Hello WCF Data Services
Before we can get started with WDS, we are going to need some data to play with. If you haven't already done so, please refer to the introduction, and set up the example database. In this chapter, you will be using SQL Server 2008, but don't think that you are limited to using just SQL Server, because WDS will work with anything supported by the Entity Framework (Chapter 8).
To expose your data, you have to perform four steps:
Create Entity Framework classes for the data you want to expose.
Create a host ASP.NET application for the WDS service.
Create the WDS service.
Configure access rules for the service.
Let's get started. Open Visual Studio, and create a new ASP.NET web site; change the "Web location" drop-down to HTTP, and enter the location as http://localhost/Chapter9/.
9.1.1. Entity Framework
WDS needs to know how the data you want to expose is structured and related. You will utilize the Entity Framework to provide this information:
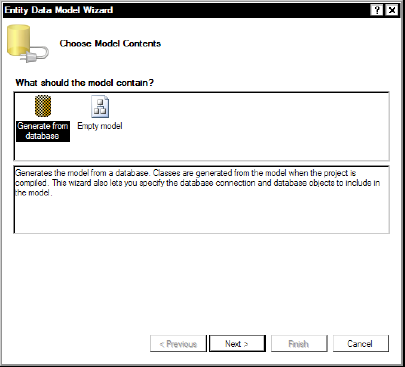
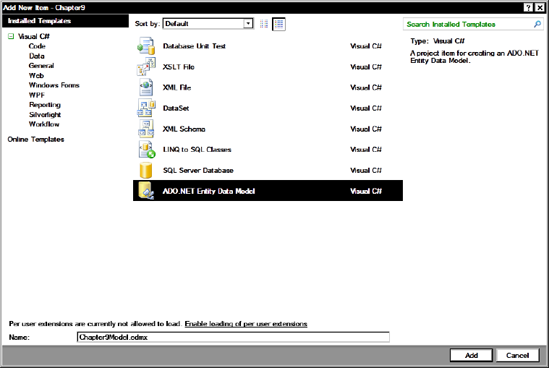
Add a new ADO.NET entity data model to the project (see Figure 9-1).
Call the ADO.NET entity data model Chapter9Model.edmx.
Visual Studio will ask you about placing these files in the App_Code directory. Agree to this.
Visual Studio will now ask you how you want it to generate the model. Select the "Generate from database" option, as shown in Figure 9-2, and then click Next.
Figure 9.2. Generating the model from a database
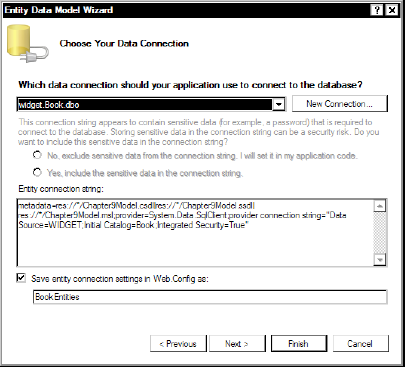
If you don't have a connection already to the example database, then create one by clicking New Connection, and enter the connection details for the example database (see Figure 9-3).
Figure 9.3. Creating a new database connection
Visual Studio will now examine the database structure and present you with a screen similar to Figure 9-4, where you select the items to generate Entity Framework (EF) classes for. Expand the Tables node to show all the available tables.
Figure 9.4. Selecting items to generate EF classes for
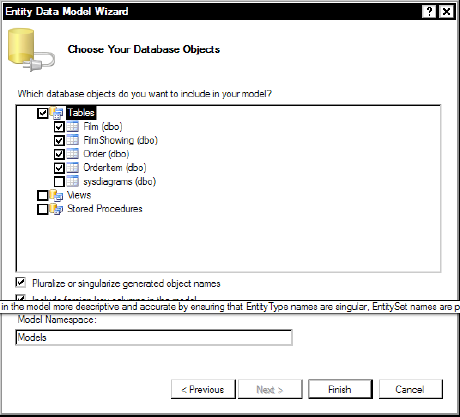
Select each individual table except sysdiagrams.
Ensure that the "Pluralize or singularize generated object names" check box is selected.
Click Finish.
Click OK.
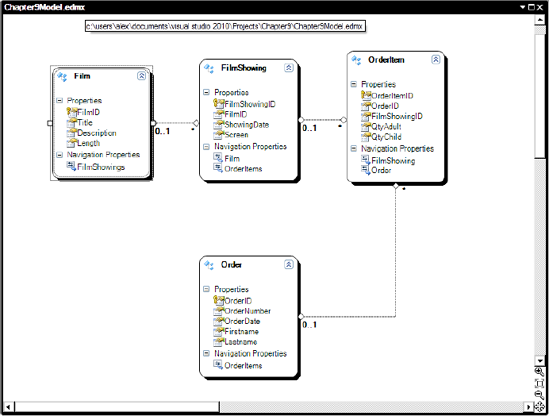
Visual Studio 2010 will then generate Entity Framework classes for the database and display the design surface (Figure 9-5).
Figure 9.5. The entity model
9.1.2. Creating a Data Service
All that is left to do now is to expose the Entity Framework classes by adding a new data service and configuring the rules to access it:
Add a new ADO.NET data service to your project called MovieService.svc.
Click OK.
Open ~/MovieService.cs.
You now need to tell WDS the entities you want to expose. Amend the code to the following:
public class MovieService : DataService<Models.BookEntities>
{
    // This method is called only once to initialize service-wide policies.
    public static void InitializeService(DataServiceConfiguration config)
    {
        config.SetEntitySetAccessRule("*", EntitySetRights.AllRead);
        config.DataServiceBehavior.MaxProtocolVersion =
          DataServiceProtocolVersion.V2;
    }
}
|
9.1.3. IE Content Settings
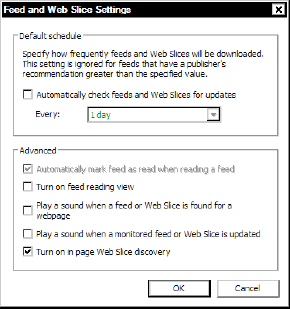
By default, WDS will return XML when we query it. However, when Internet Explorer processes the results of a data service, by default it will think that it is working with an RSS feed because the data is returned in AtomPub form.
This is not very helpful, so to see the raw XML, you need to change a setting in IE:
Click the Settings button in the Feed section, and uncheck the box marked "Turn on feed reading view" (Figure 9-6).
Figure 9.6. Altering content view setting in IE 8
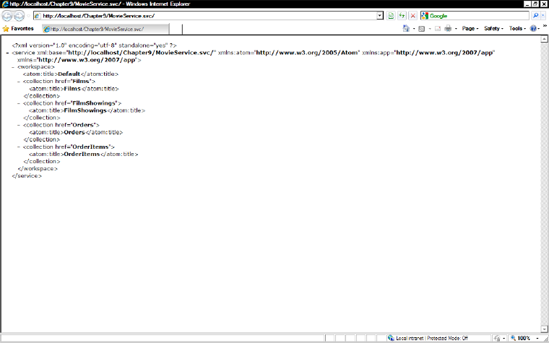
9.1.4. Hello WDS
You are now ready to work with your data service:
Right-click MovieService.svc, and select Set As Start Page.
Press F5 to run your application. If all is well, then you will see a screen similar to Figure 9-7 showing an XML representation of your EF classes.
Figure 9.7. Output from accessing your test service