11.11. Two-Way Binding
Until now, you have bound items using one-way binding. One-way binding is used automatically when you declare your binding using two curly brackets, one on each side of the data item:
{{ Name }}ASP.NET AJAX also allows you to implement two-way data binding—if an item is updated, any other page elements bound to the same data item will also be updated. You will also soon learn how to bind to a WCF service and persist changes. To use two-way binding, simply use one curly bracket instead of two when you define the template:
{binding Name}If you want to be more verbose/explicit about your intentions, you can also specify the binding mode:
{binding Name mode=oneWay} or {binding Name mode=twoWay}Let's take a look at this in action now:
Copy the file dataviewProgrammatic.htm, and rename the new file to dataviewTwoWay.htm.
Modify the <template> tag to the following:
<body>
   <div id="peopleView" class="sys-template">
   <div class="dataItem">
   <input type="text" sys:value="{binding Name}" />
   <input type="text" sys:value="{binding Name}" />
   <hr />
   </div>
   </div>
</body>
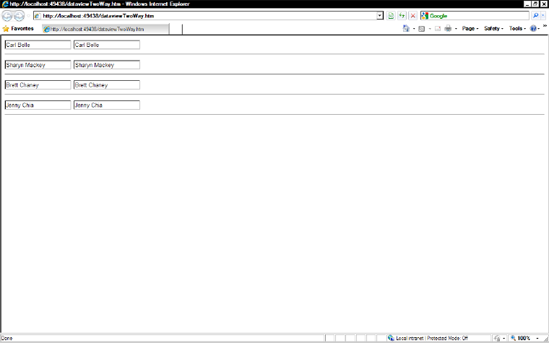
Now run the application, edit one of the text boxes, and tab out of it, noting that the new value is updated automatically (see Figure 11-2).
Figure 11.2. Two-way data binding