16.11. Queues
Queues are an important concept in Azure storage, and they consist of an unlimited number of messages that are generally read in the order they are added (the Azure documentation says this is not guaranteed). Messages are removed as they are read, so if you don't want this to occur, make sure you use the peek method instead.
Messages can be up to 8KB in size each, so if you need more space than this, you can use a blob field and link the two by using the blob's metadata. Messages added to queues have a default timeout of seven days (called time to live). After that passes, then they will be destroyed.
You will create a new application to add and read items from a queue:
Create a new Azure project called Chapter16.QueueTest with a web role called Chapter16.QueueTestWebRole. Open Default.aspx, and add the following code inside the <form> tag:
<asp:TextBox ID="txtMessage" runat="server" Width="300"></asp:TextBox>
<asp:Button ID="cmdAddToQueue" Text="Add" runat="server" />

<asp:Button ID="cmdShowQueue" Text="Show Queue" runat="server"  />
<br /><br />

Queue contents:
<br />
<asp:Literal ID="litQueueContents" runat="server"></asp:Literal>
Open Default.aspx.cs, and add the following using statements:
using Microsoft.WindowsAzure;
using Microsoft.WindowsAzure.StorageClient;
using Microsoft.WindowsAzure.ServiceRuntime;
Add the following code to Default.aspx.cs:
protected void Page_Load(object sender, EventArgs e)
{
    cmdAddToQueue.Click += new EventHandler(cmdAddToQueue_Click);
    cmdShowQueue.Click += new EventHandler(cmdShowQueue_Click);
}

void cmdShowQueue_Click(object sender, EventArgs e)
{
    CloudStorageAccount.SetConfigurationSettingPublisher(
      (configName, configSetter) =>
    {
        // Provide the configSetter with the initial value
        configSetter(RoleEnvironment.GetConfigurationSettingValue(configName));
    });


    var storageAccount =
      CloudStorageAccount.FromConfigurationSetting("DataConnectionString");

    CloudQueueClient queueStorage = storageAccount.CreateCloudQueueClient();
    CloudQueue queue = queueStorage.GetQueueReference("testqueue");
    queue.CreateIfNotExist();

    string queueContents = "";

    while (queue.PeekMessage() != null)
    {
        queueContents += queue.GetMessage().AsString + "<BR>";
    }

    litQueueContents.Text = queueContents;

    CloudQueueMessage readMessage = queue.GetMessage();
}

void cmdAddToQueue_Click(object sender, EventArgs e)
{
    CloudStorageAccount.SetConfigurationSettingPublisher(
      (configName, configSetter) =>
    {
        // Provide the configSetter with the initial value
        configSetter(RoleEnvironment.GetConfigurationSettingValue(configName));
    });

    var storageAccount =
      CloudStorageAccount.FromConfigurationSetting("DataConnectionString");

    CloudQueueClient queueStorage = storageAccount.CreateCloudQueueClient();
    CloudQueue queue = queueStorage.GetQueueReference("testqueue");
    queue.CreateIfNotExist();
CloudQueueMessage message = new CloudQueueMessage(txtMessage.Text);
    queue.AddMessage(message);

    txtMessage.Text = "";

}
Add the following settings in the ServiceConfiguration.cscfg configuration block:
<Setting name="DataConnectionString" value="UseDevelopmentStorage=true" />
Press F5 to run the application.
You will see a text box and a button. Enter something like Message1 in the text box, and then click the Add button.
Click Show Queue to display the contents of the queue. The queue should show your message.
Click Show Queue again. No items should be returned because they have been read already.
Enter another item into the text box, and click Add.
Enter a further item into the text box, and click Add.
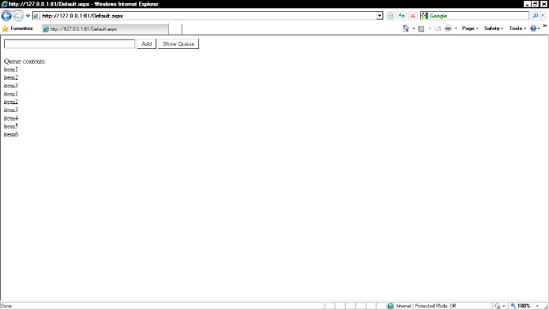
Click Show Queue, noting all the items displayed (Figure 16-19).
Figure 16.19. Test queue application