
Comparing Photos
When you see a great photo opportunity do you take just one shot? Probably not, right? Most times you snap off a few (or 10, if you’re like me), just to make sure you have several to choose from. But when you get back to your computer, you’ve got to make sure you do just that—choose the best ones and delete the rest. Because if you don’t, you’ll then have a bunch of similar-looking photos cluttering your screen, and you’ll never really know which one to go to. Here’s a way to help:
Step One:
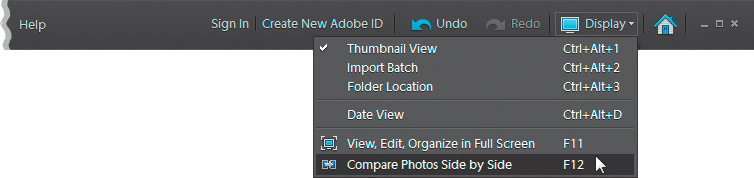
First, open the Organizer. To compare (or review) photos side by side, press-and-hold the Ctrl (Mac: Command) key and click on all the photos you want to compare. Then click the Display button on the right side of the menu bar and choose Compare Photos Side by Side from the pop-up menu (or just press F12 [Mac: Command-F12]). This brings up the same Full Screen view we saw in the last tutorial.
Step Two:
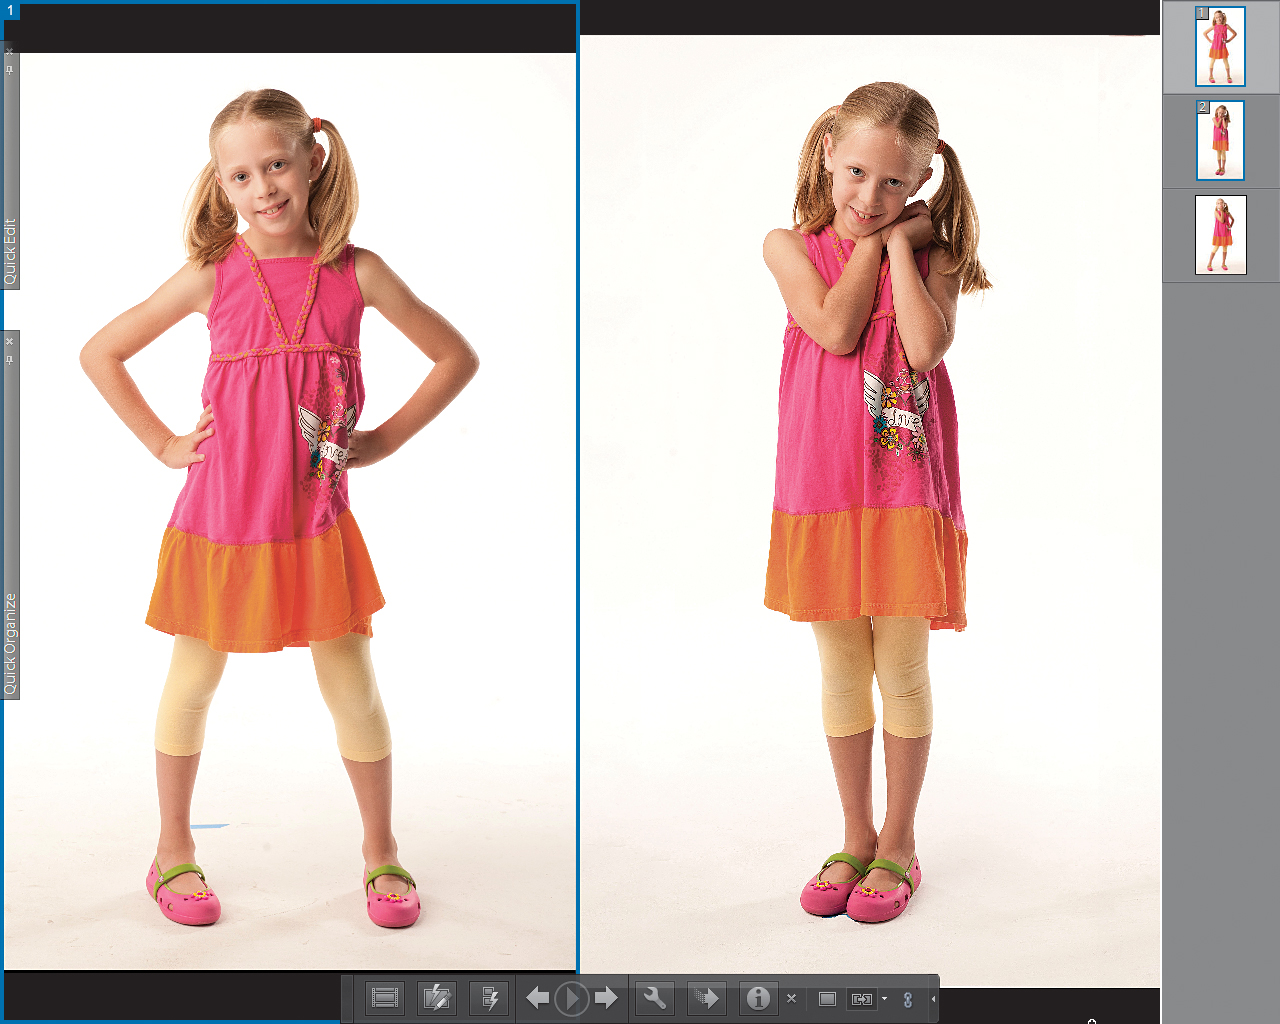
Full Screen View mode will open, placing the first and second photos you selected side by side onscreen. You’ll also see the control palette at the bottom of your screen, the Quick Edit and Quick Organize palettes tucked away on the left, and a filmstrip bar on the right. The first photo (on the left) has the number 1 in its upper left-hand corner, and the second photo (the one being compared) is noted as number 2 when clicked on.
MATT KLOSKOWSKI
Visually compare these two photos. You want the one that looks best to remain onscreen so you can compare other selected photos to it, right? To do that, click on the “bad” photo, and a blue highlight will appear around that photo, indicating that this is the one that will change. In this example, I thought the second photo looked better, so I left the blue highlight around photo number 1 (on the left).

Step Four:
Now go to the control palette, click on the Next Photo button, and the photo on the left will be replaced with your next photo in that series. Again, review which of these two looks the best, then click on the photo that looks worst (that way, you can replace it with another photo you want to compare). Click the Next Photo button to compare the next photo (and so on). To back up and review a previous photo, click the Previous Photo button in the control palette.

Step Five:
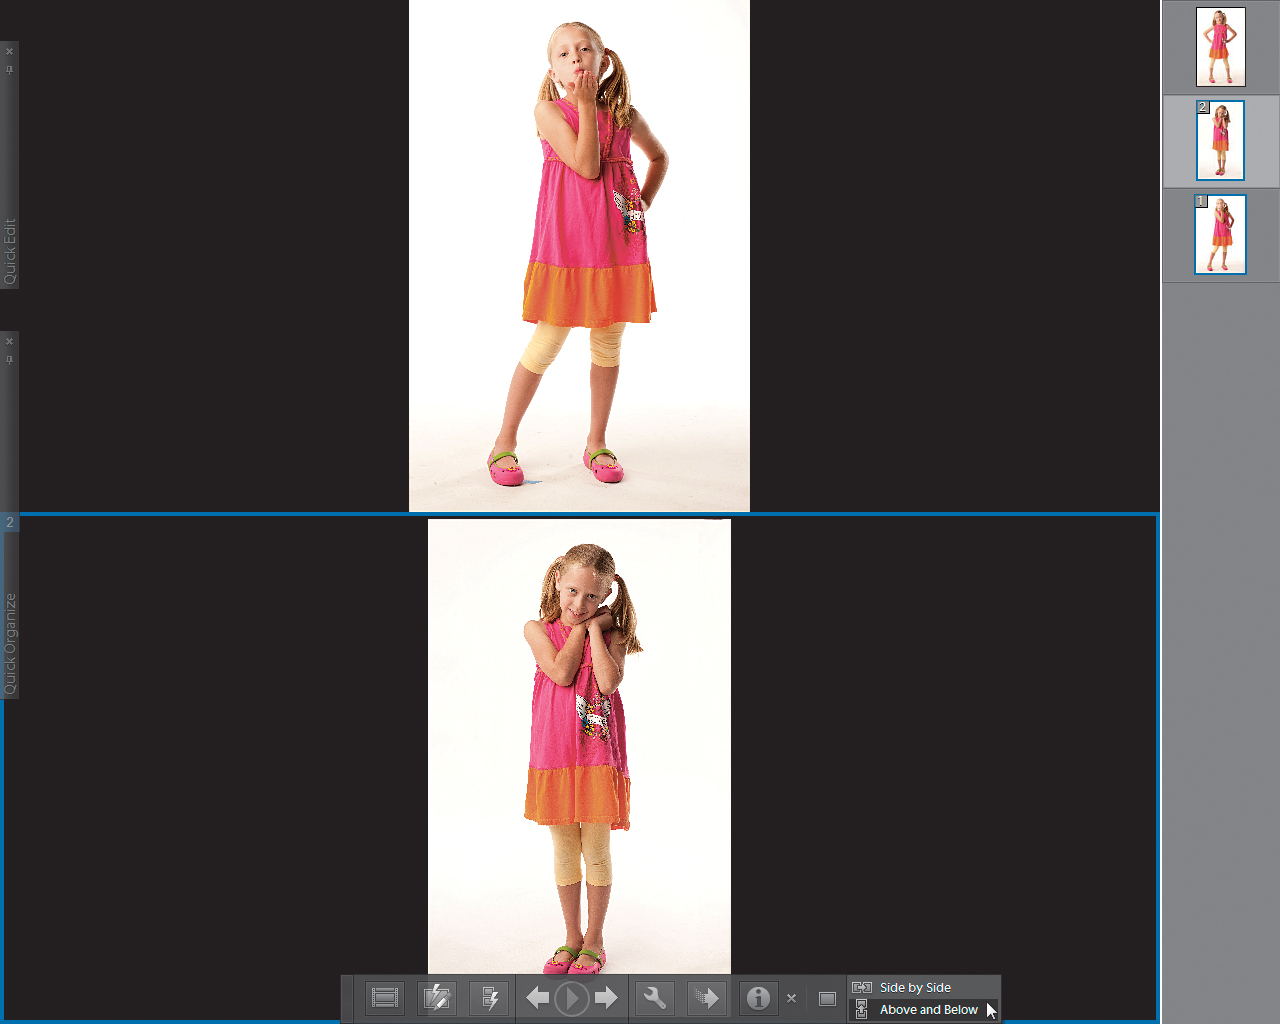
Besides this side-by-side mode, there’s also an option that lets you see your photos stacked one on top of the other (which you might like for comparing photos in landscape orientation). To change to that mode, click on the right-facing arrow at the right end of the control palette to get the other view options (if they’re not already visible), then click on the down-facing arrow to the immediate right of the Side by Side View button in the control palette, and from the pop-up menu that appears, choose Above and Below. Cycle through the images as you did before—just repeat Steps Three and Four until you find the photo you like best. When you’re finished, press the Esc key on your keyboard or click the Exit (X) button in the control palette.
MATT KLOSKOWSKI