
Multi-RAW Processing In Photoshop
Suppose you have a perfect subject for extending the dynamic range through multi-RAW processing. It’s important to come up with a plan as to how you are going to post-process your RAW captures more than once to come up with an image that can be effectively converted to black and white.
The three strategies I most commonly use are:
- Dark to light: This means processing the darkest, most underexposed version first, and then blending-in successively lighter versions on top.
- Starting in the middle: If your capture is pretty close to where you want it, you could start by processing it fairly neutrally. Next, you could add lighter and darker versions on top as necessary.
- Light to dark: This means processing the lightest, most overexposed version first, and then blending-in successively darker versions on top.
Whichever strategy you choose, the mechanics of creating a layer stack with aligned layers from different versions of the RAW capture, and then combining the layers is the same.
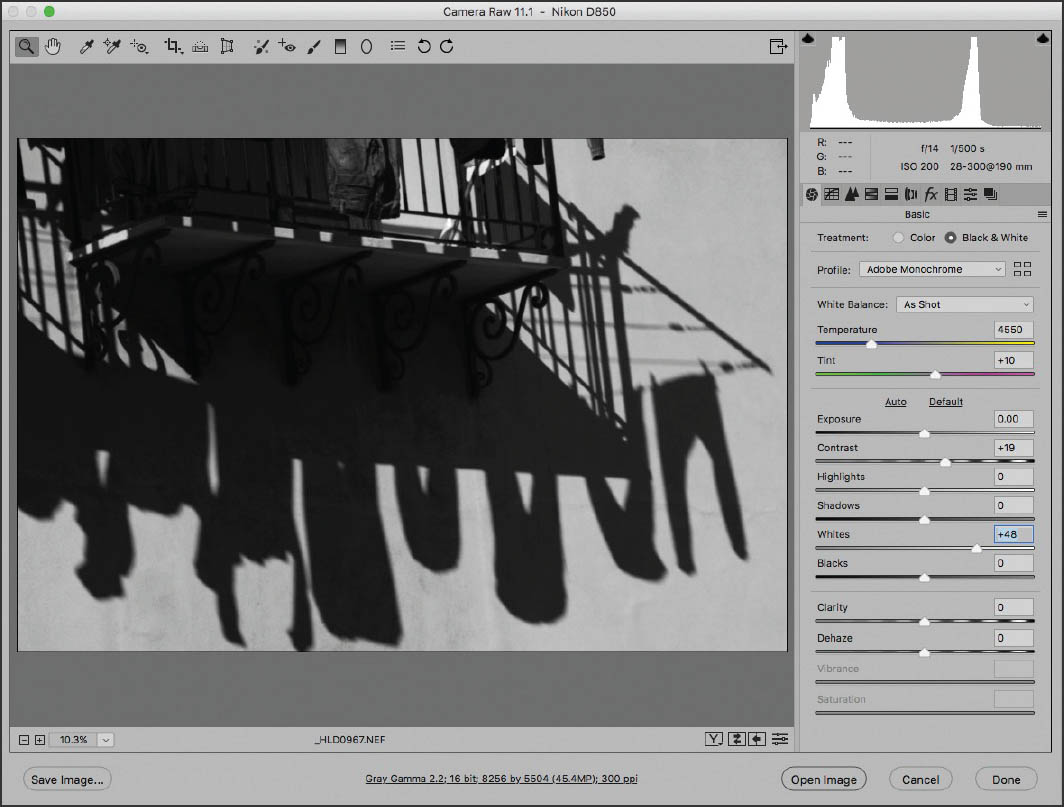
With this image of laundry hanging in a stiff breeze in the barrios of Palermo, Sicily, I underexposed the photo to create dramatic shadows. The implication in post-production was that I would need to lighten the left area and balcony in order to bring out some details.
In the ACR window, click Black & White on the Basic tab to convert the image to monochrome, then use the sliders on the Basic tab to adjust the image.
Step 1: Open the RAW capture in ACR. Use the Exposure slider to adjust the image so the brightest areas show detail but are not blown out.
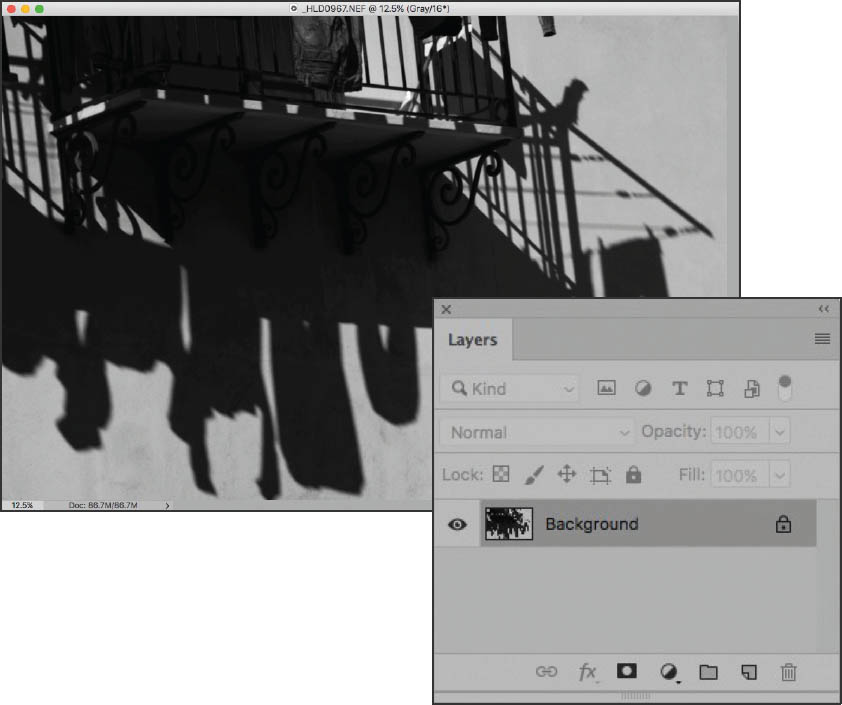
Hold down the Alt key and click Open Copy to open this background version in Photoshop. It will appear in the Layers panel as a Background layer.
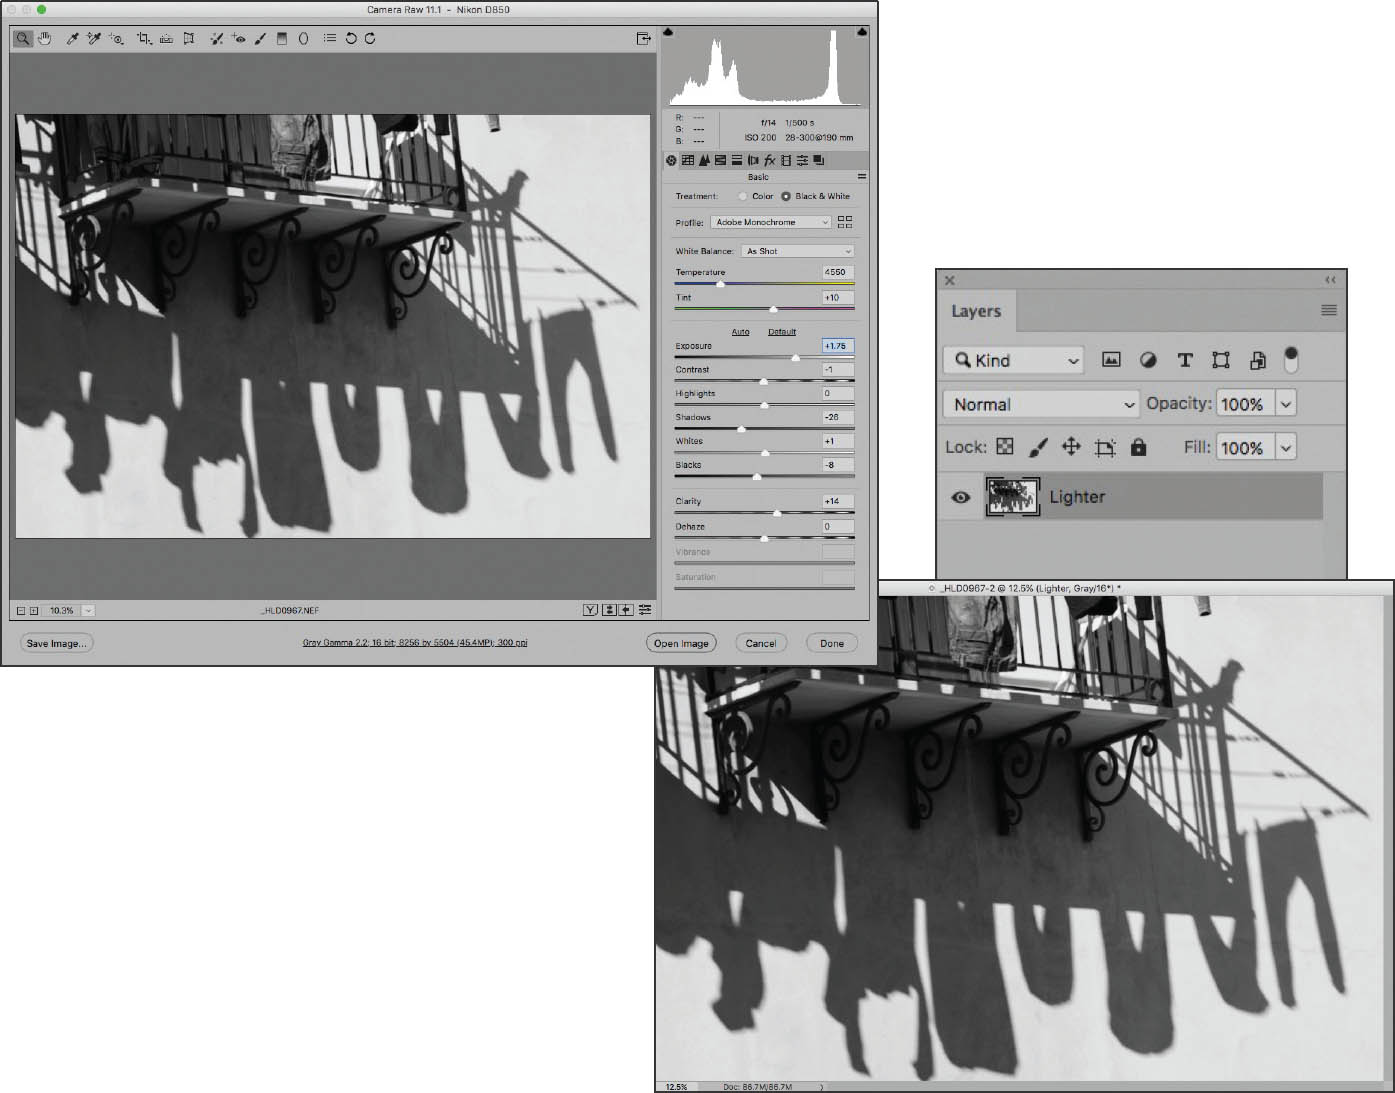
Step 2: Open the RAW capture again in ACR. With Black & White selected on the Basic tab, use the Exposure slider to lighten the capture so the shadows and balcony show some detail.
Hold down the Alt key and click Open Copy to open this lighter version in Photoshop. Rename the layer “Lighter.” (See Steps 1–3 on page 98 to find out more about opening multiple versions of the same image in Photoshop using ACR.)
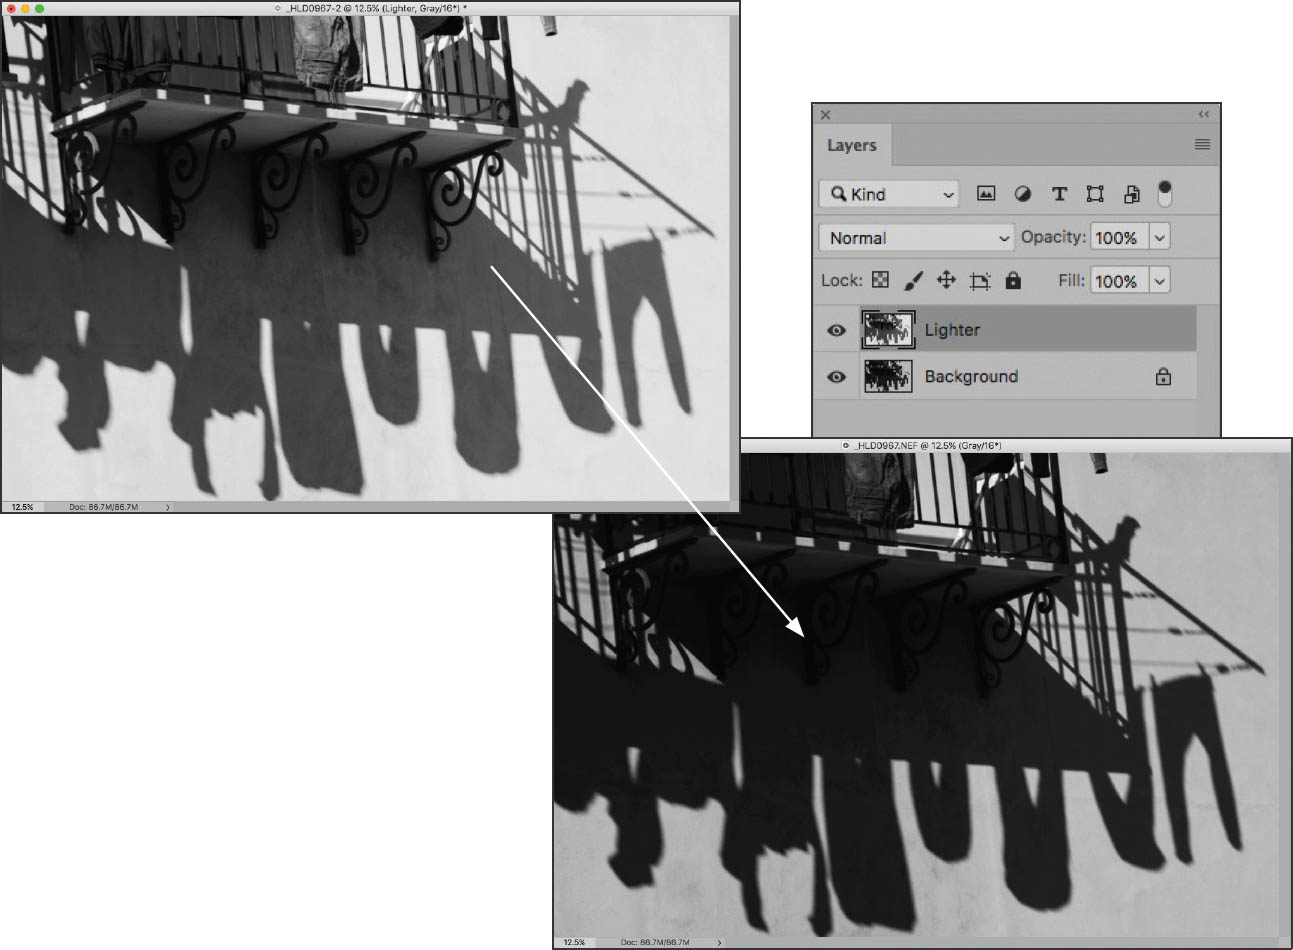
Step 3: Hold Down the Shift key and use the Move Tool to drag the lighter version from its window onto the background version’s window. Release the mouse before you release the Shift key. This will perfectly align the layers on top of each other.
There are now two layers in the Layers panel: “Lighter” and “Background.”
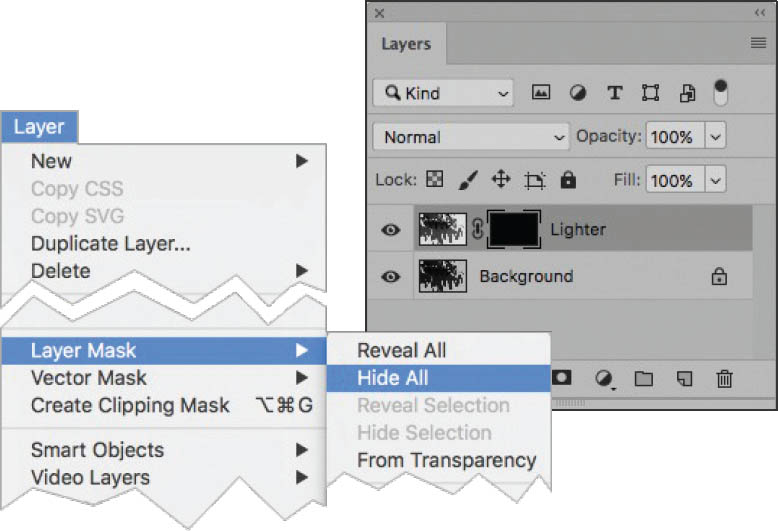
Step 4: With the “Lighter” layer selected in the Layers panel, choose Layer ![]() Layer Mask
Layer Mask ![]() Hide All to add a layer mask to that layer.
Hide All to add a layer mask to that layer.
The Hide All layer mask hides the layer it is associated with (in this case the “Lighter” layer). So all you will see in the image window right now is the “Background” layer. The layer mask appears as a black thumbnail in the Layers panel.

Step 5: In the Layers panel, make sure the layer mask on the “Lighter” layer is selected.
Make sure that white is selected in the Tools panel as the Foreground color (and black is the Background color). Use the Gradient Tool from the Tools panel to drag a white-to-black gradient from the upper-left corner of the window down toward the middle of the window. This will make the upper-left side of the image brighter and showing more detail while leaving the right side unchanged.
You can see the gradient on the layer mask thumbnail in the Layers panel.
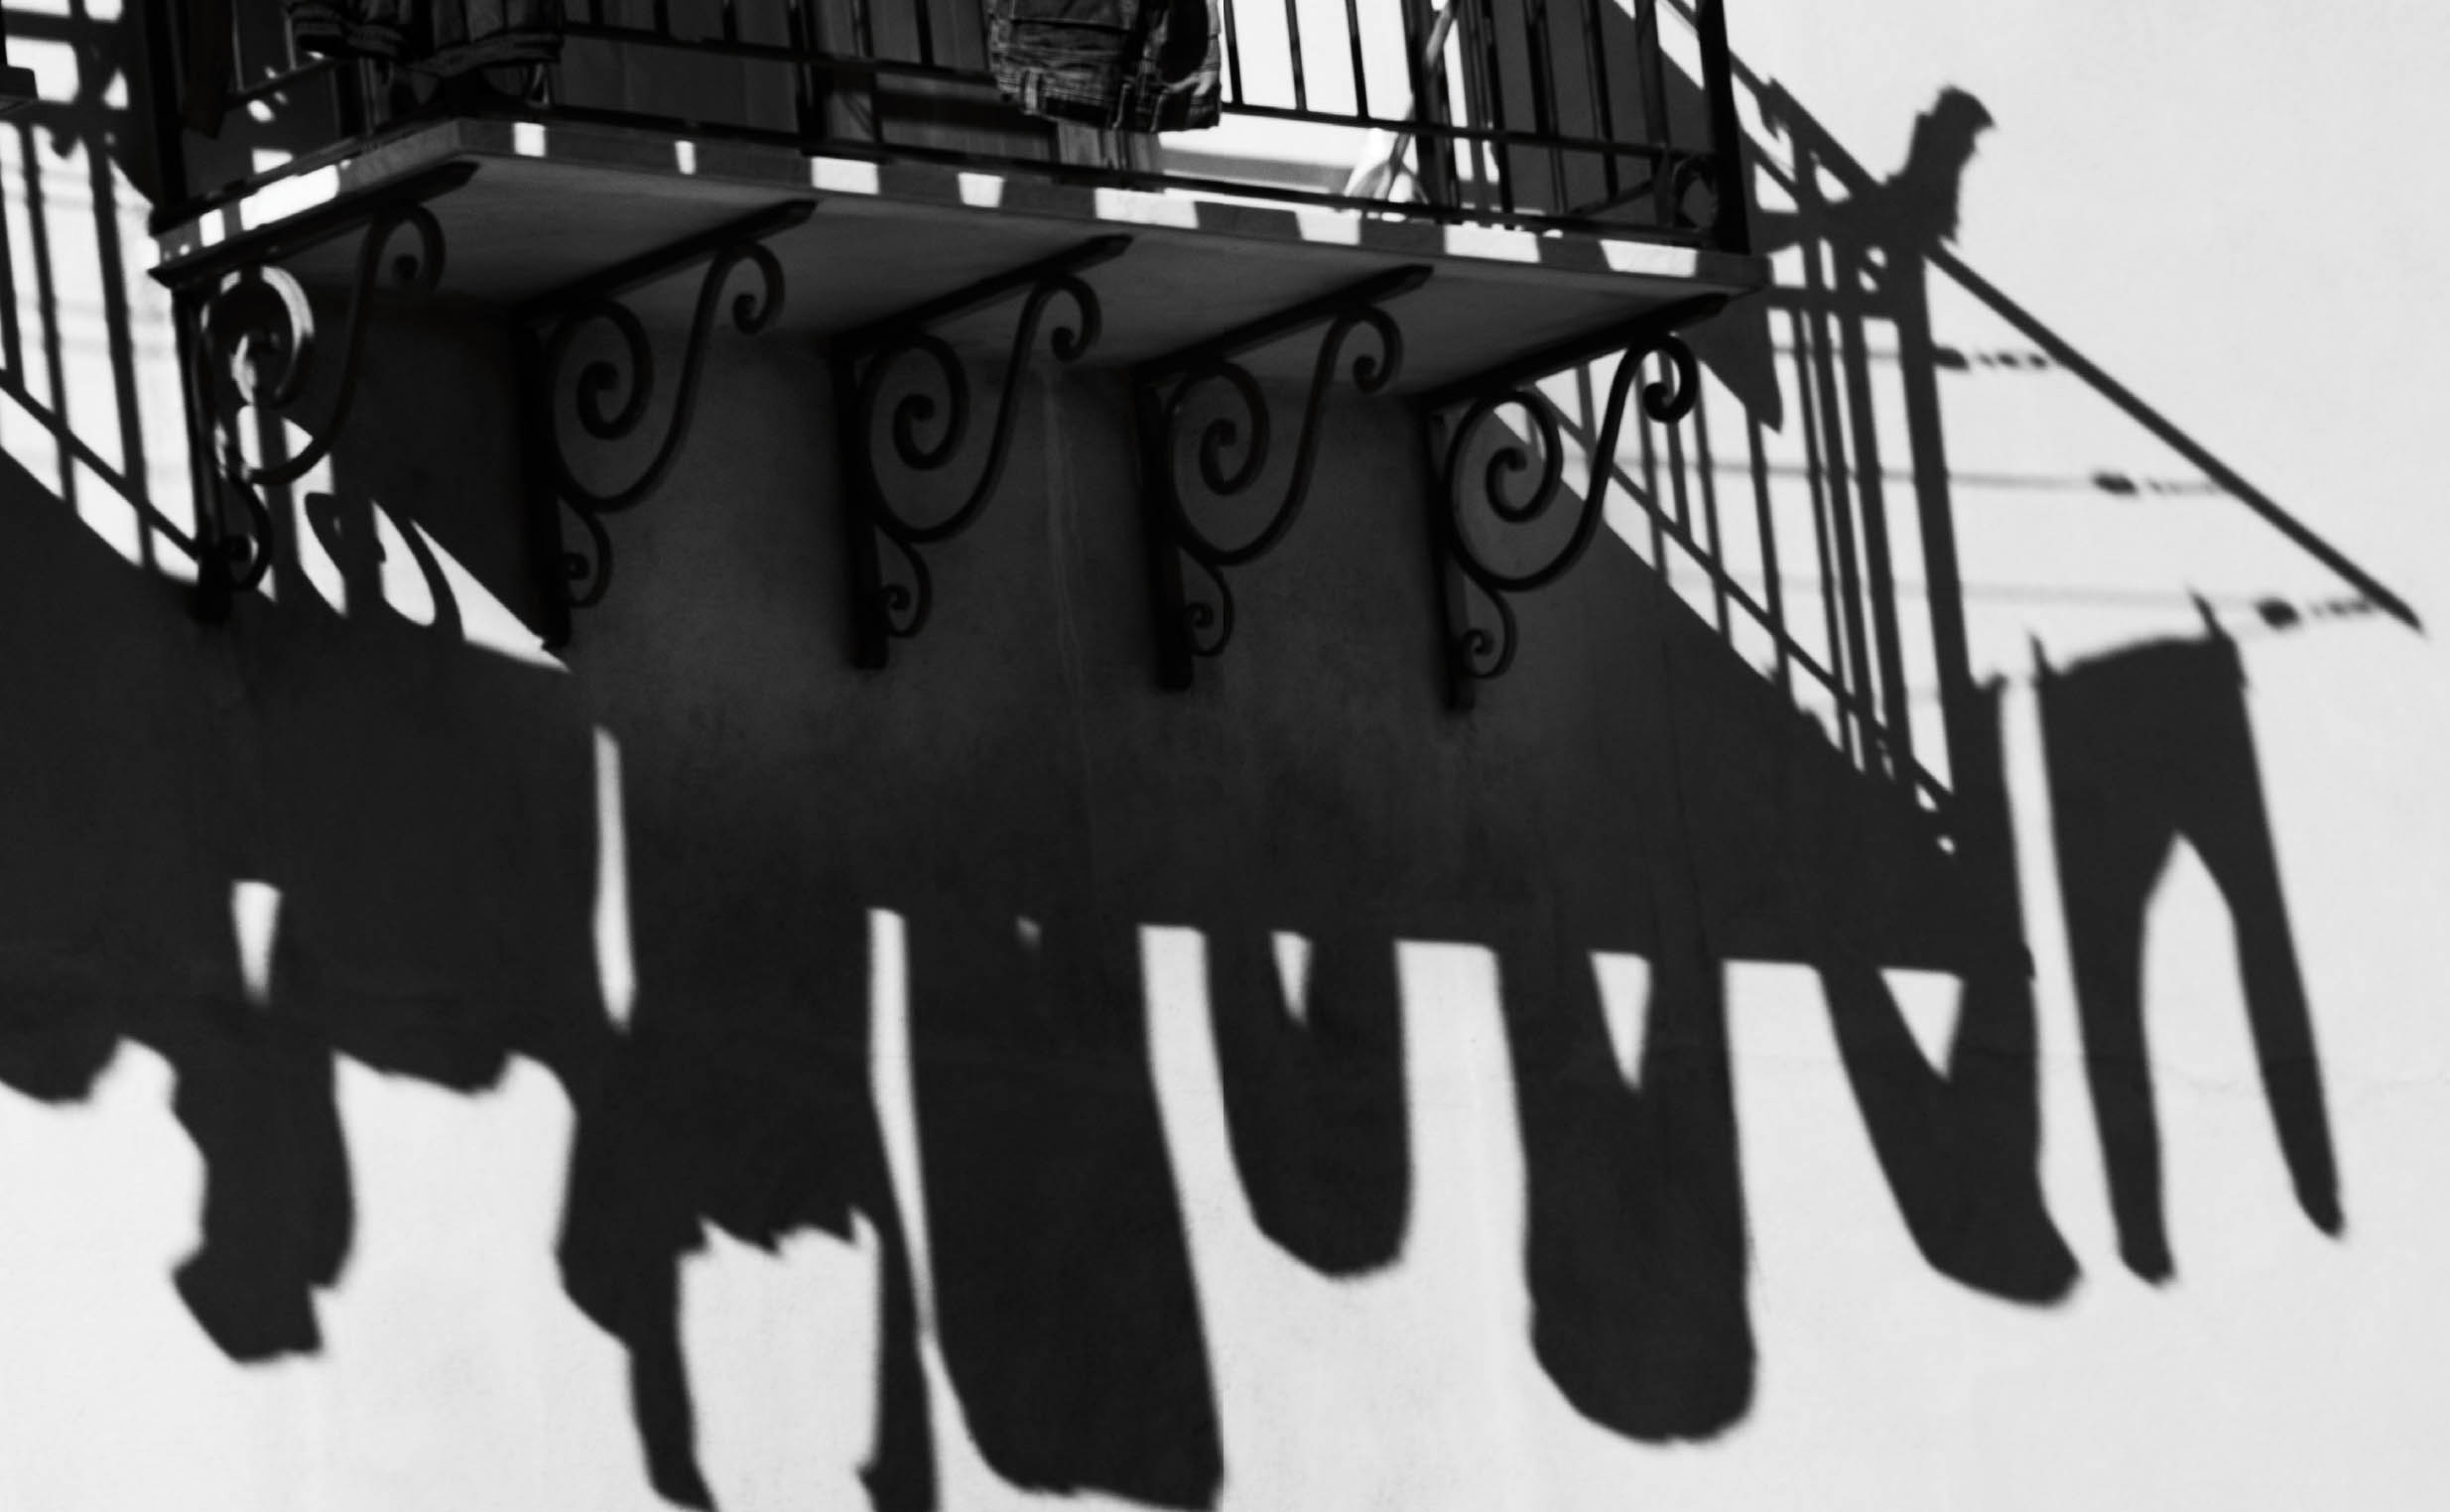
Laundry, Palermo—Palermo, Sicily has had a terrible reputation as a mafia-dominated city. In the early years of the 21st century, several crusading mayors and prosecutors were assassinated by these criminal organizations in an effort to keep control of the city. More recently, Palermo has undergone a renaissance. The population understands that there is no place for criminals in running a city and there’s a visible police presence. Today, there’s a vibrant art community has sprung up along with street cafes, musical venues, and a true sense of safety while walking the old portions of this ancient and attractive city.
I tested this safety by exploring the back alleys of the crumbling and picturesque barrio with my camera. Across an avenue from some dilapidated ruins, this domestic scene of laundry on a balcony appealed to me because of the dark shadows. I used a relatively fast shutter speed (1/500 of a second) to stop the motion of the clothes in the breeze, intentionally underexposing (by about 2 EV) to render the shadows dramatic, with the understanding that I could “bring up” areas that were too dark in post-production.
Nikon D850, 190mm, 1/500 of a second at f/14 and ISO 200, hand held; processed to black and white using ACR and Photoshop with layers and masking.