
Selective Color
In Steven Spielberg’s mostly monochromatic film Schindler’s List, there’s one small bit of color: a girl in a red coat. We later see the red coat in a cart of corpses and recognise the gruesome reality because of the bright spot of color in an otherwise monochromatic scene.
This visual device using selective color could easily be over the top because the events portrayed in the movie are overwhelming, but it works in Schindler’s List because it is somewhat restrained. It’s easy to create a selective color effect in an otherwise monochromatic image, but seldom an effective creative choice because it can often seem unnatural and over the top. When you use selective color, please don’t overdo it.
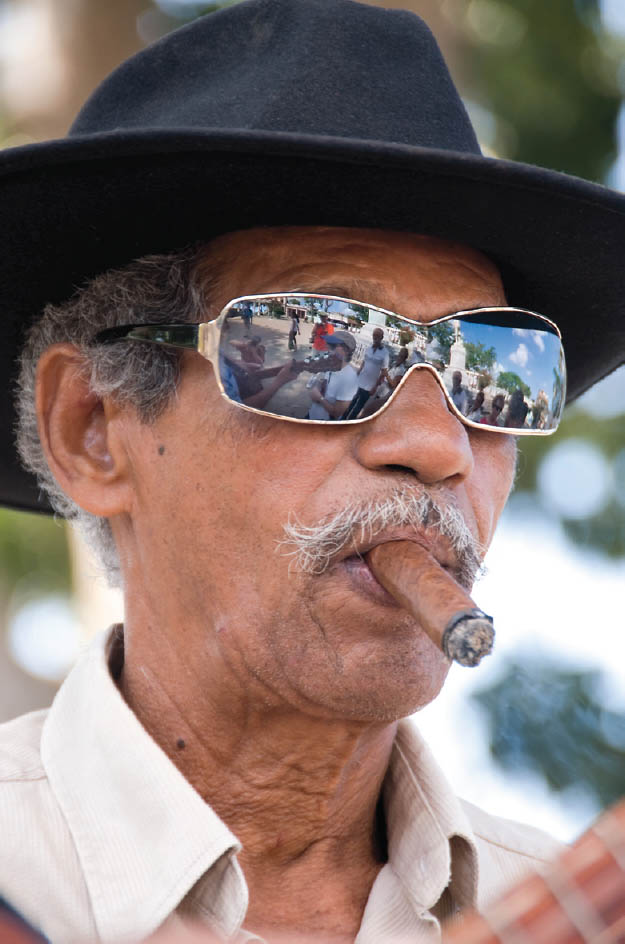
Live music is a big part of everyday life in Cuba. I photographed this cigar-smoking guitar player in the central square of a provincial Cuban city.

I converted the photo to black and white, but thought that something was missing. I decided to apply selective color via masking to the reflections in the sunglasses.
If you have a color version of a monochromatic image, it’s easy to sandwich the color and monochromatic versions together. You can then add selective color by masking out the color and selectively painting small areas of it back in.
Depending on the situation, another approach is to literally paint-in the color you’d like. As always, I suggest working on a duplicate layer, in case you want to adjust the overall layer opacity at a later point.
Either way, it’s easy to add spots of color to a monochromatic image. The hard part is making sure that the color adds cohesion to a black and white photo in a pleasing way and doesn’t seem to be just a gimmick.

Step 1: Make sure the black and white version is on the layer stack above the colored version in the Layers panel.

Step 2: With the black and white layer selected in the Layers panel, choose Layer ![]() Layer Mask
Layer Mask ![]() Reveal All to add a white layer mask to the black and white layer.
Reveal All to add a white layer mask to the black and white layer.
The white Reveal All layer mask makes the color layer beneath invisible.

Step 3: Select the Brush Tool from the Tools panel and set it to 70% Opacity and 70% Hardness (this is just a starting place for these settings, you can vary them as you paint). Make sure the Foreground color is set to black.
Step 4: With the layer mask selected in the Layers panel, paint on the image window in the sunglass area. As you paint, color will appear on the sunglass lenses. Make sure the edges of the glasses look crisp.

Step 5: There was no glow present at the end of the cigar in the color photo, but I thought I might as well add some burning embers to the mostly monochromatic version of the photo. I used the Brush Tool to paint in red at low opacity on a duplicate layer, suggesting a faint glow at the end of the cigar.
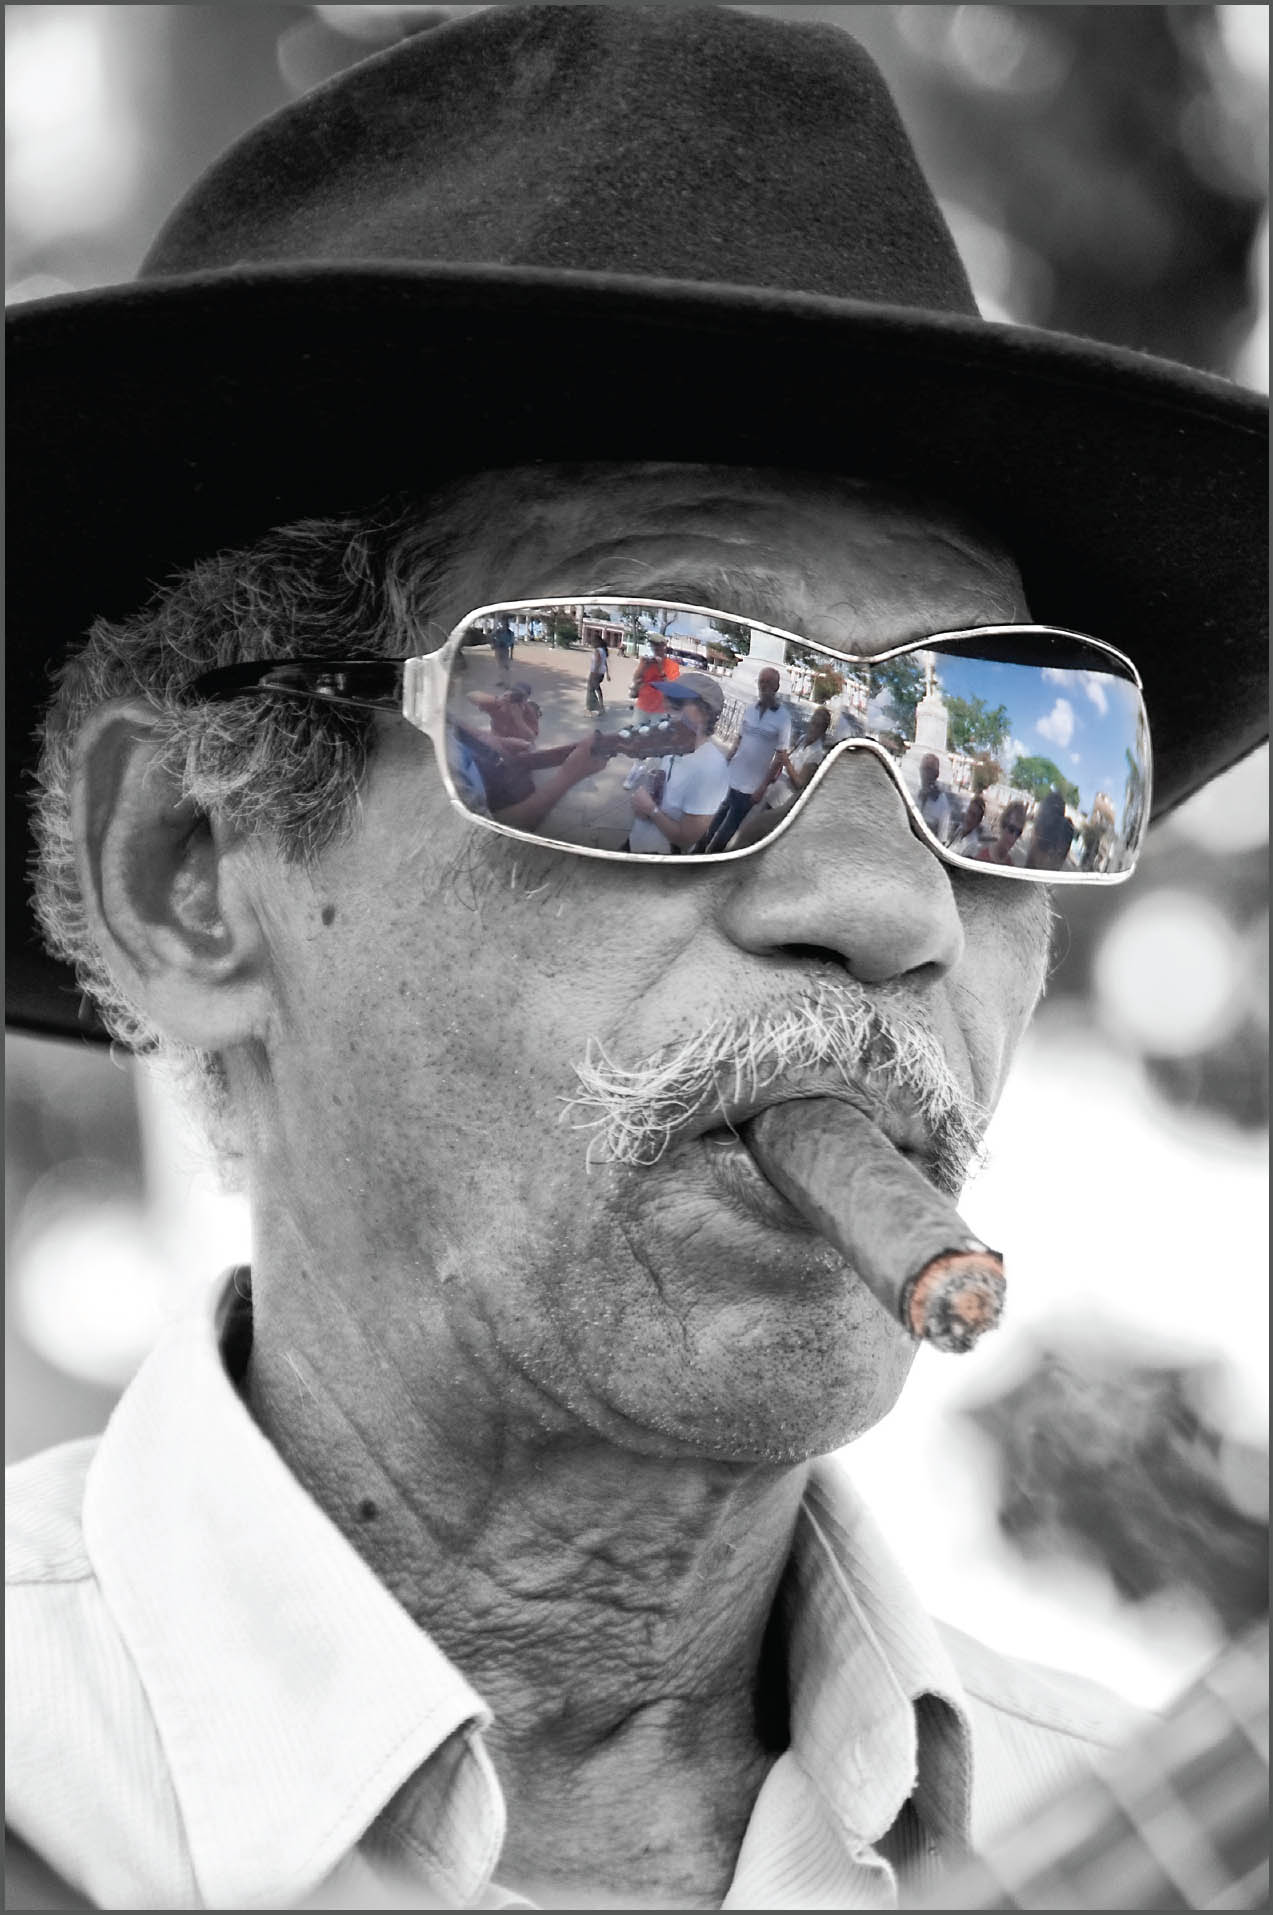
Guitar Man—The finished image is entirely in shades of gray except for the reflections in the sunglasses (taken from the color version) and a glow at the end of the cigar (painted in).
Nikon D300, 200mm, 1/125 of a second at f/5.6 and ISO 200, hand held; processed and selectively hand painted in Photoshop.