
Black and White in Photoshop
One of the wonderful things about Photoshop is that there are always many ways to accomplish any task. This is good news—and bad news. The good news is that Photoshop is immensely powerful and flexible. The bad news is that one is never done learning Photoshop, and there are so many ways to accomplish anything that it’s sometimes hard to know which one to use.
Black and white conversion in Photoshop is no exception. There are many ways to go about this task, ranging from very simple—which does not create very nuanced black and white imagery—to quite elaborate, powerful and flexible.
The simplest way to translate a color photo in Photoshop into black and white is to simply drop the color information. This can work reasonably well with images that are not high contrast, and where there isn’t much color information available in any case.
To convert to black and white by dropping the color information, you can do one of the following (which all have more or less the same results):
- With an RGB image select Image
 Mode Grayscale (see the example of a conversion accomplished this way on the facing page).
 - With an RGB image select Image Adjustments Desaturate.
- Convert your image to LAB color, and drop the A and B channels (for more about using LAB color to create black and white images, see pages 214–231).
Another pretty straightforward approach is to use the Color blending mode to combine the photo with a black layer (see pages 138–139). This can work well with photos that have strong blacks and whites in the color version.
More sophisticated black and white conversion methods in Photoshop include:
- Using the Channel Mixer, either as an adjustment layer or on a duplicate layer (pages 140–142).
- Using a Black & White adjustment layer (pages 144–149).
- Using a third-party black and white conversion filter, such as Silver Efex Pro (pages 150–155), Topaz B&W Effects (pages 156–159), and On1 Perfect B&W (pages 160–163).
I often find that it takes more than one black and white conversion technique—either applied to different parts of an image, or applied sequentially—to fully process photos to my satisfaction. As I’ve noted previously, my gold standard for black and white conversion is to treat each part of a photo separately, and then combine the different treatments using layers and masking in Photoshop. For information about combining conversions in Photoshop, see pages 168–173.
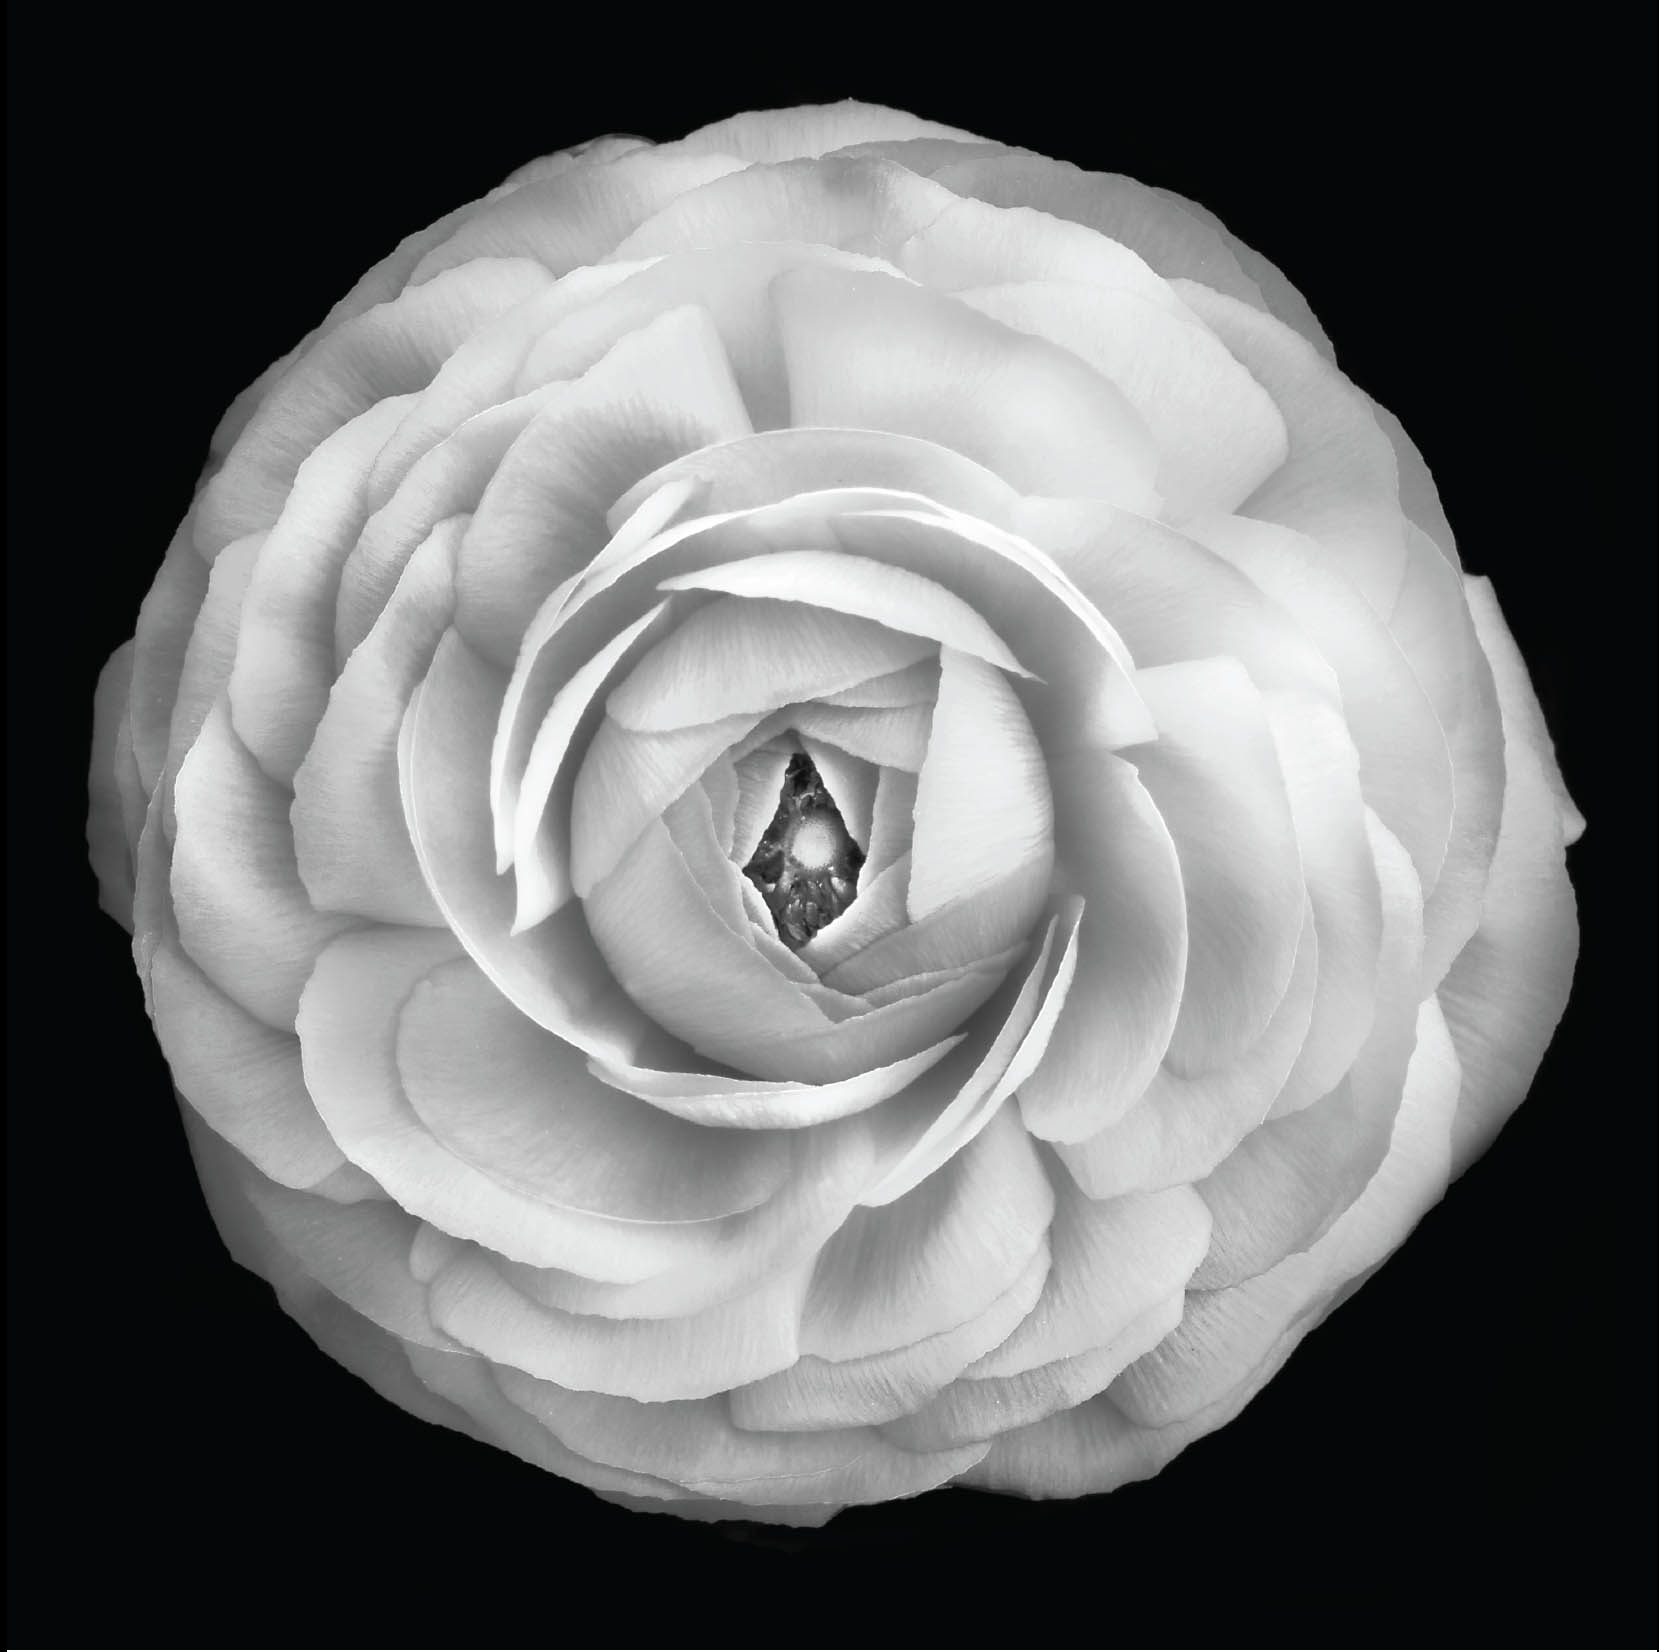
Ranunculus Asiaticus—I shot this image of a beautiful flower in my studio on black velvet. As a relatively low-contrast image, a simple grayscale conversion in Photoshop (Image ![]() Mode
Mode ![]() Grayscale) worked fine.
Grayscale) worked fine.
Nikon D300, 85mm macro, 1/10 of a second at f/21 and ISO 100, tripod mounted; converted to monochrome using Photoshop.