
Using Filters in the Camera App
Back in the Digital Black & White Roadmap, on page 86, the chart showed that the more work put into black and white conversion on the desktop with high-end digital cameras, the better the result was likely to be. This state of affairs was summarized as “no pain, no gain.”
The same “no pain, no gain” applies to black and white conversions on the iPhone, although I think everything is more fun on the iPhone.
The easiest, most straightforward, and not-exactly terrible way to create a black and white image on the iPhone is to apply a filter effect before you make the capture.

When you open the iPhone Camera app, if you look at the controls along the top, you’ll see an icon at the right that looks like three circles; this represents the Filters. Tap the Filters icon.
A row of filter effects appears in the viewfinder below the image and above the shutter release button. You can swipe right through this row to the black and white options at the end.
Tap one of the black and white filters to render the image in monochrome. The Noir filter is shown selected below left.
Once you have tapped the shutter release button, the image is saved in the Photo app with the filter already applied.
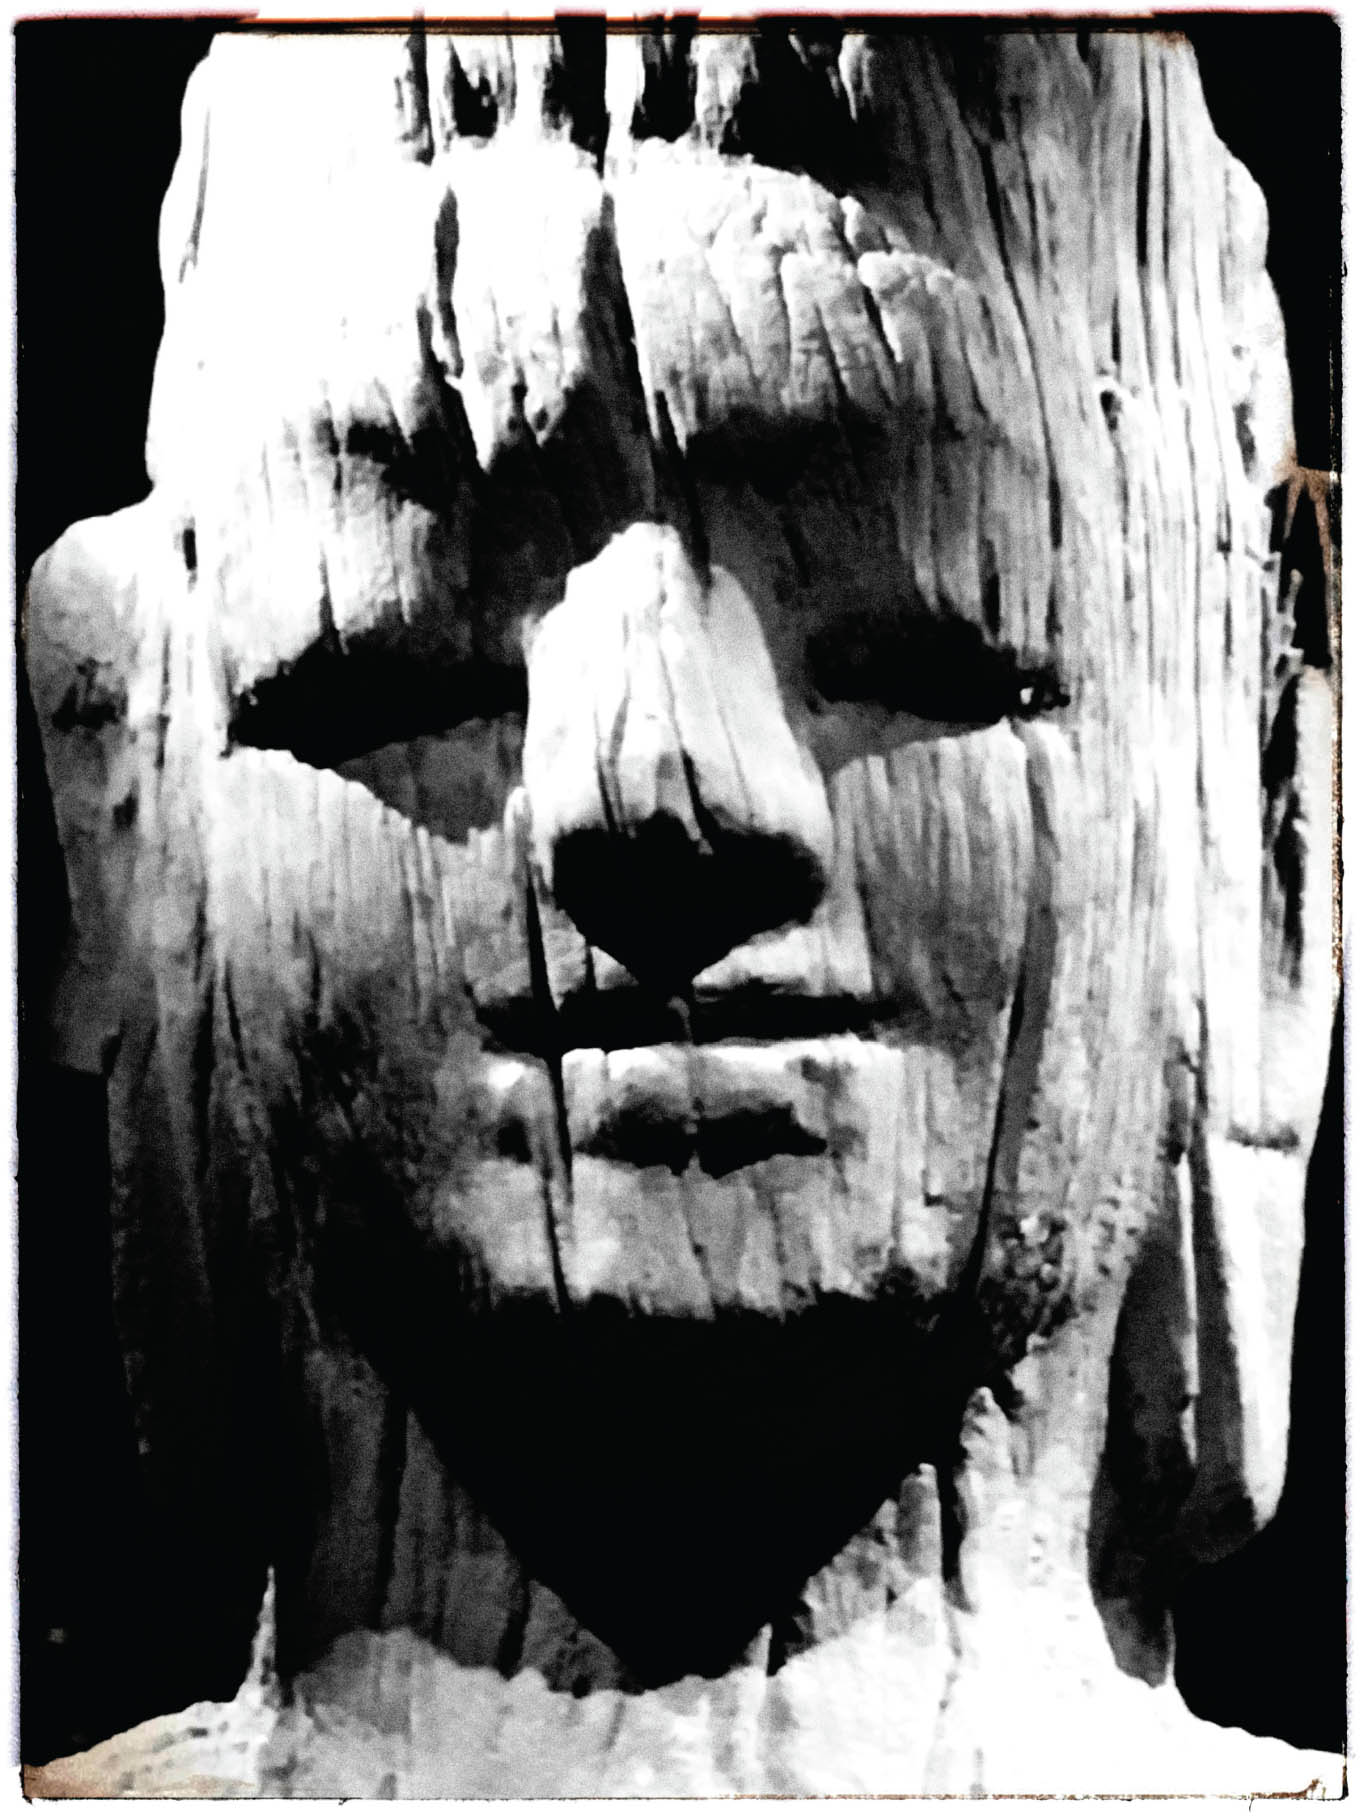
Bodhisattva—Visiting the Vietnam National Museum of Ethnography on the outskirts of Hanoi, I was struck by the light and dark shadows on this antique carving of the Bodhisattva. It was fun to make this image with my iPhone, because I had checked my camera and tripod in the lockers at the entrance to the museum at the museum guards insistence.
iPhone 6s, back camera, 4.2mm at 1/17 of a second at f/2.2 and ISO 250, hand held; converted to black and white using Plastic Bullet, ImageBlender, and Snapseed.
This has the advantage of ease, speed, and simplicity. It’s also a technique that can be used to preview the likely impact of monochrome on an image because once you have selected the filter effect, it “sticks” with the scene viewed in the camera as you move your iPhone around.
As with desktop processing in Lightroom Classic and Photoshop, really good post-production on the iPhone takes a bit more work, but not too much. My idea on how best to proceed with an iPhone post-production workflow is explained on page 305.

Spiral—Aloe polyphylla, commonly called the “gem of the Drakensberg” grows slowly in spirals. Wandering along a lonely California hillside trail in the late afternoon, I was excited to come across this large specimen that someone had planted a long time ago.
iPhone 5, back camera, 4.1mm at 1/120 of a second at f/2.4 and ISO 64, hand held; converted to black and white using LoMob and Snapseed.