
12.1. Introducing Cascading Style Sheets
CSS styles define the formatting for the elements they apply to. In HTML, for example, every tag is an element, and you can use styles to modify the way the tag looks and behaves. As previously mentioned, styles provide a centralized framework for implementing formatting on a large number of pages.
For example, if you want to have all tables in your Web site formatted in a similar manner, you can create a style for the table, and whenever you create a table for your Web site, you can associate that style with the table. That way, all tables inside your Web site use the same style. Now, whenever you want to change the formatting applied to the tables, you just need to modify the style. By virtue of the style association with the tables, the formatting is automatically picked up by all tables. In this manner, styles help you maintain uniformity in your Web sites and thus reduce design hours.
12.1.1. Understanding CSS classes and rules
Before detailing CSS implementation by using SharePoint Designer, I want to quickly touch upon some of the CSS basics and familiarize you with a couple of important concepts in CSS terminology.
12.1.1.1. CSS rules
To understand how CSS applies to Web pages, follow these steps to create a simple style and then associate it with an element on a HTML page:
Using SharePoint Designer, create a new HTML Web page inside your Web site and then open it in the Design view.
Choose Insert
 HTML
HTML  Span to insert a <span> tag on the Web page.
Type some text inside the <span> tag. In this exercise, apply formatting to the text in the <span> tag by using a simple style.
Choose Format
 CSS Styles
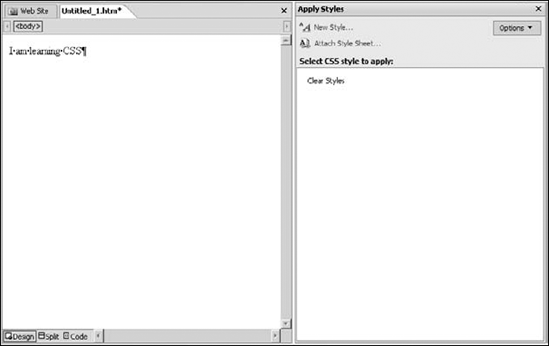
  Apply Styles to open the Apply Styles task pane, as shown in Figure 12.1.
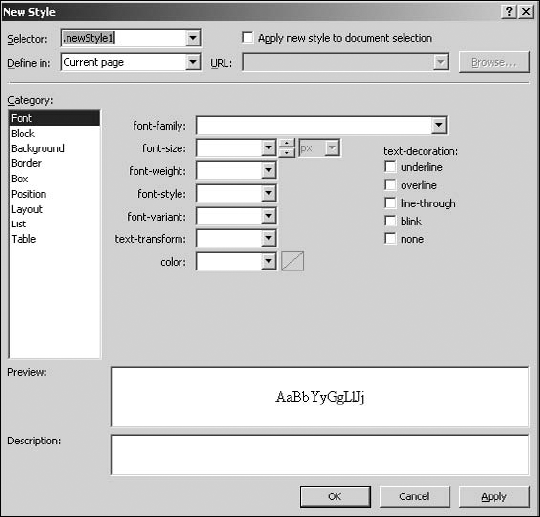
Click the New Style link in the Apply Styles task pane to open the New Style dialog box, as shown in Figure 12.2. Use this dialog box to create a new style.
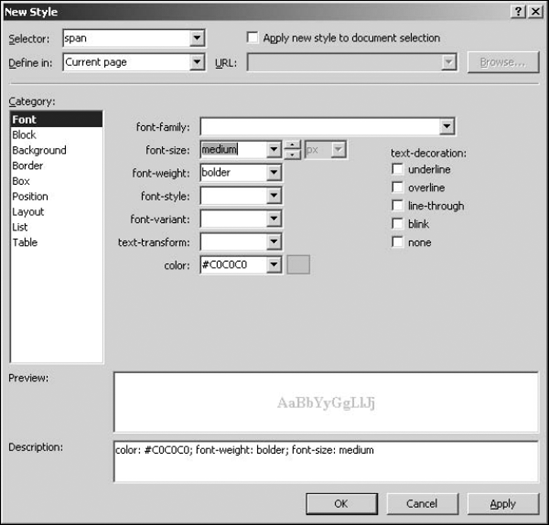
In the Font category, specify the font-size, font-weight, and color. The configured style is shown in Figure 12.3. The preview and description of the style are displayed at the bottom of the dialog box.
Click OK. The newly created style has been applied to the <span> tag, and the text shows as formatted in the Design view in SharePoint Designer.
If you switch to the Code view of the Web page, the following code appears inside the HEAD tags. This code defines the style that has been implemented on this Web page by using steps in the previous exercise:
<style type="text/css">
   span
   {
          color: #C0C0C0;
          font-weight: bolder;
          font-size: medium;
   }
   </style>
What you see is a CSS rule that defines the behavior for the <span> tag on this Web page. A CSS rule has two parts: a selector that associates the rule to an element on the Web page and a declaration that defines the formatting aspects that the rule carries. In this code, you created a CSS rule with the span selector and a number of declarations. A declaration, in turn, has two portions: a property and a value. For example, in this code, the color property has been given the value #C0C0C0.
By the virtue of this CSS rule, all the <span> tags on the Web page have the formatting specified in the declarations in the rule. As shown in the following example, CSS allows you to group selectors so that multiple selectors can be associated with the same declarations:
span, p, tr
   {
          color: #C0C0C0;
          font-weight: bolder;
          font-size: medium;
   }
Besides associating the CSS rule to the tags or elements by name, as shown in this code, you can also associate the style by using the id attribute. For example, the following CSS rule applies to all tags that have the id attribute set to the value right_col.
#right_col
   {
         width: 200px;
         position: absolute;
         top: 0px;
         right: 0px;
   }
Figure 12.3. An example of a style created by using the New Style dialog box
12.1.1.2. CSS shorthand properties
While the previous examples showed how you can create a declaration by using a property:value pair, CSS allows you to combine a number of similar properties into a shorthand property, thereby allowing you to define your formatting more concisely.
Shorthand properties let you declare many similar properties in a single declaration. For example, you can combine multiple font properties and then declare them in a single shorthand property:
span
   {
         font: #C0C0C0 bolder medium;
   }
12.1.1.3. CSS classes
The next exercise takes you through a set of steps to discuss another important CSS concept called CSS classes:
Open a Web page in the Design view, and using the Apply Styles task pane, click the New Style link to open the New Style dialog box.
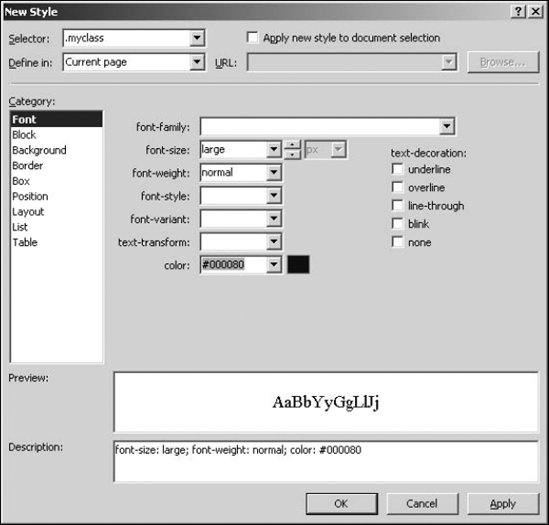
In the Selector dropdown menu, type .myclass. Keep the Current page option in the Define in dropdown menu.
In the Font category, specify a font-size, font-weight, and color. This is illustrated in Figure 12.4.
Click OK and then click the Code view tab.
Figure 12.4. Creating a new CSS class by using the New Style dialog box
Using the previous steps, you created the following code in the <style> tag of your Web page:
.myclass
   {
         font-size: large;
         font-weight: normal;
         color: #000080;
   }
As shown in this code, the selector is now a custom name that you specified in the New Style dialog box. This custom name, called a CSS class, unlike the CSS rule, isn't associated with an element on the Web page by default. However, using the class attribute of the element, you can associate the class with the element. For example, the following code associates the above CSS class with the <span> tag:
<span class="myclass">I am learning CSS</span>
By providing the ability to create classes, CSS allows you to classify chosen elements to have formatting different than the one specified in a CSS rule. By virtue of the CSS class being associated with the <span> tag, the CSS rule specified by the span selector in the previous exercise is overridden.
12.1.2. Understanding CSS implementation hierarchy
Before discussing CSS hierarchy, I want to mention that you can apply CSS styles on a Web page in three ways:
In-line styles: These styles refer to the formatting that you can apply directly to an element, such as an HTML tag as an attribute value. All HTML tags have a style attribute that can be used to specify declarations for the tag. As shown in the following example, the style is applied directly in-line with the HTML tag:
<span style="font-size:medium; font-weight:bolder; color:gray">I am
   learning CSS</span>
In-page styles: These styles refer to the declarations that you make in a common <style> tag for the entire Web page. The <style> tag is usually placed in the <head> section of the Web page:
<style type="text/css">
   span {color: #C0C0C0;
         font-weight: bolder;
         font-size: medium;
   }
   .myclass {
         font-size: large;
         font-weight: normal;
         color: #000080;
   }
   </style>
External styles: These style declarations refer to the most styles that are defined in a separate style sheet document (with the extension .css). The CSS document is then linked to the Web page by using a style sheet link:
<link rel="stylesheet" type="text/css" href="myCSS.css" />
One important concept to understand regarding CSS is that multiple styles are cascaded to form a single style set before the styles are applied to the elements on associated Web pages. That means that if you add in-line, in-page, and external styles to your Web page, when a browser interprets the CSS for implementation, it combines all these styles to form a master style set for the elements before application.
NOTE
The rule for precedence for CSS style implementation is that whichever style is closest to the element wins. This means that the styles defined in-line with the element always take precedence over the in-page or external styles. For example, if you specify the same font property by using both in-line and in-page styles, the value of the property for the in-line style is applied to the element.