
- In your web browser, navigate to https://powerapps.microsoft.com and log in with your PowerApps account credentials.
- First, we need to create a connection between PowerApps and our Business Central environment.
On the left-hand menu, click Data | Connections.
If you have already completed the previous Power Platform – using Flow recipe, then you can jump to step 7 if you're using the same account, since any connections that you create are shared between Flow and PowerApps.
- At the top of your screen, select New connection:
![]()
- In the search box, search for business central, and select the Business Central button (not the on-premises one!):

- In the dialog, click Create.
- When prompted, log in with your PowerApps account information to finalize the creation of the connection.
- On the left-hand menu, select Apps:

- At the top of your screen, select Create an app | Canvas:

This will open up the PowerApps Studio in a new tab in your web browser.
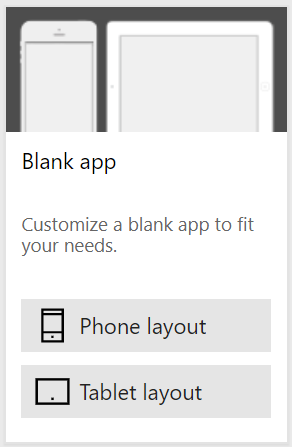
- In the PowerApps Studio tab, select Phone layout under Blank app:
- Press Skip on the welcome message.
- In the center of the screen, click connect to data.
- In the Data tab, select the Business Central connection:

- Select the CRONUS company that is in your environment:

The exact name of the CRONUS company in your environment may be different depending on your geographical region.
- Place a check mark beside the customers entity:

- Click Connect.
- Close the Data tab.
- In the top menu, click the Insert tab, and then select Gallery | Vertical:

- Click on the gallery you just inserted, and on the right side, in the gallery Properties, next to Items, select customers as the data source:

Note that as soon as you select the data source, the data in the gallery control will be updated to show real data from your Business Central environment.
- In the gallery properties, set the Layout property to Title, subtitle, and body.
- In the gallery properties, click on the Edit link next to Fields, and set the following values:

Your application should now look similar to this:

- At the top of the screen, click on the Insert tab and select Forms | Display:

- With the new form control selected, drag and resize it so that it fills the bottom half of the application window:

- With the form control selected, in the right-hand menu, select Advanced and set the following properties:

This connects the new form control to the data source we created earlier, and it tells the form to display the same record that is selected in the gallery control. This will let us show more details for the selected record.
- With the form control selected, in the right-hand menu, select Properties, and then click Edit fields:

- In the Fields tab, click Add field and select the balance, overdueAmount, and email fields.
- Click Add.
- Change the Control type of the email field to View email:

- Close the Fields tab.
- Press F5 to try out your new PowerApps application. Notice that when you select a customer record in the upper half of the screen, the details at the bottom are also updated accordingly:

You can also use the ![]() button at the top of the screen to run your application.
button at the top of the screen to run your application.
- To save your application, select File | Save within the PowerApps Studio tab.
That's it! I know this is an extremely simple example, but with a bit more effort in formatting and perhaps adding some more screens to the application, it would be quite easy to turn this into a solid application.