
The following process uses a hard drive and FTK Imager to produce a forensically sound image for analysis. Rushing or deviating from these steps may create a situation where the responder may not be able to rely on the evidence's integrity, thereby making potential evidence unreliable:
- The first step is to physically inspect the evidence. There are two primary focal points that should be inspected. The first is the chain of custody form. Any time that you are taking custody of evidence, you should have access to the form, ensure that all steps are properly documented, and complete the entry with your information.
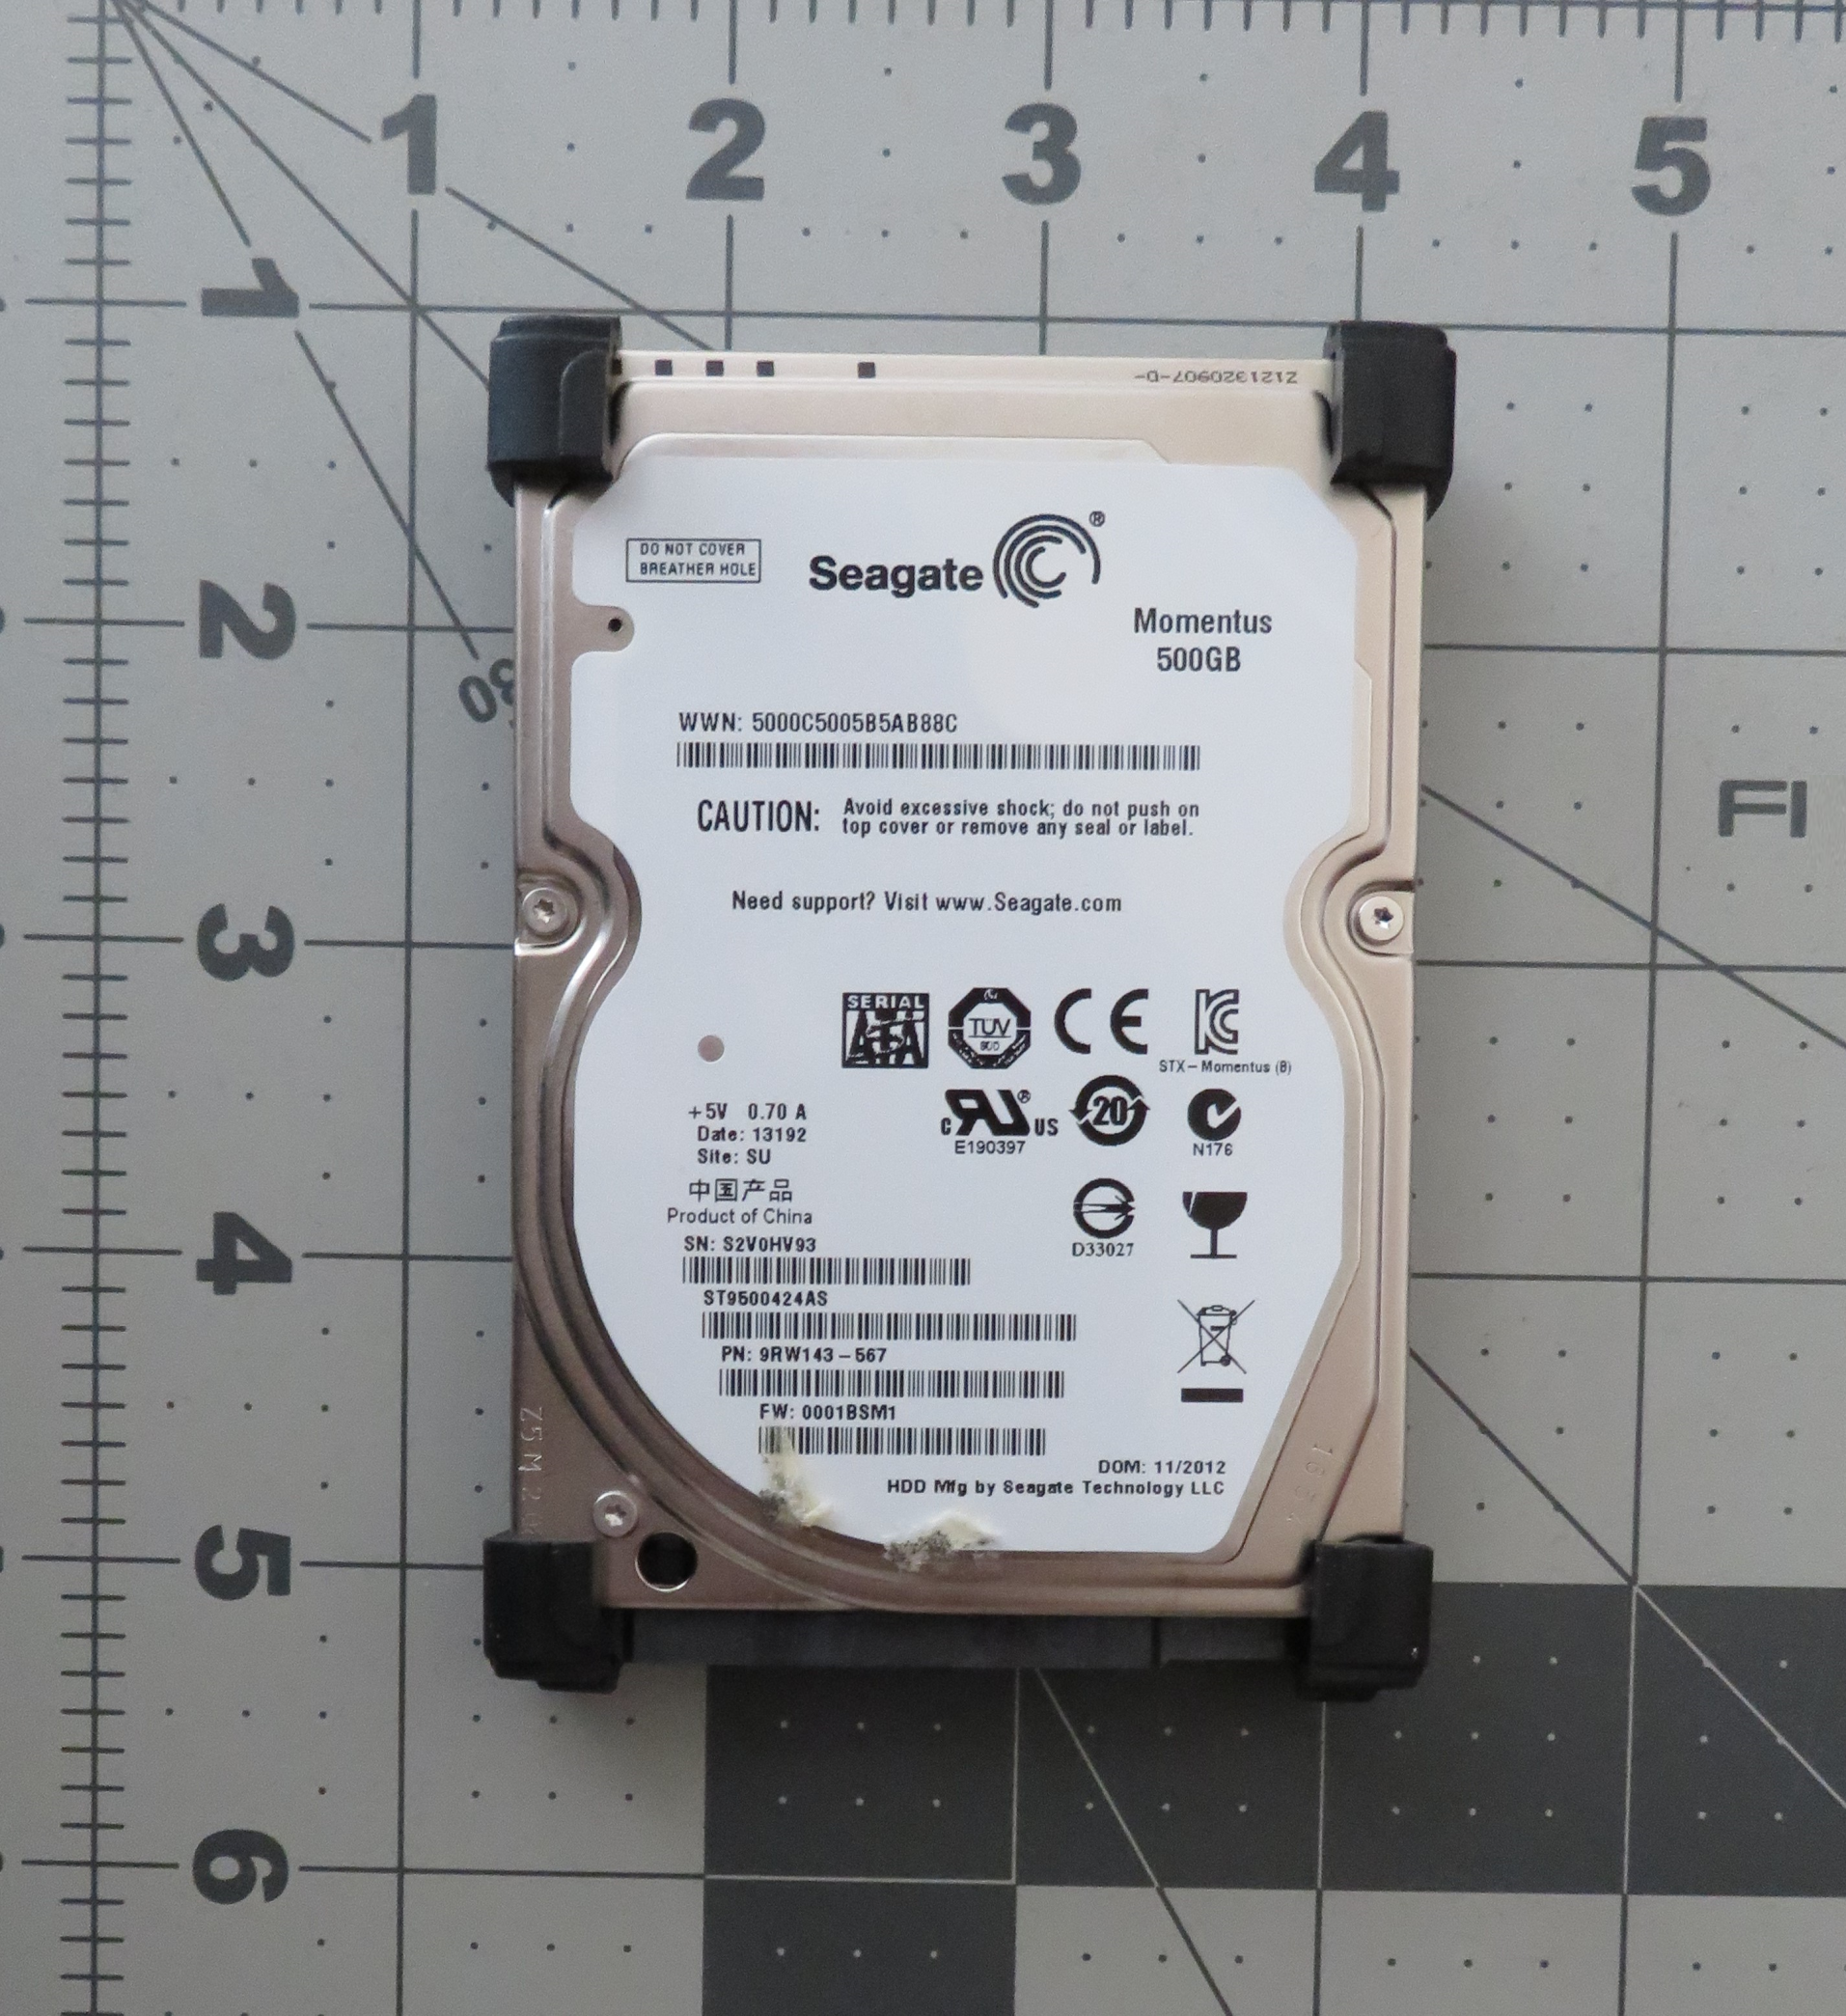
- Then, you need to inspect the evidence packaging to ensure that any seals have not been breached. One quick way to document this is to take a photo of the evidence in the original packaging:

- In the preceding photo, we have captured all the information concerning the piece of evidence and demonstrated that, prior to imaging, the integrity of the evidence has been maintained. After the seal has been broken, you need to take another photo of the contents of the packaging:
- Once a photo of the piece of evidence has been taken, you should ensure that it matches the chain of custody form. Errors can occur in an incident, and this is one way to ensure that mistakes in the chain of custody are corrected as early as possible. By confirming the chain of custody, any mixups can be rectified. The next step is to configure the physical write blocker. In this case, a Tableau TK35u USB 3.0 Forensic IDE/SATA Bridge Kit is utilized as a physical write blocker. The suspect drive is attached via the included SATA drive adapter and a FireWire connection is made to the imaging laptop. When utilizing a physical write blocker, ensure that the device indicates proper functioning:
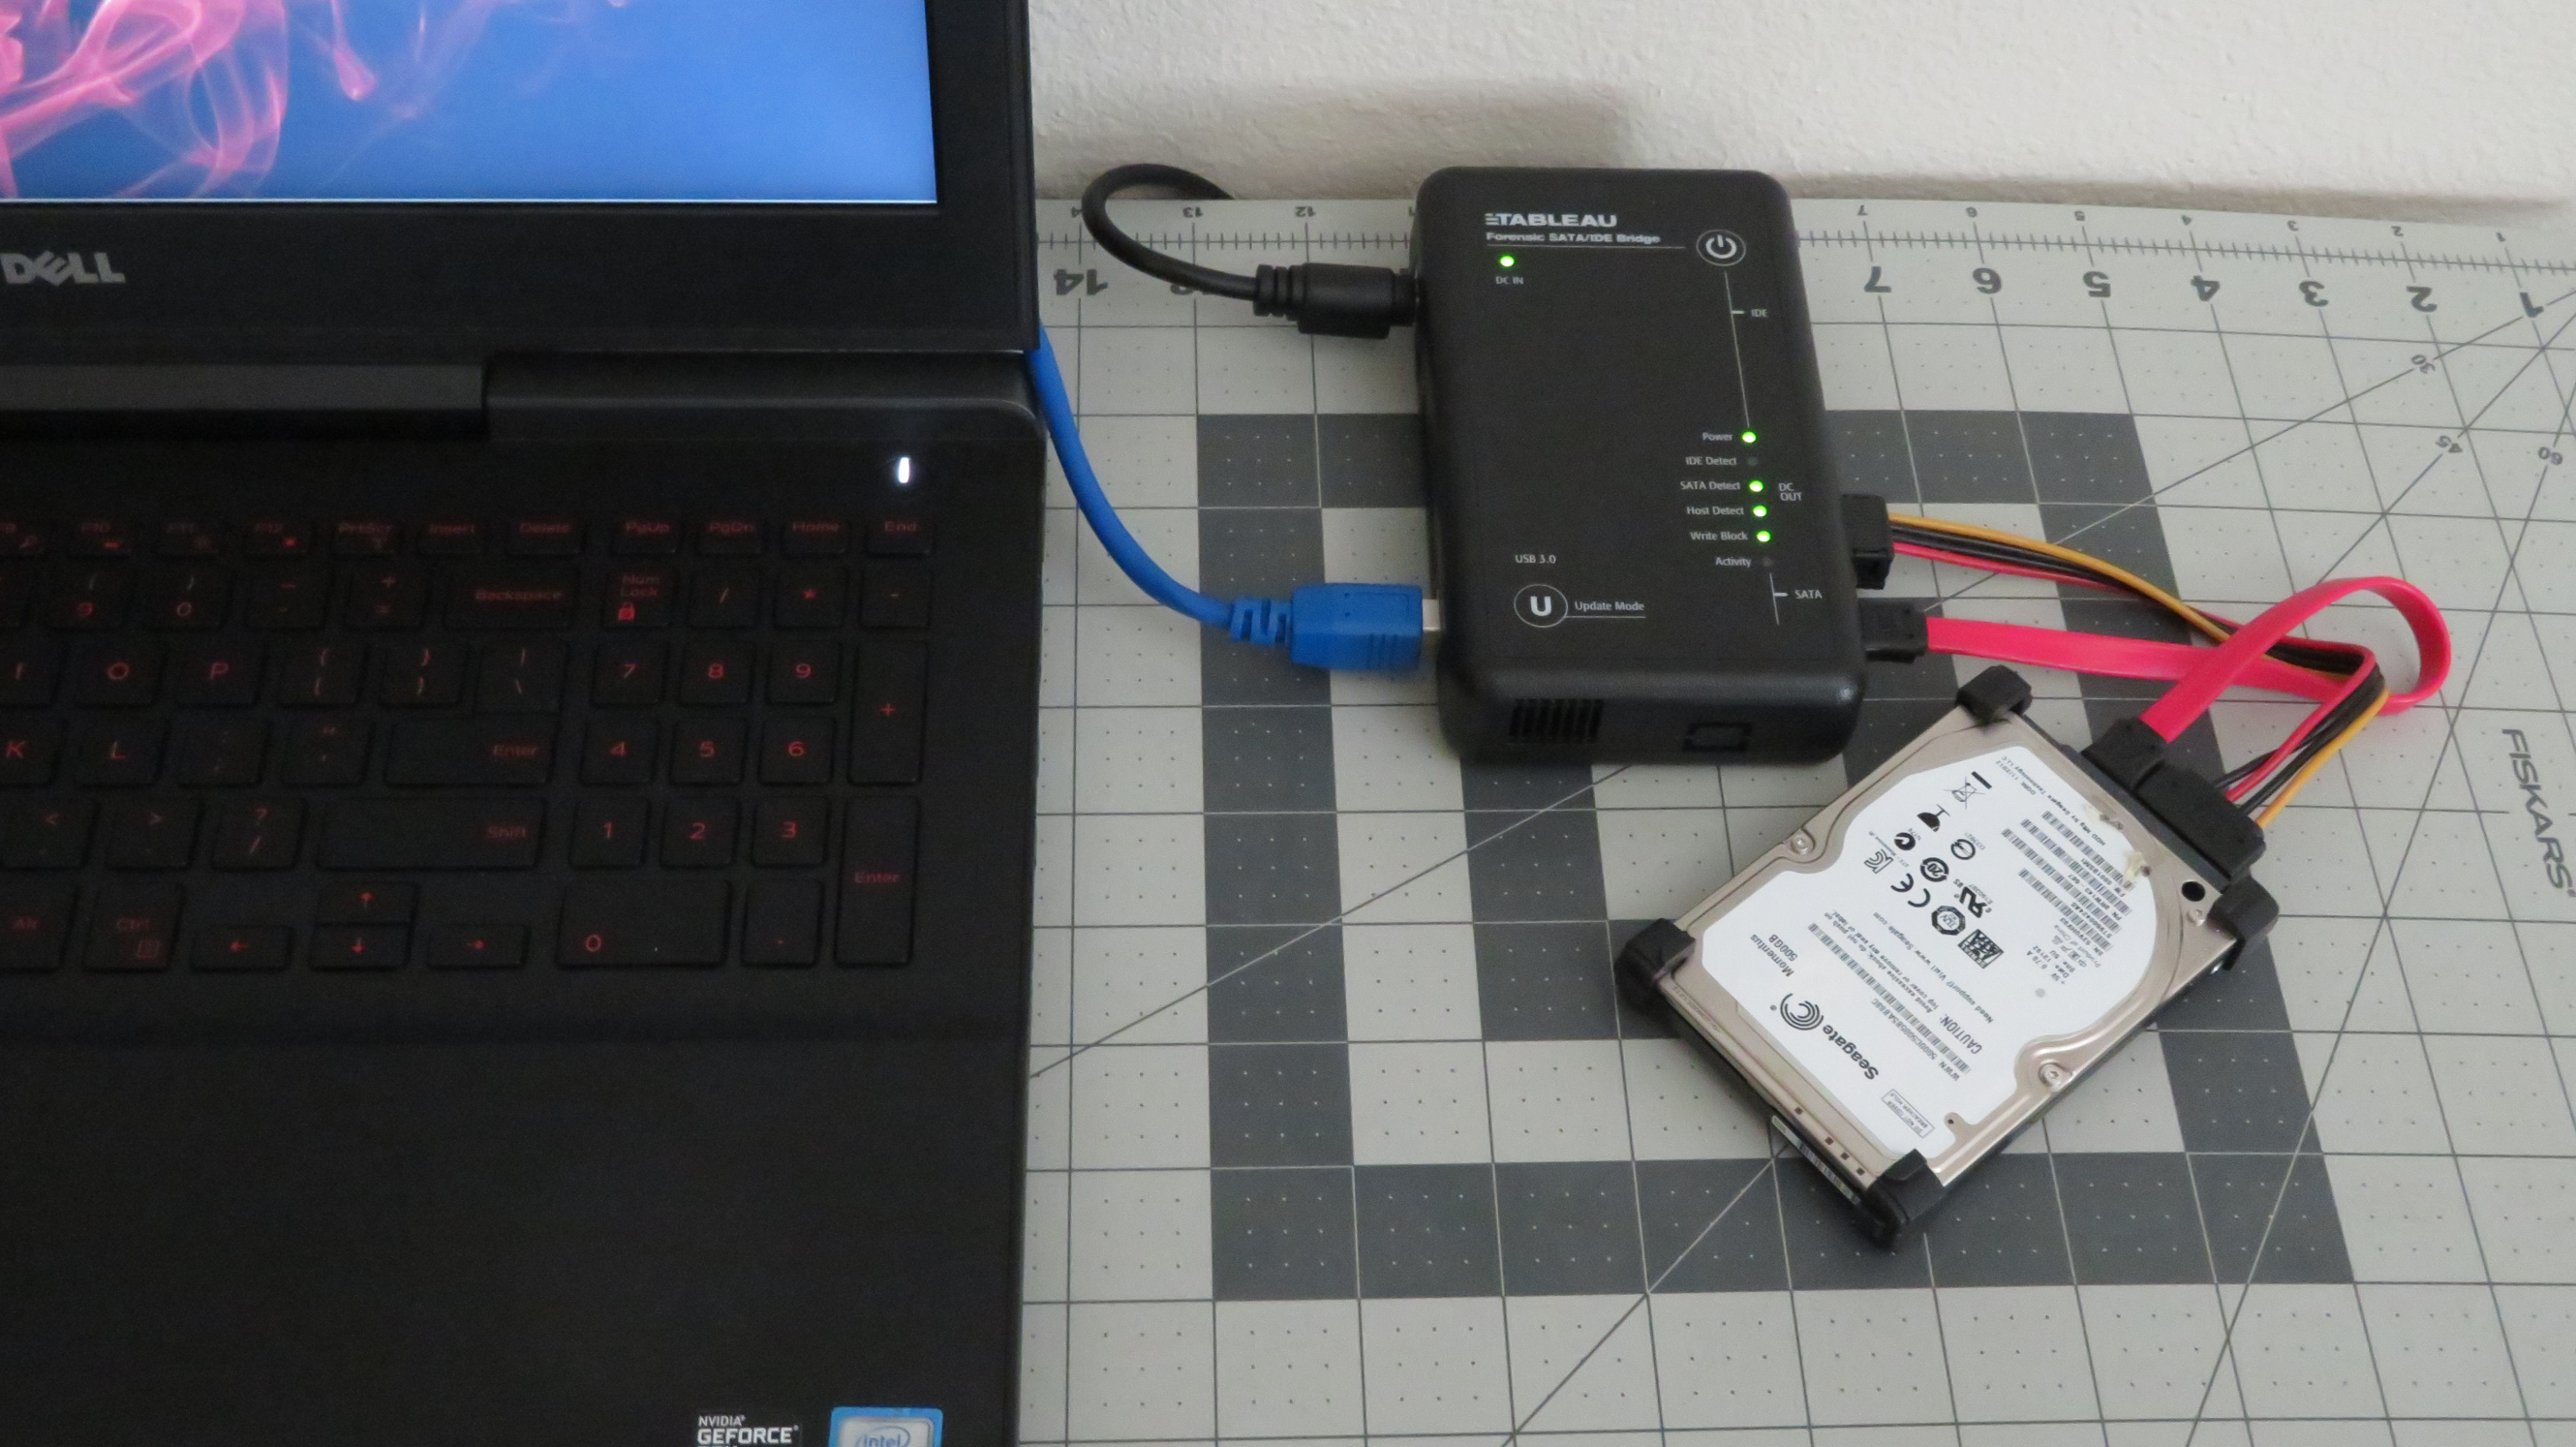
- With the physical write blocker in place, the suspect drive is now ready for imaging. In this example, the FTK Imager freeware application will be used. FTK Imager requires administrator privileges to run. Open the executable; the following screen will appear:

- Click on File and then Create Disk Image. This will open a window where you can select the media source. In this case, select Physical Drive so that the entire drive, including the master boot record, will be captured for further analysis. Then, click Next:

- The next window allows the analyst to select which drive will be imaged. Incident response analysts should pay close attention to ensure that they are imaging the correct device since all devices that are visible to the operating system are listed. Here, you need to pay attention to the storage space of the drives to differentiate between the suspect and image drives. In this case, four separate drives are listed. Two are drives contained within the imaging laptop. Another drive is the destination drive. In this case, the third drive, labeled \.PHYSICALDRIVE2, is the correct suspect drive. Highlight this drive and click Finish:

- Once the suspect drive has been selected, set the destination drive. Click Add...:

- At this point, choose the type of image file you want to create. Four options are available. In this case, E01 needs to be selected. Click Next:

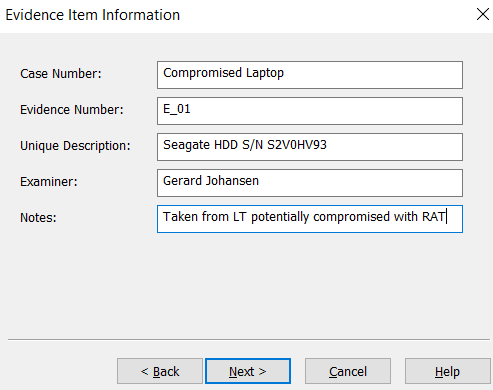
- In the next window, enter information specific to the image. We will discuss reporting in Chapter 11, Writing the Incident Report. For now, the analyst should complete the fields with as much detail as possible since this information will be included in the forensic report. Once the fields have been filled in, click Next:
- In the next window, verify that the image destination and filenames are correct. In addition to this, you'll be able to set the image fragmentation size and compression. The fragmentation size can be set to 0 since this is where the entire disk image will be contained within a single file. For now, the defaults will be utilized since mounting a disk image that is fragmented is not an issue. Once the information you've entered has been verified as correct, click Finish:

- Now, the Create Image window will open. This is the final stage and is where the analyst can cancel creation of the image file. There are also two options that the analyst should enable, depending on the use case. The first of these involves FTK Imager verifying the image after it's been created. In this feature, FTK Imager will verify that no changes have been made and that the image file is complete and without errors. Second, FTK Imager can create a list of all files on the image. This may be handy for the analyst in the event that a specific file(s) has evidentiary value. The analyst will be able to determine whether the file is on this system. This can save time if several drives have to be examined. Once all the settings have been verified, click Start:

- FTK Imager will then begin the process of imaging the drive. This can take several hours or even days, depending on the size of the drive being imaged, the available processing speed of the imaging system, and the type of connection (FireWire, USB, and so on) to the imaging system. While this is happening, the following window will appear:

- Once FTK Imager has completed the imaging process, a window will open. In this window, FTK Imager will provide the incident response analyst with detailed information. Something that should be of concern to analysts is the hashes that have been computed for both the drive and the image. In this case, both the MD5 and SHA1 hashes match, indicating that the imaging process captured the drive properly and that no changes have been made to the evidence that was taken from the suspect drive. It's good practice to include this information as part of the forensic report:

Navigate to the evidence drive. Here, the entire image can be located. Depending on how FTK has been configured with regard to fragment size, there may be several or a single evidence file. In addition to the evidence files, FTK Imager provides a full list of all the files on the hard drive.
Finally, FTK Imager provides a text file with detailed information concerning the imaging process. This information should be captured and included with any subsequent forensic reporting. At this point, the imaging process has been completed and the evidence drive needs to be returned to security storage.
Dead imaging provides the most forensically sound acquisition; however, there may be times when responders will have to image a system that is powered on. This would necessitate the responder to perform a Live imaging of a suspect system.