
tcpdump is a command-line tool specifically designed for packet capture. tcpdump is often included with Linux distributions and is found on many network devices. For many of these devices, tcpdump has to be run as a root user or with root privileges as it will be monitoring network traffic. The documentation is available at http://www.tcpdump.org/.
To perform a packet capture with tcpdump, the following process can be used:
- To access the basic help menu, type the following into a Command Prompt:
dfir@ubuntu:~$ tcpdump -h
The output of the preceding command is as follows:

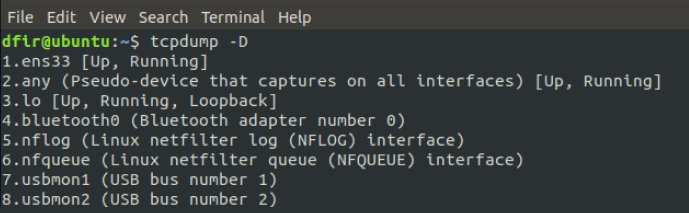
The default tcpdump setting is to capture traffic on all available interfaces. Running the following command produces a list of all the interfaces that tcpdump can capture traffic on:
dfir@ubuntu:~$ tcpdump -D
The following screenshot shows that the ens33 (Ethernet) and lo (loopback) interfaces are available for capturing traffic:
- To configure a basic capture on the Ethernet interface located at ens33 with normal verbosity, type the following command:
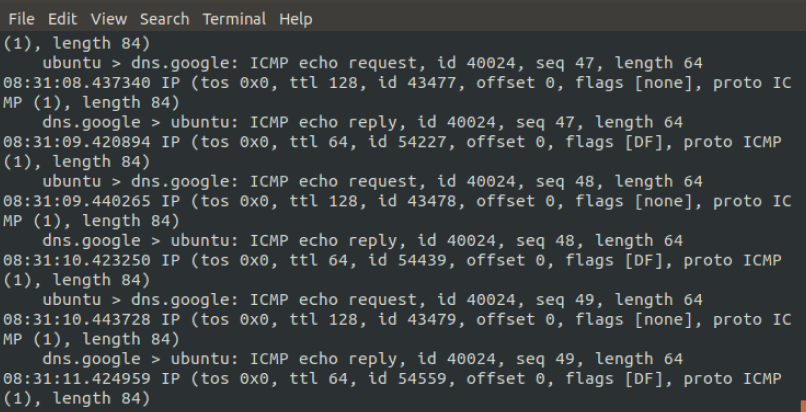
dfir@ubuntu:~$ sudo tcpdump -i ens33 -v
The -i switch tells tcpdump which interface to perform the packet capture on. In this case, it is on the following Ethernet interface: ens33. The -v switch sets the verbosity of the packet capture. In this case, the verbosity is set rather low. For additional data, the switch can be set to -vvv for a more detailed look at the packets. The following screenshot shows what information is displayed by the command:
While this method determines whether traffic is traversing that interface, the individual packet information is useless to an analyst due to the speed with which the individual packets appear on the screen. For the packet capture to be of any use, it is recommended that you output the file so that a later examination can be performed with a packet analysis tool such as Wireshark. Wireshark will be reviewed later on in this chapter and in greater detail in Chapter 7, Analyzing Network Evidence.
- To configure tcpdump to output the packet capture to a file, the following command is used:
dfir@ubuntu:~$ sudo tcpdump -i ens33 -vvv -w ping_capture
The command tells tcpdump to capture network traffic and write the file out to capture. Unlike the previous capture, there is no traffic indicated on the screen.
- To stop the capture, type Ctrl + C, which produces the following information:

The previous screenshot indicates that a total of 4,333 packets were received and recorded in the capture file.
- After navigating to the root directory, the file can then be opened via Wireshark:

tcpdump can also be configured to focus the capture on specific sources or destination IP addresses and ports. For example, if an incident response analyst needs to collect packets leaving a specific host at the 192.168.10.54 IP address, the following tcpdump command will produce the desired results:
dfir@ubuntu:~$ sudo tcpdump -i ens33 src host 192.168.10.54
Packets going to a destination such as a known C2 server at the IP address can also be separated out from the background network traffic with the following command:
dfir@ubuntu:~$ sudo tcpdump -i ens33 dst host 162.4.5.23
tcpdump is a powerful tool and has plenty of options. Incident response analysts are advised to examine and incorporate its various features into their toolkit.