
When it comes to packing the release build for your shiny new game, you will realize that graphics and audio contribute the most to its final size. Sound effects and music definitely get the first prize in the race to make your download heavier.
As long as you only care about desktop, this should not be a problem. Nowadays, Internet connections are decent enough for people not to mind about moderately big downloads. However, if you plan on releasing for iOS, Android, and/or browsers, you should seriously stop and think about your package size. People are getting progressively more used to instantaneous experiences, but at the moment, not everyone has an unlimited data plan. Even if they do, their speed is usually far from great.
Take a look at how big your package is. In case you think it is over what you deem to be good enough, go through the collection of audio files and try to reduce their weight while ensuring your quality standards.
How? Well, this is exactly what we will explain in this recipe.
We need a tool to tweak and process our audio files, and Audacity will do the job just fine. Audacity is a fully featured cross-platform audio editing tool. It is open source and free, so you will not lose anything by giving it a try.
If you are a Windows or Mac user, go to the official website and download the latest version. If you use GNU/Linux, you can probably find Audacity in your software repository. For further information, check out http://audacity.sourceforge.net.
Let's see what you can do to reduce your audio file sizes while keeping a reasonable quality level. What follows is a series of things you can try. However, it really depends on the nature of the file, the size of which you are trying to reduce; some tinkering might be necessary. Execute the following steps:
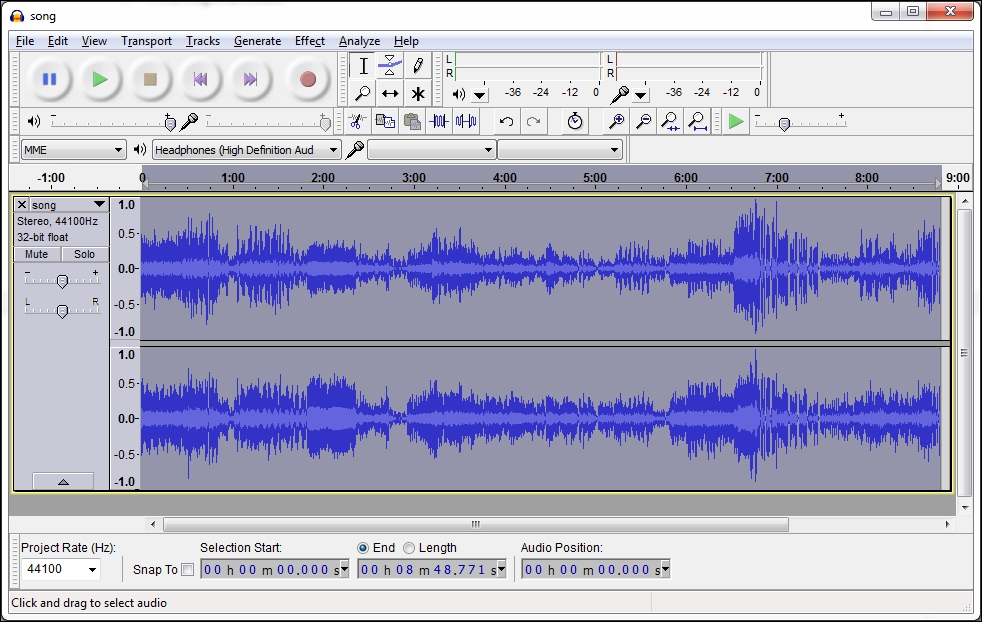
- Start by running Audacity. Then, click on File, select Import, and finally select Audio. Pick the audio file you want to work with and accept. After the process is over, the sound wave in your work area looks as shown in the following screenshot:
- Open the Preferences panel inside the Edit menu and go to the Quality entry.
- Here, you can change the values of Default Sample Rate and Default Sample Format. Try reducing them, but do not go any lower than 11,025 Hz for the former. You can probably get away with low values here for voice files, but music files will require higher values to sound good. Another option is to use mono rather than stereo, which will probably go unnoticed in some devices.
- Another option is to directly click on the arrow next to the track name and select Set Rate and Set Sample Format.
- Once you are happy with the result, we can proceed with the export process. Click on File and then Export.
- Now, it is time to select the output format. WAV files are uncompressed raw data and therefore help avoid quality loss. OGG Vorbis and MP3 are compressed and inevitably incur some quality loss. They also require some more computation power for on-the-fly decoding, but they take up less space.
- If you select OGG, you can click on the Options buttons and select an output quality level with a slider. When choosing MP3, you can click on the same button to select the output bit rate. It is recommended to start at 128 Kbps and only increase when needed.
- Finally, hit Save and manually check the quality of the resulting file. Tweak the previously mentioned values, as necessary, until you are happy with it.
We tweaked a few parameters of our audio files. They are quite simple, but let's see what they actually mean:
- Sample rate: Digital audio cannot keep the wave amplitude in a continuous manner as this will require an infinite amount of data. Digital audio only stores samples at discreet steps in time. The sample rate is the frequency of these samples. We measure it in Hertz (Hz), which is the number of samples per second.
- Sample format: A value is stored for every audio sample. The amount of information in bits per sample defines the sample format.
- Bit rate: The number of bits per second of compressed audio. This applies to formats such as OGG Vorbis and MP3.
Now that you have installed Audacity, it will be a shame not to explore the possibilities of this rather powerful free audio suite.
With Audacity, you can import or record audio onto tracks. You can then cut, copy, paste, and mix them however you fancy. Moreover, you can add many effects and distortions to make your work sound more interesting. It is too big a piece of software to cover in this book, so refer to the official tutorials for more insight, available at http://audacity.sourceforge.net/manual-1.2/tutorials.html.