Some styles require a line that isn't smooth and even. We're going to make a gritty and uneven-textured inking brush to add some flair to our lines.
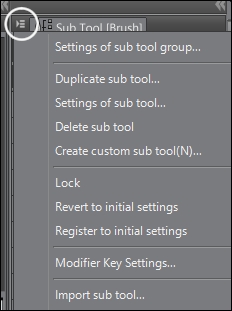
One of the materials used for this pen is from a free brush available from Smith Micro. At the time of writing this book, the brush is available at http://my.smithmicro.com/manga-studio-ex-5-free-content.html, as Dry Bleeding Flat Watercolor. This brush will need to be installed in order to get access to the material. Download the brush from the Smith Micro website. Then, click on the icon circled in the following screenshot (found in the Sub Tool palette) and click on Import sub tool…:
Navigate to the location of the downloaded brush file and click on Open. The Dry Bleeding Flat Watercolor brush will be installed and the material will be added to the Material library.
These steps will walk us through the process of creating a new inking brush with a gritty look:
- Under the Pen tools, select G-pen.
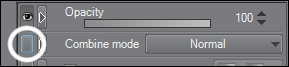
- In the bottom-right corner of the Sub Tool palette, click on the Create copy icon to create a copy of the selected sub tool. It is shown circled in this screenshot:

- In the Duplicate sub tool screen, enter the name
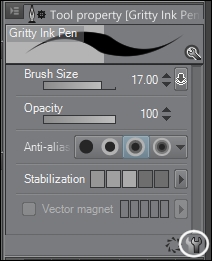
Gritty Ink Pen. Click on OK. - In the Tool property palette, click on the wrench icon in the bottom-right corner. It is marked in the following screenshot:
- In the Sub Tool Detail screen, click on Brush tip on the left-hand side.
- Next to Tip shape, click on the Material button. Then, click on the Add brush tip shape icon (it looks like the circled icon in the screenshot shown after step 2).
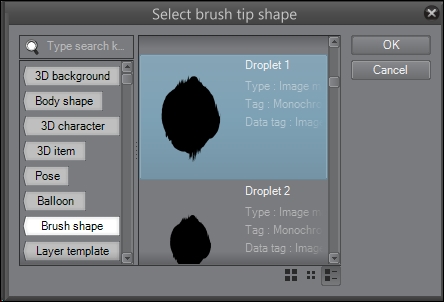
- From the Select brush tip shape screen, select the material named Droplet 1 and click on OK. Refer to the following screenshot for an example of what it looks like:
- Click on the Add brush tip shape icon again.
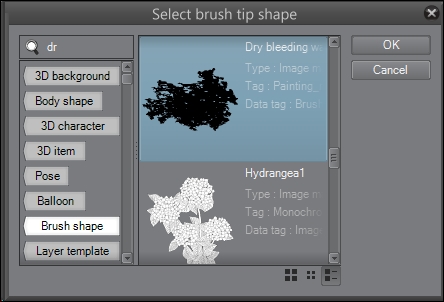
- From the Select brush tip shape screen, select the material named Dry Bleeding Watercolor and click on OK. Refer to this screenshot for an example of what it looks like:
- In the brush tip settings, set Thickness to
70. Set Direction of applying to Vertical. - On the right-hand side of the Thickness settings, click on the button with the dark gray square in it to open up the Set to change parameter by pen pressure or velocity of tablet settings.
- Check the box next to Pen pressure. In the graph at the bottom of the screen, pull the middle of the curve up. Check out to the following screenshot to understand this:
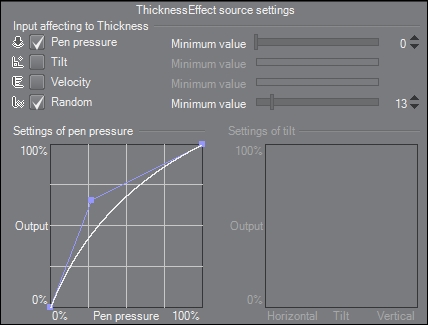
- Check the box next to Random and set the minimum value to
13. - Click on the gray box icon to the right of the Direction settings. Click on the radio button next to Direction of pen. Then, check the box next to Random and set the Degree of effect slider to
10. Refer to this screenshot to double-check the settings: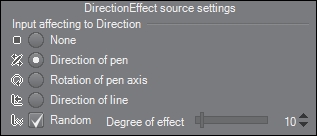
- In the Brush tip settings, check the box next to Adjust brush density by space. The brush tip settings should now look like what is shown in the following screenshot:
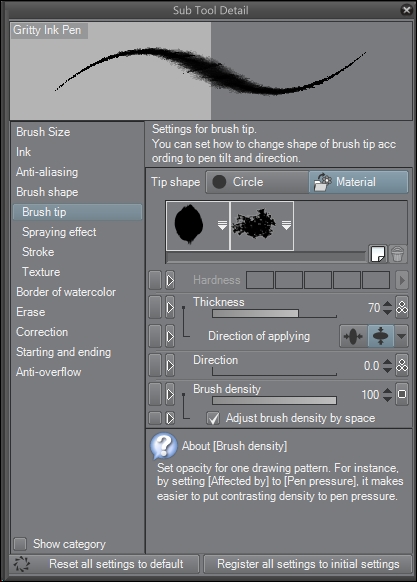
- Make sure that Anti-aliasing is set to None.
- Test the new brush and adjust the settings as needed for your personal preference.
This is actually a fairly easy brush to create, because it just uses the brush tip settings.
First, we duplicate a pen tool. We're making a pen tool, so we start with the base of a pen tool to build on. I chose the G-pen for this recipe because I like its pressure sensitivity settings, but if there's another pen that you like more, then by all means duplicate it and build your gritty pen using it! The great thing about Manga Studio 5 is that you can customize it to fit the way you like to work.
Clicking on the wrenches in the Tool property palette shows us all the options for customizing our tool.
Next, we must tell Manga Studio what brush tip materials we want it to use. By using two materials, we can create a custom look. The two materials work together, layered on top of one another, to create a new brush tip shape.
The Thickness settings change the way the brush tip is shaped. Instead of a circular brush, we can make an oval brush by adjusting the thickness. In the case of this brush, because we're using brush tip materials instead of a circular tip, we control the squash or stretch of the shapes.
The Set to change parameter by pen pressure or velocity of tablet settings let us control the conditions under which variables change. This option can be adjusted for many of the options in the Sub Tool Detail screen. In this case, we set the thickness to both be affected by the pressure of the pen when we draw, and have a random adjustment as well. This helps achieve the "dry brush" effect of the pen.
Anti-aliasing tells the program how sharp or blurry the edges of the brush should be made. In this case, we don't want the edge to be soft. We want a nice, hard look for this tool—we're making something "gritty"! Setting Anti-aliasing to None gives us the look that we want.
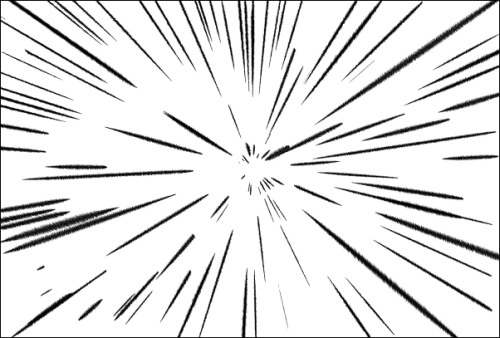
The following is a set of focus lines inked with the tool we just made: