
By adding points to vectors, we can further refine our line.
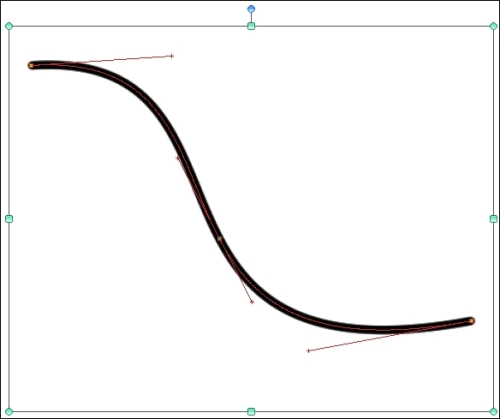
You will need a file open, with at least one vector layer and one line created on that vector layer. It can be created with a brush tool or one of the Direct draw tools. In the following example, we will be using a line created with the Curve tool, set for a Cubic Bézier curve.
The following steps will teach you how to add more control points to a vector:
- Select the Operation tool, if it is not the active tool already. Ensure that the Object subtool is selected.
- Click on the line that needs to be modified.
- On the PC, right-click with the mouse where the control point needs to be added. The following menu will appear.
- Click on Add control point.
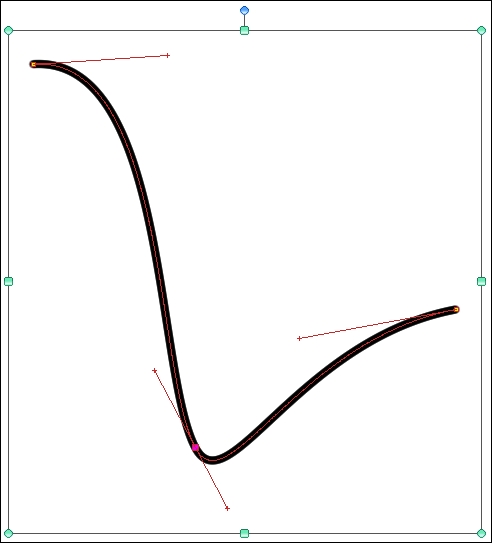
- A control point will be added to the line. Refer to the following screenshot and note the third control point, with handles, between the start and end points:
- Use the instructions in the Adjusting vector lines recipe to make changes to the control points.
..................Content has been hidden....................
You can't read the all page of ebook, please click here login for view all page.