Almost anyone who reads Manga will recognize the special effect of moods. A character is sad and the background will have vertical lines coming down behind them, usually ending around the shoulders or the middle of the head, depending on the desired look. The Gloom tool makes this effect easy to achieve with just a few clicks.
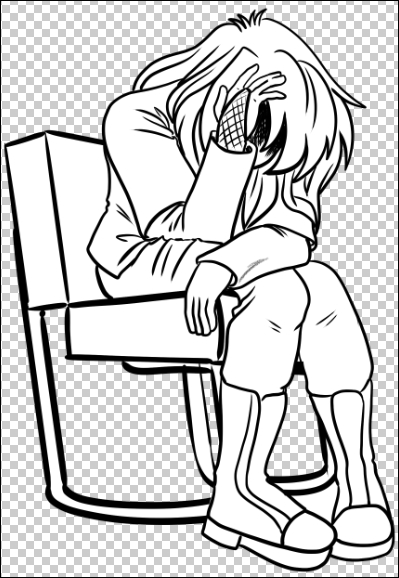
You will need an open file to work in. Again, the size and resolution don't matter. For this example, I have drawn a down-in-the-dumps character and filled the line art with white on the inside so that the lines won't show through the character, as shown in the following screenshot:
The following simple steps will show us how to create mood lines:
The gloom lines will be generated automatically, based on the settings of the tool.
This screenshot shows the drawing example with gloom lines added to it:
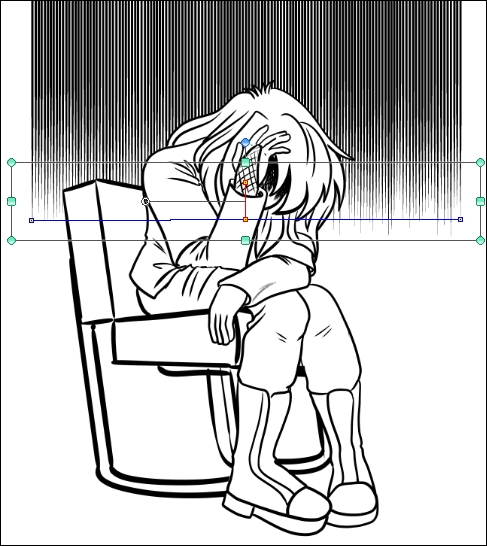
The horizontal line inside the bounding box shows where the start and end points were put on the canvas. These mark the place where the gloom lines end.
Refer to the How it works... section of the Making action lines with the Scattered stream line tool recipe for information about the different settings available for this tool.
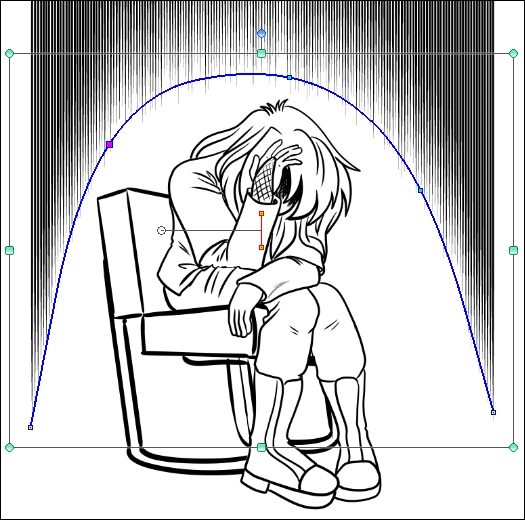
This tool can also create gloomy lines up to an imaginary curve! Follow the steps given here to find out how:
- Follow step 1 and step 2 of the preceding recipe.
- Instead of double-clicking with the mouse to end the line, click once on the place where you want the next point of the curve to be.
- Continue clicking along the line of the curve until you have completed the desired curve shape. Double-click to set the shape.
- Manga Studio 5 will automatically generate the lines based on the tool settings. Use the Object subtool to adjust the curve afterwards, if desired. The following screenshot shows the curve used around the character to create a different look for the illustration: