
In this recipe, we'll take an image and turn it into a material for use in other illustrations. This can be done with custom halftone images, photos, or drawings.
One of the many applications of custom materials is the use in your comics. Say we have a character with a design on their t-shirt. We can save the design as a material and apply it to each panel in which the character appears, without having to draw the design again.
The following recipe shows how to save a custom material image:
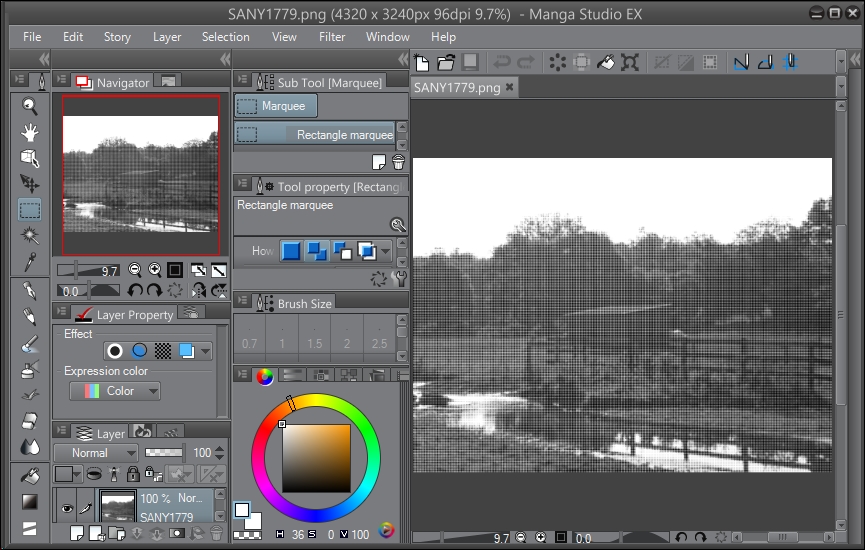
- Open the image to be made into a material. For this recipe, I'll be using a halftone background photo, as shown in this screenshot:
- Go to Edit | Register Image as Material.
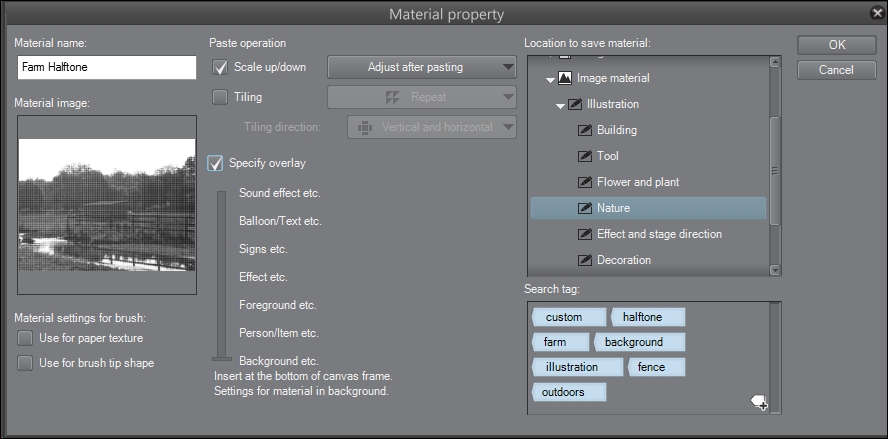
- In the Material property window, enter a title for the new material.
- Click on the checkbox next to Scale up/down, and choose the appropriate drop-down menu option.
- Click on the checkbox next to Tiling, and choose the appropriate drop-down menu option if repetition of the material is desired (such as in a screentone or material pattern).
- Click on the checkbox next to Specify overlay, and choose the appropriate level of the file to paste the material, using the slider beneath the box. In this recipe, we'll be using the Background level, since we are saving a background image.
- Under Location to save material, choose the appropriate folder for the type of material being saved.
- Add tags under the Search tag box by clicking on the + icon in the bottom-right corner. The settings used for the example material made in this recipe are shown in the following screenshot:
- Click on OK to save the material, and close the Material property window.
- Open another canvas and then open the Material library. If it's not already open, go to Window | Material | Material [Manga material].
- Locate the new material in the Material library, and click on it to select it.
- Click on the Paste selected material to canvas icon in the bottom-right corner of the Material library window.
- Adjust the material as needed.
Anything can be made into a material, from photos to drawings. All the brush shapes that we made in Chapter 2, Customizing Brushes, can be found in the Material library after you have saved them.
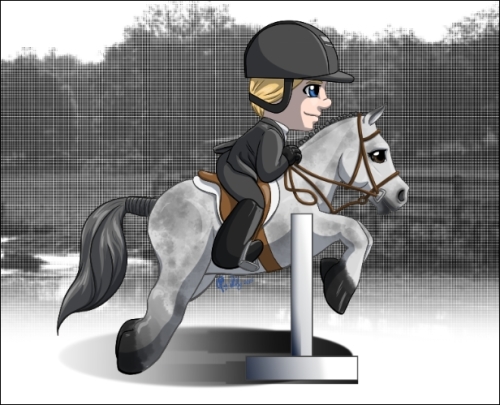
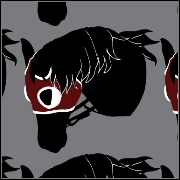
The following is the material created in the preceding recipe, used as the background for a drawing:
Just as we did when we made brushes, we need to name, categorize, and tag our material here. But unlike the brush tip materials, we must also specify how to tile, adjust, and paste the material when using it.
The Scale up/down option has five options beneath the drop-down menu. They are shown in this screenshot:
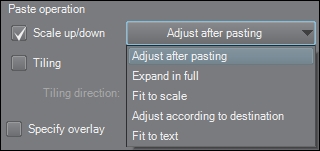
- Adjust after pasting: This puts a bounding box around the border of the material after it has been added to the canvas, allowing us to change the scale immediately
- Expand in full: This option scales the material to fit the longest side of the destination where the material is being pasted
- Fit to scale: This option fits the material into the destination
- Adjust according to destination: This option scales the material to best fit the destination
- Fit to text: This option is used while making custom word balloons, and can scale them according to the text they are being applied to
The following screenshot shows the same material with different Scale up/down options applied. They have all been pasted into comic panels of the same size to show how each option affects the way the material is sized:
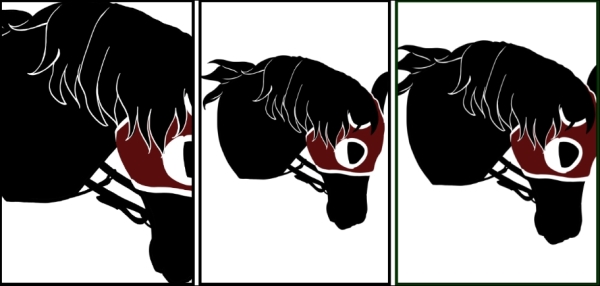
The left frame shows a material set to Expand in full, the central frame shows a material set to Fit to scale, and the right frame shows a material set to Adjust according to destination. Note the differences in the way each image fits the frame.
The final option for the Scale up/down pasting option is Fit to text. This can be used when you are creating custom speech bubbles. They will then scale around the text they are applied to.
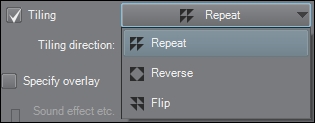
Under the Tiling drop-down menu, there are three options. These are shown in the following screenshot:
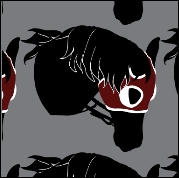
The Repeat option takes the material and repeats it—exactly the same material—in the selected direction. An example of Repeat is shown here:
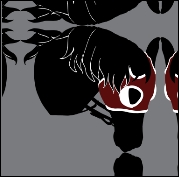
The Reverse option flips the material along the selected axes. An example of an image flipped both horizontally and vertically is as follows:
The Flip option reverses the material. An example of this is shown in the following screenshot:
Beneath the Tiling drop-down menu, there is another drop-down menu for Tiling direction. This is where you can set the tiling to be Vertical and horizontal, Only horizontal, or Only vertical.
Finally, the Specify overlay slider allows us to set where in the stack of layers our material should show up. For backgrounds, set the level to Background. Text and sound effects are closer to the top of the stack, with speech bubbles beneath them.
Materials are pasted into their own layer, which can be changed later by dragging and dropping it at the desired location in the Layer palette.