
Our next brush will make drawing ruins, rubble, and general scenes of devastation easier.
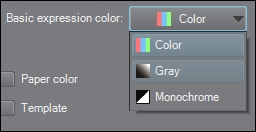
To start off, open a new blank canvas of at least 300 dpi resolution. We will use this canvas to draw our new brush tip shape in order to make our cracks. Make sure that Basic expression color is set to Gray and not Color. Refer to the screenshot given here to know where to change this option while creating your new canvas:
These steps will walk you through the rest of the brush creation process:
- With your new canvas open, navigate to View | Grid to turn on the grid lines.
- Find the grid line that runs down the center of the canvas vertically.
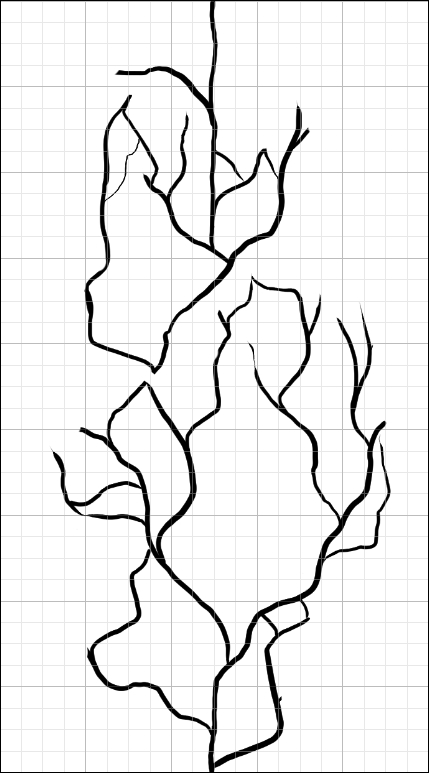
- Use this center line as a guide for the cracks, but do not follow it exactly! Make the cracks branch off and go away from the center. This creates a more convincing effect. Check out the following screenshot, and note that the crack pattern touches the center line at the top and bottom of the canvas:
- Once you are satisfied with the crack pattern, discard any background or Paper layers so that the only visible layer is the drawing. The background should be transparent.
- Go to Edit | Register Image as Material.
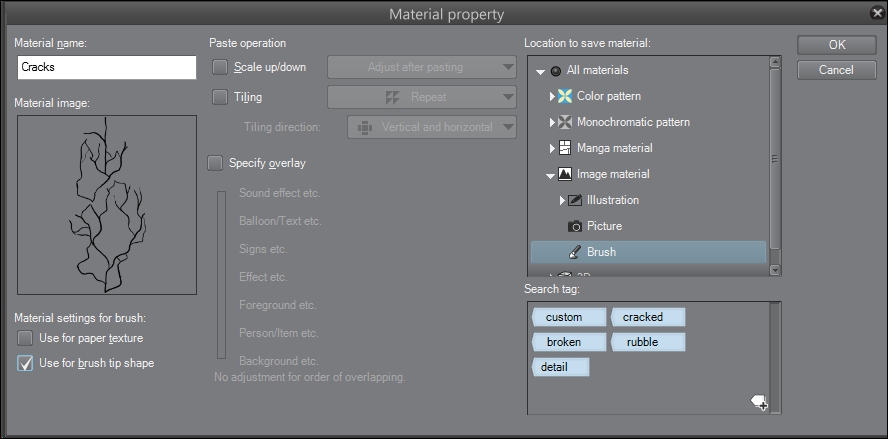
- Name the material with a descriptive title.
- Double-check the Material image preview to make sure that the space around the leaves is transparent (it will show as the same gray color as the rest of the Material property window).
- Beneath Material image, check the box marked Use for brush tip shape.
- Choose the Brush folder, which is under Image material, to save the new material in.
- Add tags to the Search tag box. Refer to the screenshot shown here for suggestions:
- Click on OK in the Material property window.
- Select the Decoration tool from the Manga Studio 5 toolbox.
- Choose the Artificial category of decoration tools. Then select the Barbed wire tool.
- Click on the Create copy of currently selected sub tool icon in the bottom-right part of the Sub Tool [Decoration] palette.
- Name the new brush tool using a descriptive title. For this recipe, I have chosen
Cracksas the brush name. - In the Tool property palette, click on the wrench icon in the bottom-right corner to open the Sub Tool Detail palette.
- Using the slider or the text entry box, change Brush Size to
50. - Click on the Brush tip option.
- Delete the existing brush tip material by selecting it and then clicking on the delete icon under the Material box. It looks like a trash can!
- Click on the Add brush tip shape icon directly to the left of the delete icon.
- Search for and select the material created in steps 1-11 of this recipe. Then click on OK.
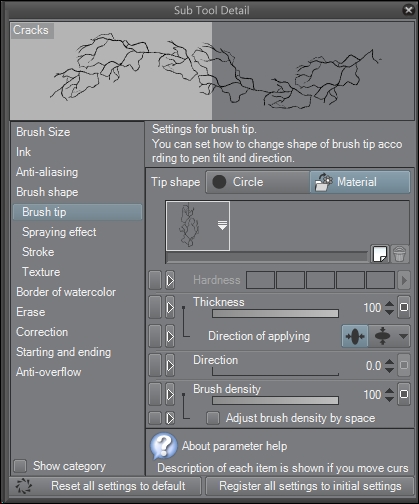
- Set the rest of the Brush tip options to match what is shown in this screenshot:
- Test your new brush!
By drawing the cracked pattern of this brush on a gray layer, we make it such that we can tint the cracks on the fly by choosing a foreground color. I've used this new cracked brush on the rubble in the background of the following drawing:
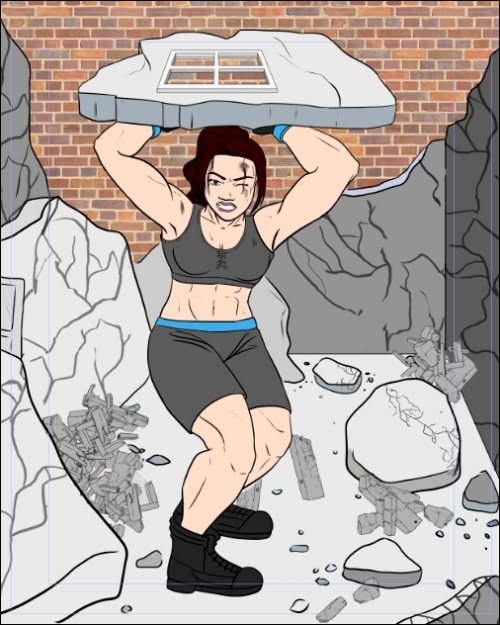
Note that the cracks in the background, while dark, are not black. Setting the brush in this manner allows more versatility later. We could use this same brush later for other special effects, such as distant lightning or the hanging roots of a tree, simply by changing the color of the brush!
Aligning parts of the brush tip material to the center line of the canvas allows us to keep the crack pattern repeating without an obvious interruption. Whenever we create a brush tip that repeats like this, we want to ensure that the center line is matched so that it continues seamlessly.
The decoration tools have already been created similarly to the effect we wanted to achieve with this brush, which is why we chose to duplicate one of them instead of an inking brush. This means fewer individual settings to tweak, which saves time and headaches! I am all about saving time!