
Using selection tools and layer masks, we can quickly hide or show parts of our drawing.
You will need a file open with at least one layer with content (a sketch, an ink drawing, a photo, and so on) inside of it.
The following steps will lead us through making a mask using a selection tool:
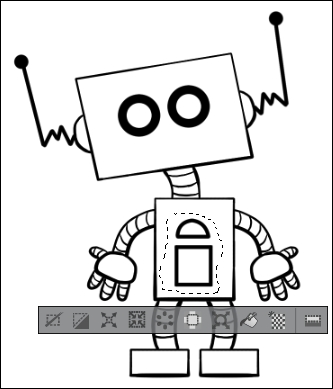
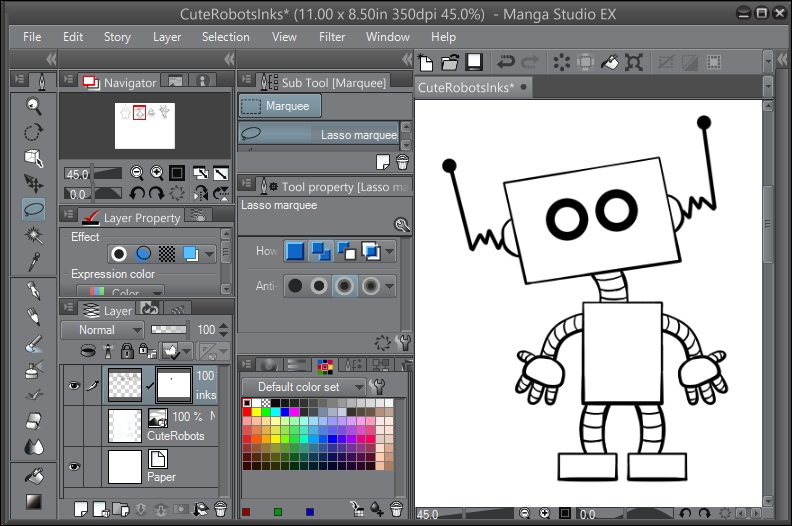
- First, make a selection using one of the selection tools. In the following screenshot, the details on the robot's torso have been selected using the Lasso tool:
- Go to Layer | Layer Mask | Mask Selection(D) to mask the inside of the selection. In this screenshot, the selected details on the robot have now been hidden with this option:
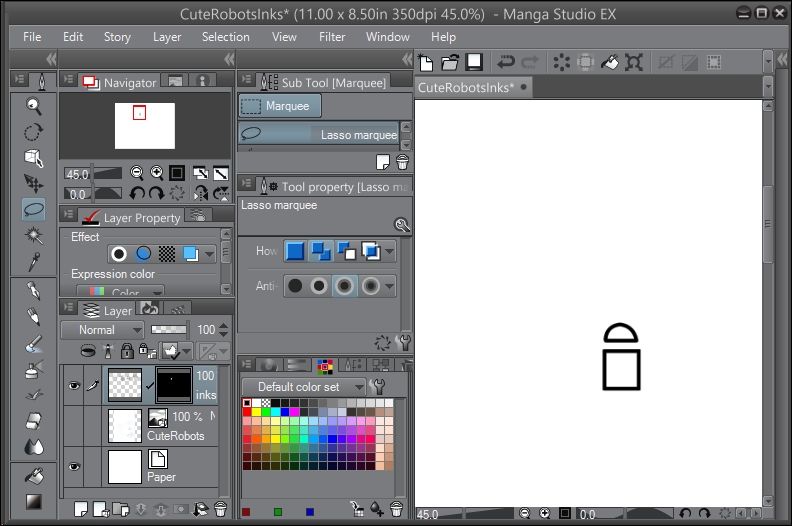
- Go to Layer | Layer Mask | Mask Outside Selection(V) to hide everything outside of the selection. In the following screenshot, only the torso details remain, as they were inside of the selection:
- Make any necessary edits to the mask, as detailed in the Editing the Layer Mask recipe.
Using the selection tools, we can speed up the process of masking content. Rather than having to erase large sections by hand with the Eraser(E) tool, we can hide or keep all the selected areas at once. This saves a lot of time; that's for sure!
..................Content has been hidden....................
You can't read the all page of ebook, please click here login for view all page.