
An object is a class or a group of data that gets its format from another application. When you embed an object in one application that originated in a different application, you’re basically inserting an entire file, with all of its source application’s capabilities, into the target application.
For example, suppose that in Microsoft Project you embed a graphics illustration object originally created in a graphics application. The graphics object appears in Microsoft Project as if you created it there. If you double-click the object, the graphics application in which it was created is launched; you can make changes to the illustration on the spot, save them, and close the application. The changes you made are reflected instantly in the illustration in Microsoft Project.
For embedding to work properly, both the source and target applications must be installed on the same computer or have ready network access to it. Also, because embedding inserts an entire file within another file, embedding uses a large amount of memory while the project is open and makes the target file much larger.
Note
Embedding objects between different applications is made possible by the OLE technology. Any application that employs the OLE standard can embed and link information from another application that employs that standard.
You can embed the Microsoft Project file in another application, for example, Word or PowerPoint. When you double-click the object in the target application, Microsoft Project is launched on the spot, and you can switch views and manipulate data.
To embed an existing Microsoft Project file in another application, follow these steps:
Open the target application and the file in which you want to embed the existing Microsoft Project file.
Select the location where you want the Microsoft Project object to be embedded.
Click Insert, Object.
If you’re embedding into a Microsoft Office 2007 application that uses the Ribbon, on the Insert tab, in the Text group, click Object.
If the target application does not have an Insert Object command, embedding is probably not supported. Look in the application’s online Help or other documentation to see if the command is called something else.
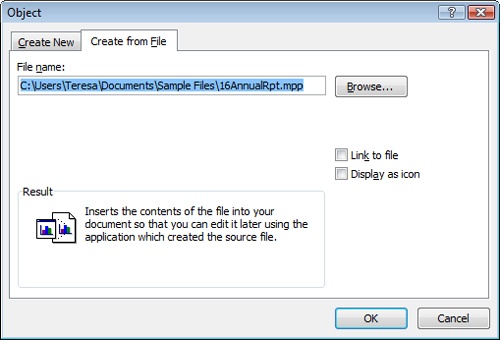
In the dialog box, click the Create From File option or tab.
Click the Browse button.
The Browse window appears. Navigate through your computer’s filing system (and onto your network if applicable) to find the drive and folder in which the project file is located.
Find and double-click the file.
Its path and name are entered in the File Name box in the dialog box (see Figure 16-8).
If you want the embedded object to be linked to the source, select the Link To File check box.
If you link the object, any changes in the original update the embedded object. Likewise, any changes made in the embedded object are reflected in the original.
If you don’t link the object, you’re essentially making a copy of the original object, which becomes a separate entity from the original. You can change the embedded version without affecting information in the original.
If you want the embedded project to be displayed as an icon in the target application, rather than showing as a Gantt Chart or other view, select the Display As Icon check box.
Click OK.
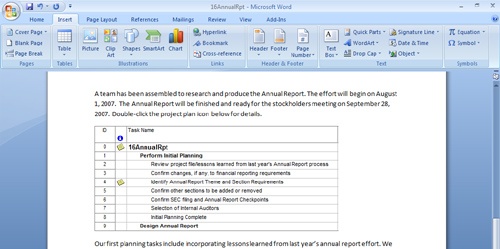
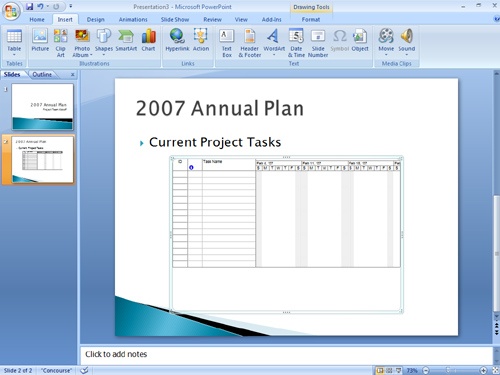
Part of a view of the selected project file appears in the location you selected (see Figure 16-9).
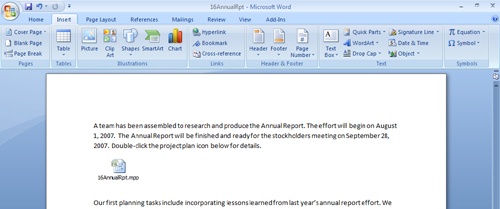
If you selected the Display As Icon check box, the embedded project file appears as the Microsoft Project icon (by default) in the selected location (Figure 16-10).
Note
The Display As Icon check box in the Object dialog box is useful when you are embedding a large document. When the object is displayed as an icon, you just double-click the icon to open the linked file. This might be the most efficient way for you to embed a Microsoft Project object into another application. The file name is included with the icon, as is the shortcut arrow symbol.
You can create a new Microsoft Project file as an embedded object in another application. In this case, the object exists only within the target application. To create a new Microsoft Project file within another application, follow these steps:
Open the target application and the file in which you want to create a new Microsoft Project file as an embedded object.
Select the location in which you want the new Microsoft Project object to be embedded.
Click Insert, Object.
If you’re embedding into a Microsoft Office 2007 application that uses the Ribbon, on the Insert tab, in the Text group, click Object.
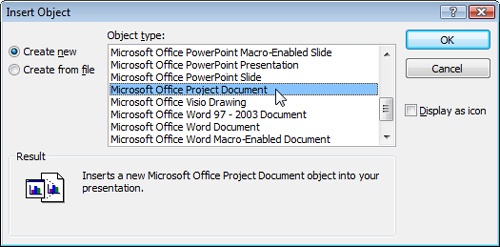
In the Insert Object dialog box, click the Create New option or tab.
Scroll through the list and click Microsoft Office Project Document (see Figure 16-11).
If you want the embedded project to be displayed as an icon in the target application rather than showing as a Gantt Chart or other view, select the Display As Icon check box.
Click OK.
Part of a view of the new project file appears (see Figure 16-12).
If you selected the Display As Icon check box, the embedded project file appears as the Microsoft Project icon (by default) in the selected location.
Double-click the new project to add information to it on the spot.
Whenever you want to work with the embedded project file, just double-click the object. Microsoft Project launches, and the embedded project file appears. You can use Microsoft Project as normal, switching views, applying tables and filters, changing data, running calculations, and so on.
Note
For information about embedding a Microsoft Project file in Excel, see the section titled Embedding Between Microsoft Project and Excel in Chapter 17.
Objects can be embedded into Microsoft Project from other applications, but only in a limited number of places, as follows:
The chart portion of the Gantt Chart
The Notes portion of the Task Form or Task Information dialog box
The Notes portion of the Resource Form or Resource Information dialog box
The Notes tab in the Assignment Information dialog box
The Objects box in the Task Form
The Objects box in the Resource Form
Headers, footers, and legends of printable pages
For the best visibility, project managers often embed objects in the chart portion of the Gantt Chart.
Objects you might find useful for embedding in the Gantt Chart include graphic charts of the data, symbols to show significant points, and even simple drawings. Other media forms can be embedded as appropriate, such as sounds and video.
Note
If you want to add an icon or other graphic to the Gantt Chart, it needs to be in the BMP image format. Other image formats—including TIF, GIF, and JPG—only appear in the Gantt Chart as icons.
To embed an object from another application into the chart portion of the Gantt Chart, follow these steps:
Open Microsoft Office Project 2007 and the project plan in which you want to embed the object.
Display the Gantt Chart and click in the chart portion of the view to make it active.
Click Insert, Object.
In the Insert Object dialog box, select the Create From File option.
Click the Browse button and find the location of the object you want to embed. Double-click the file.
The file’s path and name are entered in the File box in the Insert Object dialog box.
If you want the embedded object to be linked to the source, select the Link check box.
If you link the object, any changes in the original update the embedded object. Likewise, any changes made in the embedded object are reflected in the original.
If you don’t link the object, you’re essentially making a copy of the original object, which becomes a separate entity from the original. You can change the embedded version without affecting information in the original.
If you want the embedded object to be displayed as an icon in your project rather than showing as the item itself, select the Display As Icon check box.
Click OK.
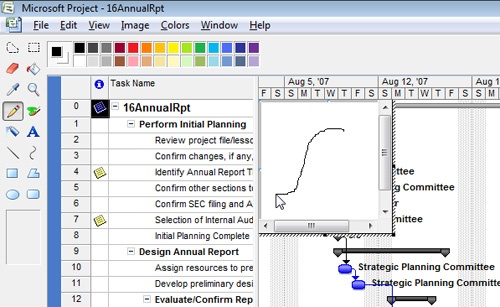
The object appears in the upper-left corner of the Gantt Chart. Move the object to the location you want on the Gantt Chart and resize the image as needed.
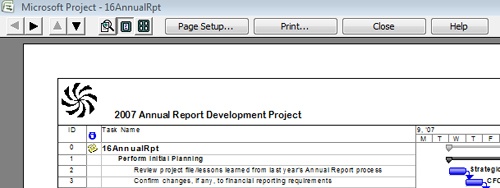
Add an Icon to a Printed View
You can add an object (for example, a company or project logo) to the project file header, footer, or legend so the object appears when you print a view.
Click File, Page Setup.
In the Page Setup dialog box, click the Header, Footer, or Legend tab.
Select the location (Left, Center, Right) for the object.
Click Insert Picture. Find and double-click the picture.
Now when you print the view, the object appears in the location you specified.
Note
For more information about specifying headers and footers for printed views, see the section titled Setting Up and Printing Views in Chapter 12.
If the object you want to embed is associated with a particular task, resource, or assignment, you might prefer to embed it in a note. To do this, follow these steps:
Display a view that contains the task, resource, or assignment you want to associate with an object.
For example, for tasks, display the Gantt Chart. For resources, display the Resource Sheet. For assignments, display the Task Usage or Resource Usage view.
Double-click the task, resource, or assignment to which you want to associate the object.
The Task Information, Resource Information, or Assignment Information dialog box appears.
Click the Notes tab.
Click the Insert Object button.
In the Insert Object dialog box, select the Create From File option.
Click the Browse button, find the file you want to embed as an object in the note, and double-click its name.
Specify whether you want the embedded object to be linked to the source or displayed as an icon and then click OK.
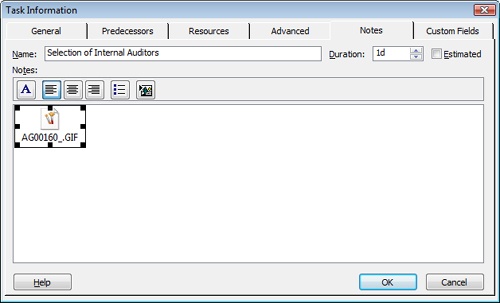
The object appears in the upper-left corner of the notes area (see Figure 16-13).
Depending on the object’s file type and where you’re inserting it, it might be displayed as the file itself, for example, the actual image or the first page of a presentation. Or it might just show the file name. Either way, the object is embedded in your project and is associated with the selected task, resource, or assignment. When you double-click the object, the source application opens and the object is displayed.
As with any note, the Notes indicator appears in the indicators column in a sheet view when a note is present. Double-click the Notes indicator to quickly open the Notes tab and see the object.
Note
You can embed an object in a note associated with the project as a whole. First, add the project summary task by clicking Tools, Options, View and then selecting the Show Project Summary Task check box.
Double-click the project summary task. In the Summary Task Information dialog box, click the Notes tab. Click the Insert Object button and add the object.
You can create a new file as an embedded object in your project. In this case, the new object exists only within your project file. To do this, follow these steps:
In your project plan, go to the location where you want to embed the object, for example, the Gantt Chart or the Notes area of the Resource Information dialog box.
Click Insert, Object.
In the Insert Object dialog box, be sure that the Create New option is selected.
Scroll through the Object Type box and click the name of the application with which you want to create the new object, for example, Microsoft Equation 3.0 or Paintbrush Picture.
Specify whether you want the new object to be displayed as an icon in the project and then click OK.
Depending on your choice, either a miniature version of the application appears in the location you selected, or the application launches immediately (see Figure 16-14).
Start creating the new file on the spot.
If necessary, double-click the application to launch it.
If an object embedded in your project is a graphic that’s displayed in its proper place, you might never need to do anything with it. With other objects, however, you need to open and work with them. This is particularly true of new objects you created within the project file. They contain nothing until you add your own data.
To open and work with an embedded object, simply double-click the object. The source application opens, and you can use its commands and tools to work with the object as needed. When finished, on the File menu, click the Close or Exit command. The source application closes, and the object appears in your project file showing the changes you just made.
Note
For information about embedding information from Excel to Microsoft Project, see the section titled Embedding Between Microsoft Project and Excel in Chapter 17.