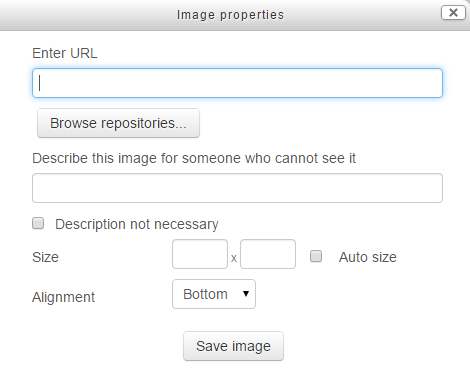
This procedure is for inserting an image file that you have on your computer. In our example, the user has a diagram that they want to insert into the page.

To insert an image file, follow the given steps:
- On the Moodle page, click to place the insertion point where you want the image to appear.
- Click on the Insert Image icon, as shown:

- The Insert/Edit image window appears. In this window, click on the button labeled Find or upload an image.
- The File picker window will be displayed. In this window, click on the Upload a file link.
- Click on the Choose File button.
- Locate the file on your computer and select it.
- Click on the Open or OK button.
- In the Save as... field, give the file a user-friendly name. You can use special characters and spaces.
- The Author field is automatically filled in with your name. If someone else is the owner of this file, enter their name here.
- From the drop-down list, choose a License for this file. This enables you to inform other Moodle teachers who want to use this file about what they can legally do with the file.
- Click on the Upload this file button. The file is uploaded to your Moodle system and you are returned to the Insert/edit image window.
- It is a good practice to fill in the Image description field. This is used by visually impaired users who can't see the image and by search engines to index the image.
- If needed, fill out the fields under Appearance. You might want to resize the picture, since Moodle will, by default, display the picture at its original size.
- Click on the Insert button. The picture is inserted into the page.
