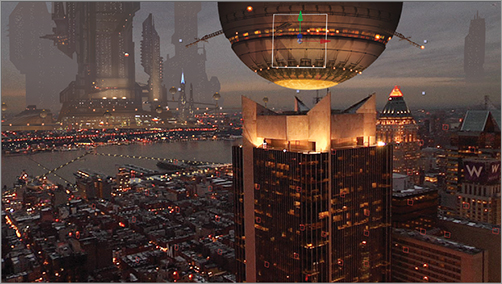
You’re nearly finished with the futuristic vision of New York City, but you need to attend to one last detail. If you do a RAM preview of the comp at 100% and full resolution, you’ll see that there is animated noise in the plate, called film grain. This grain dances in the background; it’s an artifact of the photography process. However, the painted elements evidence none of this dancing grain, so it’s easy to tell what is painted and what is part of the live shot. The painted elements also look sharper than the plate.
The last step in this project is to degrade all your beautiful work to match the footage by blurring and adding film grain. You should do this last because the Grain filter is computationally intensive, and your computer will slow to a crawl when you apply it.
Blurring the Layer
Select the BigBall layer, and choose Effect Blur & Sharpen Gaussian Blur. When Gaussian Blur opens in the Effect Controls panel, set Blurriness to 1. Doing so softens the painted elements to match the footage. In order to keep the film grain sharp, you must add the blur first.
Adding Grain
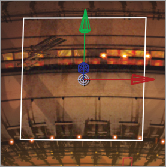
Now, add the film grain. Choose Effect Noise & Grain Add Grain. The effect of the filter appears on the layer in a preview area enclosed by a white box (Figure 14-74). This allows you to preview a small area of grain without adding it to the entire layer. If the preview area doesn’t show up, make sure Viewing Mode is set to Preview in the drop-down menu in the Effect Controls panel.
Figure 14-74: White preview box for Add Grain
It’s easy to add too much grain to a project, particularly if you don’t look at it in motion (Figure 14-75).
Figure 14-75: Too much grain

Run a RAM preview, paying attention to the area within the white box. You won’t be able to see accurately what the filter is doing unless you preview it at full resolution and 100% size in the View panel. The default grain settings look too big and fast; so, under Tweaking, change Intensity to 0.8 and Size to 0.7. Under Animation, make Animation Speed 0.6 (Figure 14-76). Run another RAM preview.
Figure 14-76: Add Grain settings

The final setting may not look much different from the original painted image when it’s still, but in motion, the dancing grain matches the plate exactly (Figure 14-70).
Figure 14-77: Good amount of grain
Warning! Before you render, you must set Viewing Mode to Final Output. If you leave it set to Preview, the white box enclosing the preview area will be rendered into the final shot, which is definitely not what you want to happen.
Adding Blur and Grain to All The Layers
When you have Gaussian Blur and Add Grain looking the way you want, copy the two effects from the BigBall layer and paste them onto all your painted elements. Do this last, because they will seriously slow down the preview. If you need to work on the project after applying these effects, turn off Gaussian Blur and Add Grain by clicking the box marked fx next to each effect ![]() . Leave yourself a note to turn the effects back on before doing the final render.
. Leave yourself a note to turn the effects back on before doing the final render.
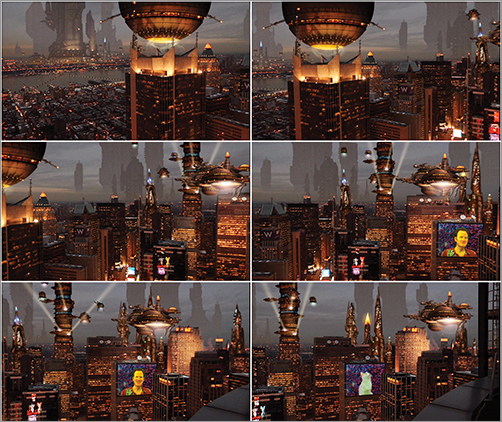
Render out the completed project using the same setting as in the previous chapter (Figure 14-78). The final project for this demo, FutureNYC_Finish.aep, is on the DVD. A half-resolution rendered version, FutureNYC_Final.mov, with a few bits of additional animation added, can also be found on the Chapter 14 section of the DVD.
Figure 14-78: Six frames from the final render