
At this point you have a castle made of two boxes and a sculpted hill atop which the castle will sit. It’s time to add the sky. Create a sphere by choosing Create Polygon Primitives Sphere, and select the box to the right of Sphere. You should get The Polygon Sphere Options dialog box. If you get the Polygon Sphere tool instead, you need to turn off Interactive Creation. In the Polygon Sphere Options dialog, set Axis Divisions to 80, Height Divisions to 40, and Radius to 100 (Figure 9-16). Click Create to close the dialog box.
Figure 9-16: Create a polygon sphere for the sky.

The sphere needs to be much larger so that it almost touches the image plane with the castle painting but doesn’t cover it. Make sure the sphere centers on the camera and covers the area between the camera and the image plane entirely. Move the sphere down so the rounded top of the sky dome is visible in projectionCam (Figure 9-17).
Figure 9-17: Setting up the sky

Large portions of the dome are unused. To delete them, change to Component mode and select Faces. Delete any faces that projectionCam can’t see, but leave an outside border of faces as a safety margin (Figure 9-18). To exit Component mode, press and hold the right mouse button, and select Object Mode.
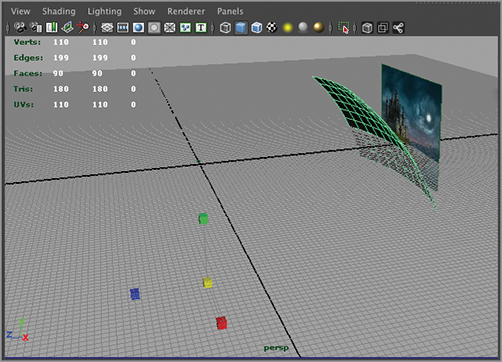
Figure 9-18: Positioning the sky geometry and deleting unneeded faces
Centering the Pivot
Every object transforms—scales, rotates, and moves—from a center pivot. Whenever you select a transform tool, the cursor appears on the center pivot of that object. After you’ve deleted the unneeded faces, the center pivot is positioned far away from the section of the sky you’re using, because it was the center pivot for the entire sphere. To re-center the sky pivot, choose Modify Center Pivot. Doing so places the pivot in the middle of the remaining section of the sky dome.