
We add contacts to save information about the people we communicate with on a regular basis. This will save us from having to search for e-mail addresses or phone numbers each time we need to contact someone. We can also print contact entries as labels, and import and export contacts as vCards.
To add contacts follow the steps given here:
- From within our mail, select a message from someone who we want to add to our contacts.
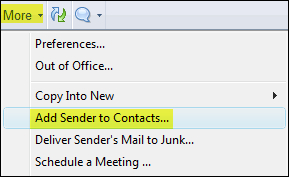
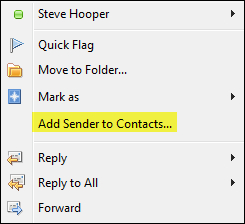
- Click the More button and then Add Sender to Contacts.
The following steps show another way to add contacts:
- From anywhere in Lotus Notes, click the Open button and then select Contacts.
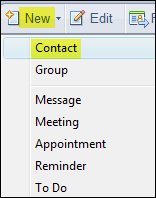
- From within Contacts, click the New button and then select Contact.
- Fill in fields as required.
- Click the Save and Close button.
We have discovered how to create a contact. Once we create the contact, there are several fields that we can fill in. Many of these fields are self-explanatory such as Contact Name where we would add the contact name of the person we are adding to our Contacts. The Company Name field is where we would add the company name of the contact if they have one. On the contact document, we will see blue underlined field headings; the following is an example for the Contact Name field:

When we click on these areas, a prompt box will open with further options for each of these fields. For example, when we click the Contact Name field heading, the Name Helper dialog box is opened.
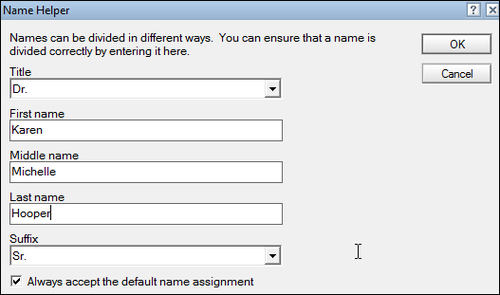
In this preceding graphic, we can see that we need to select different titles, a first, last, and middle name as well as a suffix. If we filled in all these fields, this is how the name would appear in the Contact Name field:
In the contact document, there are several areas with the blue underlined options. The following screenshot shows the Company Name options:
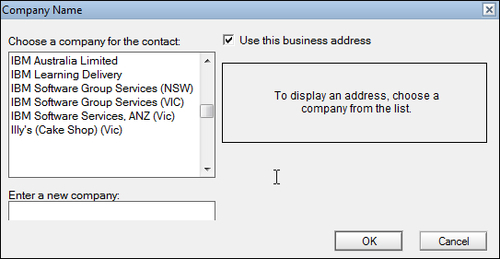
This dialog box is handy if we want to add another contact from the same company, as this gives us the choice to Choose a company for the contact from our current contact list and Use this business address to save us from having to make a double entry for the address. Alternatively, there is also the option to enter a new company.
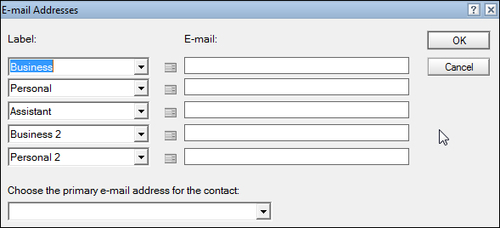
The E-mail option allows us to change the labels and to select a primary e-mail address:
Similar choices are available for phone numbers and I find this very handy when I add a friend's details, as I can have one contact for two people but easily distinguish each individual's phone number, which is shown in the example in the following screenshot:

In the above example, I have changed the first label to Donald's Mobile, which was by default Business. Next, I changed the Home label to be Daffy's Mobile and changed the next label to be Home instead. These options will apply only to this contact. The next contact document I create will have the default choices available. Notice I have also selected the Home number as the primary phone number.
On the contact form, there is an Other Information area that gives us the options to add birthday dates, spouse's name, custom fields, and so on—worth checking out if we want to add more details to our contacts.
There are tabs at the bottom of each contact that allow us to add Comments, extra Name Information including the way the name is displayed, as well as a place where we can view certificates if we have any for that contact.
On each contact we can add a graphic by clicking the button.
Often people change their details and we find it necessary to update their contacts. To update a contact, open our Contacts, select the contact we need to update and then click the Edit button. The Edit button is available from the Contacts view or from within the contact itself. A shortcut is to double-click the contact; this will open it in edit mode.
Synchronizing contacts is a preference that we can enable in order to get some further options. It enables us to allow others to access our contacts; this is great for co-workers or assistants. If we have been authorized to access another individual's contacts, we can also add new contacts or edit current contacts. I know quite a few assistants who manage their manager's mail, calendar, and also their contacts, so being able to easily access their contacts is a huge benefit.
If we access someone else's contacts, don't forget we can bookmark the contacts for easy access by opening the other person's contacts and then dragging that window tab to our Open List button. Each time we need to open that individual's contacts, we can simply select it from the Open List button.
Synchronizing contacts option also allows us to access our Contacts if we use iNotes, which is web mail.
Finally, if we have a smart phone such as a Blackberry, we can view and add contacts when we add a new contact on our smart phone or from within iNotes we will see that a new contact has been added to our Lotus Notes Contacts.
Follow these steps to enable the preference:
- Go to File | Preferences | Contacts.
- Check the Enable "Synchronize Contacts" on the Replicator option.
- Click OK to save the preference change.
- Go to the Open button and select Replication and Sync.
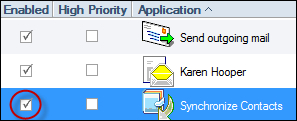
Make sure the Synchronize Contacts is enabled with a check as follows:
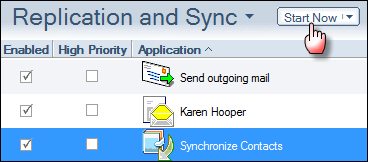
- Click the Start Now button to start the synchronization.
Note
Be aware that synchronizing contacts can impact our mail quota. The process of synchronizing actually copies our contacts into our mail on the server as, by default, our Contacts are stored locally on our machine. We discussed mail quotas as, in some organizations, mail administrators may set a quota to assist in managing the size of people's mail applications. If a quota is set and our mail becomes larger than the limit set, we will start seeing warnings that we have exceeded our quota.