
In this recipe we'll add a wider angle camera to the scene we constructed in the previous few lessons, and a cut away camera for when a sliding gate opens. A cinematic camera is one that isn't locked to the movement of the player. It can be used to show areas where the player should try to reach later on, or perhaps can see but cannot reach, or to show a wider view of the scene. It can also be used to show the player's activity from an alternative view, such as the front, or to show a close up view of what the player is looking at. In this lesson we'll place some cameras for use in the next recipe, where we animate cinematics. We'll show a view of the scene, then add two more cameras. We'll position them and add variables for themin Kismet.
- Open the Content Browser (Ctrl + Shift + F) and choose the Actor Classes tab. Highlight CameraActor in the list of actors.
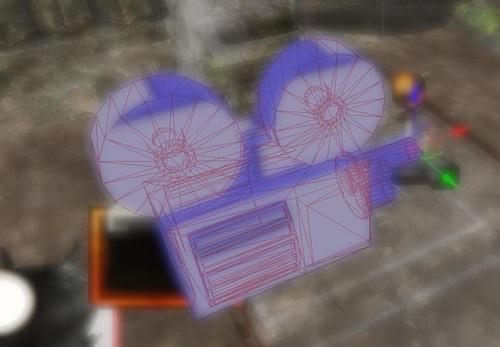
- In the scene, select the ground that the PlayerStart actor sits on and choose Add CameraActor Here. The camera is represented by the non-colliding mesh shown in the next screenshot. Note that this model of a camera is pretty much just an icon and can penetrate walls or the floor without clipping the camera view so long as the actor's pivot has a clear view of what you want to look at through the camera. It is the pivot that really serves as the camera location, and the facing direction of the camera is along its local X axis.
- We're going to need three cameras for this scene, so press Ctrl + C and Ctrl + V twice and move the pasted cameras slightly apart from each other. You'll have Camera_0, Camera_1, and Camera_2.
Tip
A time-saving tip when creating a camera is to move the viewport to the vantage point where you want the new camera to be positioned, then press the View Options icon [
 ] (found in the top-left corner of each view). At the bottom of the roll-out for View Options is a command Add camera actor here.
 -
Select the Camera_0 actor, zoom out, then move and rotate the camera so it is up above the scene, looking down on the PlayerStart. A nice way to do this is to press the Lock Selected Actors to Camera icon [
 ] on the viewport icons toolbar which will align the selected Camera actor to the editor view camera. The actor will appear to vanish because it's jumped to the location of the viewport vantage point. It will stay locked there till the same icon is pressed again.
-
While choosing a viewing angle for the wide shot, make sure that the horizon (the lowest edge of the sky dome) and any unplayable area is not showing. When you're happy with the angle looking over the scene, release the camera actor with [ ] and select the Camera_1 actor.
- Move Camera_1 so it is looking at the SlidingGate Prefab, something similar to the next screenshot:

- For the Camera_2 actor, set it facing into the cave, with a view between the two pillar meshes. Make sure the PlayerStart is visible, as shown here:

-
With the camera actor still selected right-click and choose Select | All CameraActor Actors. Then open Kismet [
 ], right-click, and choose New Object Vars Using Camera Actor_0... and move the resulting Object Variables to the section commented Globals.
- Select the Object Variable Camera_0 and in its Var Name property type WideCam. Select the Object Variable Camera_1 and its Var Name property type CaveCam. Select the Object Variable Camera_2 and in its Var Name property type GateCam. The start scene in the next recipe continues from where we are now.
