Creating the Outline
To begin with, we’ll create an outline of a bottle in two dimensions, which we will later convert to 3D.
Click on the window labeled Left. A yellow outline will appear around the window.
Click the Maximize Viewpoint toggle button (see Figure 10.1). This will expand the Left window so that it takes up the entire screen.
Figure 10.1. By clicking the Maximize Viewpoint toggle button, you can maximize the currently selected view.

Click the Create button at the far-right side of the screen. It looks like a mouse pointer with a white star behind it.
Click the Shapes button. This will open a list of different object types from which you can select.
Click Line. The box will turn yellow to indicate that it is selected.
Position the mouse pointer about ten grid squares up on the middle line and click once to start the line (see Figure 10.2).
Figure 10.2. Click once about 10 squares up from the center to start the line.

Move the mouse pointer to the right on the grid square and click again.
Continue moving the mouse and clicking in the designated spots until you’ve created the outline of a bottle. If you hold down the Shift key when you draw lines, they will appear straight. When you click the point where you started, a dialog box will appear.
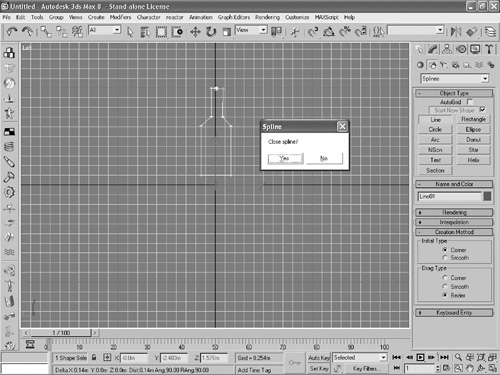
Click Yes in the Spline dialog box that appears (see Figure 10.3).
Figure 10.3. Click Yes in the dialog box that appears after you’ve finished creating the bottle shape.