
Wood
There are several bitmap fills that beautifully emulate the real-life wood from which you can create textures. These are applied slightly differently from texture fills.
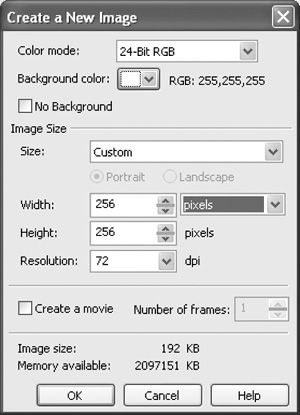
Start by clicking the New button or by clicking File > New. Take a look at Figure 8.22 and make sure that your settings are the same. You want the Color mode to be 24-bit RGB, the width and height to be 256 pixels, and the resolution to be 72 dpi. You’ll probably have to change the units of measurement to pixels to be able to enter these numbers. Click OK once you have all the settings entered.
Figure 8.22. Enter your image settings for color, size, and resolution.
Press the Ctrl key and the Backspace key at the same time. This will open the Fill dialog box.
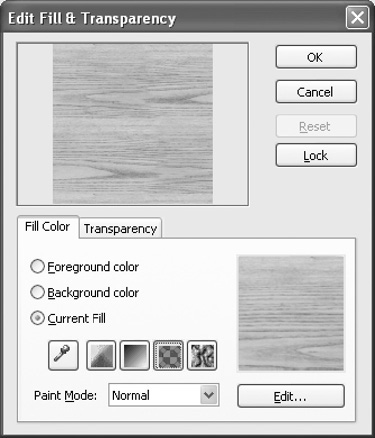
Now click the Edit button. This will open a dialog box (see Figure 8.23) where you can choose a texture for your heightmap.
Figure 8.23. By clicking the Edit button, you can change the fill.
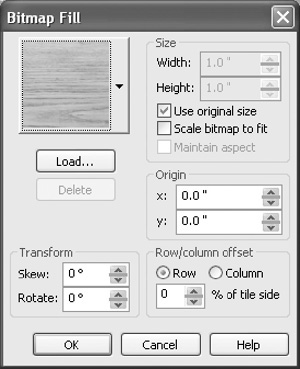
Click the down arrow to see a list of bitmap fills, and scroll to the bottom. At the bottom, you’ll find several textures that resemble wood. Click on the one you would like to apply and then click OK. (See Figure 8.24.)
Figure 8.24. Choose a fill that looks like wood.
Click OK in the original dialog box, and your new texture will be created.
Now that your texture is created, it is a good idea to save it. Generally speaking, you should save it as a .jpg file. In PHOTO-PAINT click File > Save As to open a dialog box where you can save your file. Click the Save As Type drop-down arrow and scroll until you can select JPG—JPEG Bitmap. Now give your file a name, and then click the Save button.