Creating the Wings
To create the wings that control the flight path of the missile, we will create and modify a box. We’ll then duplicate the manipulated cube several times and place it in different locations around the missile.
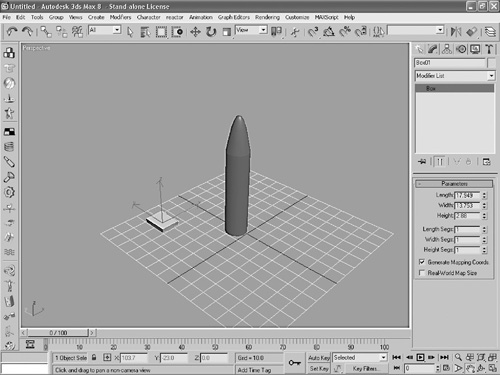
Click Create > Standard Primitives > Box. The Parameter panel should appear on the right side of the screen. Make sure that the Length, Width, and Height boxes all have the number 1 in them.
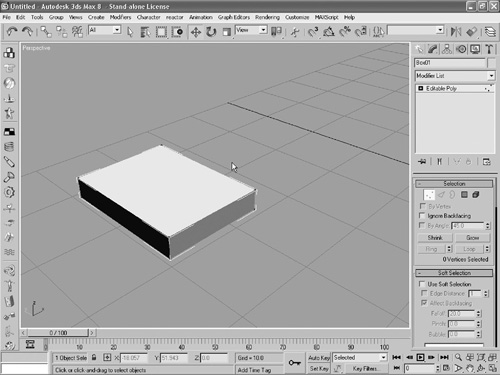
Click and drag a rectangle across the screen. Try to make it about the size of the rectangle in Figure 10.17 in relation to the missile. When you release the mouse button, you’ll be able to adjust the height of the box. Drag upwards to extend the box and then release the mouse button. You should now have a box similar to the one in Figure 10.17.
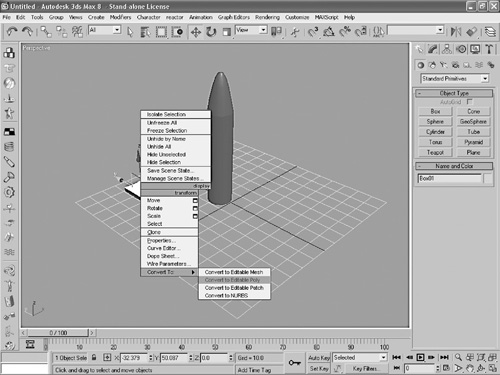
Right-click on the box to bring up a menu of different options. Click on the Convert To option and then select Convert to Poly (see Figure 10.18).
Figure 10.18. Convert the image to an Editable Poly by right-clicking on the box.
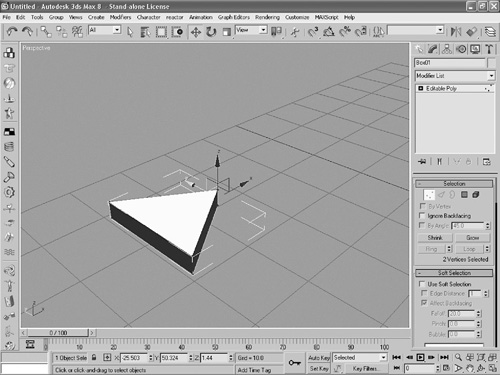
In the Selection panel, click on the Vertex button. You should now see a series of dots appear around the edges of the box. Position the mouse pointer to the outside of one of the corners of the box. Click and drag around the corner vertexes. As you drag, a marquee (see Figure 10.19) should appear surrounding both of the vertexes in the corner. When you release the mouse button, the corner vertexes should appear red. Green, blue, and red arrows should appear around the box.
Figure 10.19. Drag the marquee around the corner of the box to select both the top and bottom corner nodes.
Click and drag the green arrow upwards to bring in the corner of the box. Release the mouse button when the shape looks like the one in Figure 10.20.
Figure 10.20. Drag the green arrow to bring in the two selected vertexes and create the shape you see here.
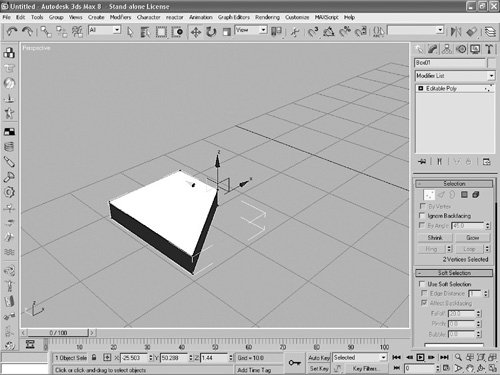
Repeat Steps 4 and 5 for the vertexes on the other side. You should be left with the shape you see in Figure 10.21.
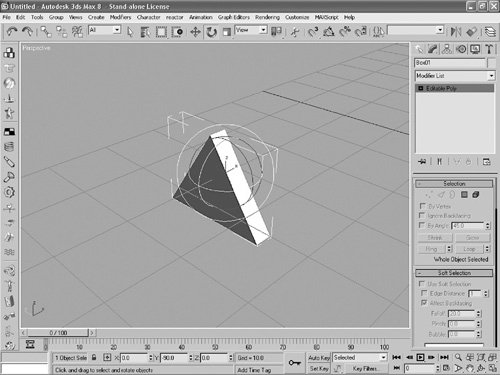
Click on Editable Poly in the Modifiers list. It will turn from yellow to gray, and the vertexes will no longer appear on the box.
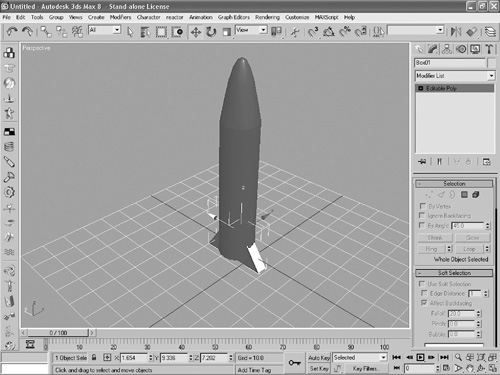
Click on the Select and Rotate button. At the bottom of the screen, enter -90 in the Y box to rotate the wing (see Figure 10.22).
Figure 10.22. By entering -90 in the Y field, you can “stand up” your 3D triangle.
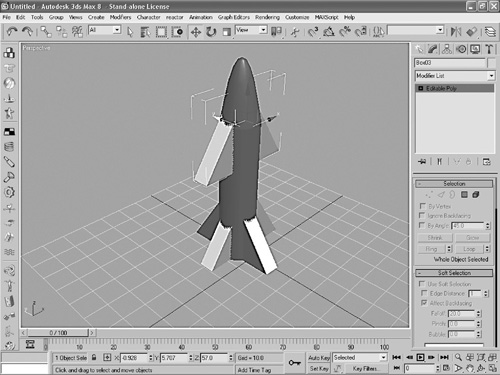
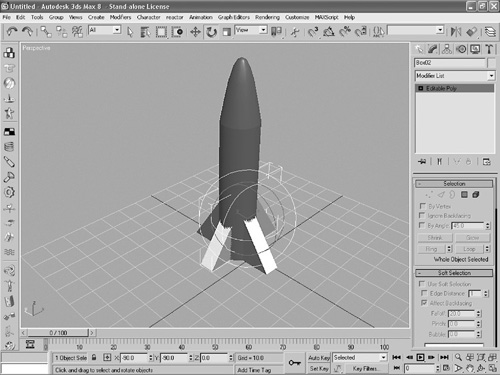
You may need to resize the wing to make it fit in perspective with the rest of the missile. Click the Select and Uniform Scale button in the toolbar. Position the mouse pointer over the point where the three arrows meet. A yellow triangle will appear when you are in the right place. Click and drag up or down to increase or decrease the size of the wing as necessary. We’ve slightly enlarged our triangle, as seen in Figure 10.23.
Figure 10.23. Using the Select and Uniform Scale button, resize and reposition the triangle so that it looks similar to the one shown here in relation to the cylinder.
We are now going to rotate this wing. Click the Select and Rotate button from the toolbox. A series of circular arrows will appear around the wing. At the bottom left of the screen, enter -90 in the X and Y boxes. This will flip the copy of the wing, as seen in Figure 10.24.
Figure 10.24. Flip the cloned triangle by entering -90 in the X and Y boxes at the bottom of the screen.
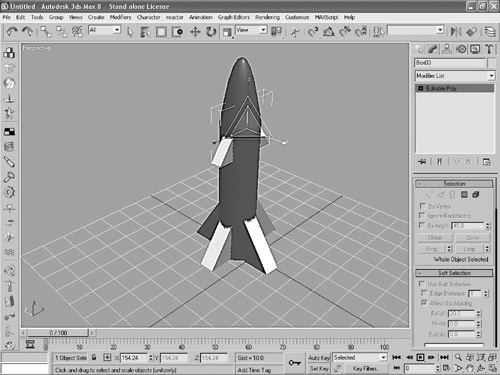
Click the Select and Move button in the toolbar. Three colored arrows will appear around the wing. Position the mouse pointer over the blue z arrow, and click and drag upwards until the wing is halfway up the missile, as shown in Figure 10.25.
The middle wing is a little too big, so we are going to change its size. Click the Select and Uniform Scale button in the toolbar. Position the mouse pointer over the point where the three arrows meet. A yellow triangle will appear when you are in the right place. Click and drag down to decrease the size of the wing, as shown in Figure 10.26.
Figure 10.26. Resize the middle triangle to the approximate dimension you see here.