
Camera Movement
Like just about any other object, the camera that you create can be moved around and rotated to either follow the action or survey your surroundings. In this example, we will work with a file we created earlier in the book called demo06-05.bb—a file that has some protons and electrons floating around a spinning nucleus. We will create a camera that can be moved around and rotated so that you can navigate through the atom. First we’ll add controls that will allow us to turn and move the camera. Add this code before the RenderWorld line near the end of the program:
;Moving the Camera
If KeyDown(RIGHT_KEY) TurnEntity camera,0,1,0
If KeyDown(LEFT_KEY) TurnEntity camera,0,-1,0
If KeyDown(UP_KEY) MoveEntity camera,0,0,1
If KeyDown(DOWN_KEY) MoveEntity camera,0,0,-1
Basically what we’ve done is set the camera to turn by an increment when the arrow keys are pressed. The MoveEntity command moves the physical location of the camera, while the TurnEntity command turns it by an increment on the axis specified. You can enter different numbers and different increments to see how the camera will react. You can also specify other keys to have the camera move and turn on a different axis.
By using the arrow keys, you can change the viewpoint by moving the camera (see Figures 7.15 and 7.16).
Figure 7.15. Camera view 1 of demo07-07.bb.
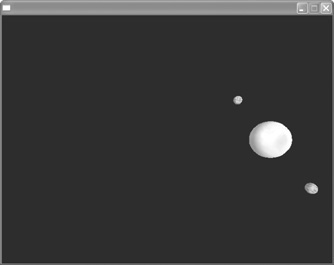
Figure 7.16. Camera view 2.
