
A Brief History of BASIC
The language of BASIC was first developed in 1964 by J. Kemeny and T. Kurtz at Dartmouth College. It was designed to be a very easy language to understand, translate, and write. It was also meant to be the first step toward writing programs for tougher languages.
In the 1970s, two people, Paul Allen and Bill Gates, decided to develop a BASIC language for the new Altair Personal Computer. The developers of the Altair showed a lot of interest in the BASIC language, and Gates and Allen licensed it.
Bill Gates and Paul Allen put BASIC onto other types of computers. By 1980, BASIC was moved to Atari, Commodore, and Apple computers as well as the Altair. Bill Gates developed an operating system called DOS (Disk Operating System) with a BASIC interpreter. This allowed any user that owned DOS to write programs in BASIC.
Eventually Microsoft, which was headed by Gates, realized how popular BASIC was and decided to write a compiler for it that did not require DOS. QuickBasic, the first standalone BASIC compiler, was born. Soon after, Microsoft decided to focus on graphics and developed Visual Basic, which created graphical programs using BASIC as a core language.
Blitz3D, the program we are using in this book, was developed by Mark Sibly and is geared toward the game developer. Blitz3D is very easy to learn and understand due to its BASIC nature, and it is a good way to learn game programming without having to worry about extra code that has almost nothing to do with the actual game itself.
Installing Blitz3D
We need to get Blitz3D onto our computers so that we can start writing games as soon as possible. Blitz3D is a compiler, so it takes your code and turns it into a program that any computer can run. However, the demo version that is included on the CD does not include the compiler, but only the interpreter. Unlike a compiler, an interpreter does not create an executable file that can be run on any computer; instead, it only runs from within the compiler. In other words, the programs you write will only be able to be run from the compiler on your computer. If you want to compile the program into a standalone executable, you can purchase the full Blitz3D package from http://www.blitzbasic.com. Just go to the Product tab at the top of the page. The Blitz3D installer is shown in Figure 1.1.
Figure 1.1. Blitz3D installer.

Okay, first things first. To install this program, put the CD into your CD-ROM drive, and run Blitz3DDemo.exe. Blitz3D will ask you where you want to install the program. Choose a directory (the default one is a good choice), and press install. When the installation finishes, click OK, launch the program, and you’re done! You now have a full BASIC interpreter on your computer.
Understanding the IDE
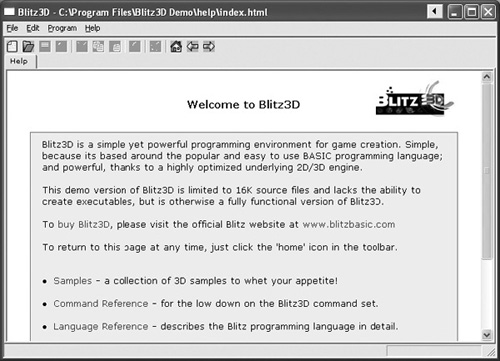
Blitz3D can seem a little daunting at first. The program has a lot of menus and icons, but you can master them with a little effort. The first thing you see when you open the program is the documentation window, pictured in Figure 1.2. If you need to find tutorials or sample programs, this is the place to do it. After you have read through anything that interests you, open a new document by selecting File > New or the New button on the main toolbar.
Figure 1.2. The documentation window.
Note
The > (arrow) symbol means a selection from a menu. In other words, File > New instructs you to open the File menu and select New. You can access the menus at the top of the program, right above the main toolbar.
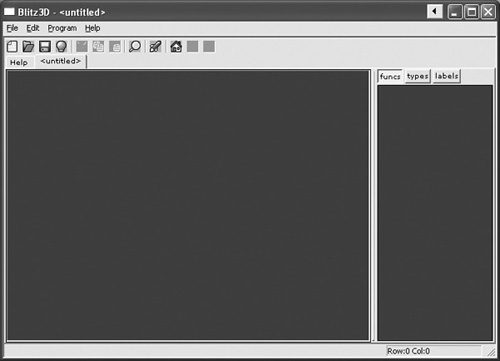
What you see now, as in Figure 1.3, is considered the IDE. IDE means Integrated Development Environment, and it is an area in which you can write and compile your programs in the same workspace.
Each of the windows, toolbars, and menus is necessary for game programming, so a good explanation of each might be helpful.
Windows and Panels
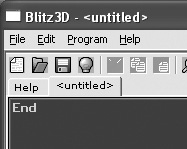
The main window takes up most of the program space and it is the most important part of Blitz3D. This window is where the actual code from the game is typed. The keywords and important parts of your program will be highlighted when you type in this area. If you want to see an example, type the word End, so that your screen looks like the one pictured in Figure 1.4. You will notice that as soon as you complete the word and press the spacebar, it becomes a different color. This highlight feature helps in reading and understanding your program.
Figure 1.4. Highlighted code.
Take a look to the right of the screen. Although not pictured in the previous figure, the only visible panel located on the right is under buttons labeled funcs, types, and labels. Each of these buttons displays separate info on the panel. Funcs shows which functions you have created, types shows your defined types, and labels shows any existing labels. These descriptions probably don’t mean much to you now, but by the end of this book, you will understand what they do.
Toolbars
The main toolbar (shown in Figure 1.5) is simply a set of shortcut icons. It allows you to perform actions quickly without having to search through the menus for the command. Table 1.1 briefly describes each icon going from left to right.
Figure 1.5. The main toolbar.
![]()
Menus
The menu bar allows you to exercise the full power of Blitz3D. The menu bar is pictured in Figure 1.6. Buried within each menu are many helpful and useful commands. Table 1.2 shows the most important.
Figure 1.6. Blitz3D menus.
![]()
| Command | Description |
|---|---|
| Program > Check for errors | This command allows you to error-check your code without compiling and running it. |
| Program > Debug Enabled? | If this feature is enabled, you will be able to run your program in a small window (instead of the program taking the entire screen) and debugging your program becomes much easier. |