We will first install SCS Target software on the web server machine and then apply the SP2 pack over it.
Figure 7.7 lists some of the prerequisites for installing SCS Target on the web server host:
|
Entity |
Comments |
|---|---|
|
SCS Target installation owner |
On Windows machines, the user should:
|
|
Transfer user |
User name and password for a valid OS user on the SCS Target machine should be known |
|
Web Server |
The web server for application servers or web applications should be up and running |
|
Database |
If configured with SCS Target software, the database instance should be accessible User name and password for Database connectivity should be available DB system user name and password should be available for allowing Site Caching Services to create database/tablespaces. |
|
Hardware |
250 MB hard disk space, 128 MB RAM, and 133 MHz CPU Post installation, the website host should have adequate disk space for storing the published data. |
|
Others |
For supported combinations of Windows OS and RDBMS versions, please refer to Release Notes from Documentum. |
To begin, download the following SCS Target software installation files from the Documentum site:
Site_Caching_Services_5.2.5_windows_target.exeSite_Caching_Services_5.2.5_SP2_all.zip
We will first install SCS Target 5.2.5 on the web server host and then upgrade it with service pack 2 (SP2).
- Log in to the web server host as the SCS installation owner, extract
Site_Caching_Services_5.2.5_windows_target.exeand run the following executable:SCSTargetWinSetup.exe - If SCS Target needs to be installed and configured with a database, a DSN needs to be setup before hand so that connectivity can be established to the specified Database.
Set up a DSN (Data Source Name) on the SCS Target machine, in the way we did when we created our first Docbase. Recall that the DSN can be created on a Windows machine by going to Programs | Administrative Tools | Data Sources (ODBC).
- On running the SCS Target Installer, the following screen is shown. Click the Next button.
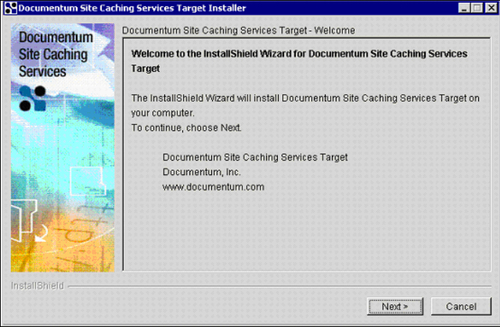
Figure 7.8: Initial screen for installing SCS Target
- Accept the license agreement and click the Next button.
- Either choose the default installation directory shown or provide a new path. Click the Next button.
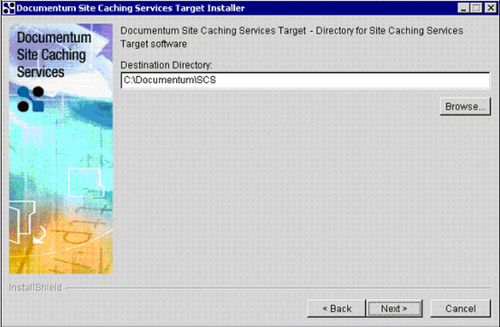
Figure 7.9: Destination directory for SCS Target
- The Documentum SCS installation directory is shown to user for a preview. Click the Next button.
- After installation has been completed, run the configuration program to configure the SCS Target software. Click the Next button.
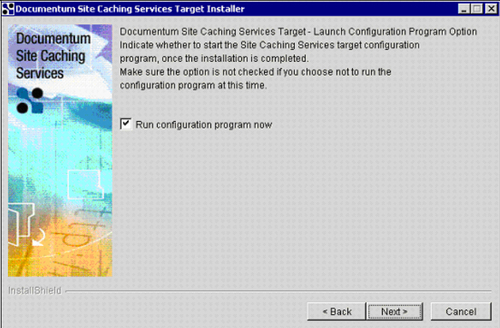
Figure 7.10: Running configuration program for SCS target
- A confirmation screen is shown for configuring SCS Target. Click the Next button.
- Select whether you need a secure (HTTPS) or a non-secure (HTTP) connection between the Content Server host machine and the target machine.
Tip
Remember that secure (HTTPS) communications can be about 30% slower than non-secure communications. If your network and the traffic between the Content Server host and the target machine is secure, you can select non-secure communication.
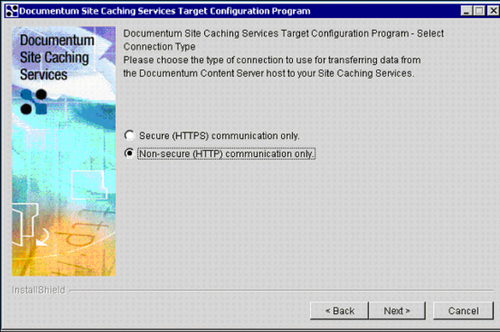
Figure 7.11: Specifying connection type
- If non-secure communication (HTTP) has been chosen, the default port 2788 can be selected. If secure communication (HTTPS) has been chosen, the default port shown is 2787. We can provide any other port number as well, provided the port is not being used by any other application. Click the Next button.
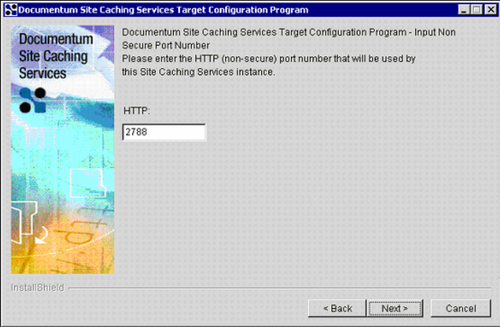
Figure 7.12: Specifying port number
- Specify the target data transfer directory. We can choose the default shown or provide any other convenient location. Click the Next button.
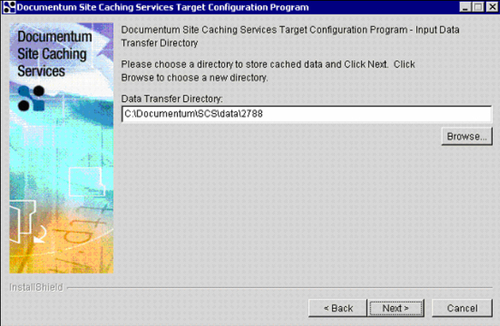
Figure 7.13: Data transfer directory
- Specify the domain or server against which the transfer user's password is authenticated by SCS software. Click the Next button.
- We can choose to configure SCS Target software without a database (for storing object attributes/metadata), or choose the database type and click the Next button.
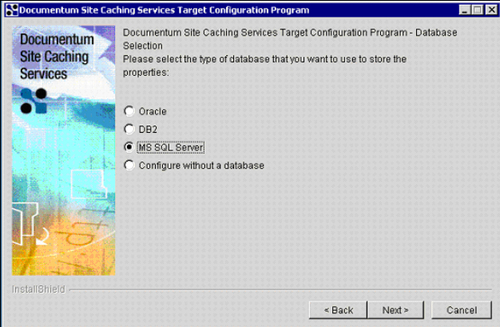
Figure 7.14: Specifying database
- We can either have an already existing database and account, or create a new one using the installation wizard. Click the Next button.
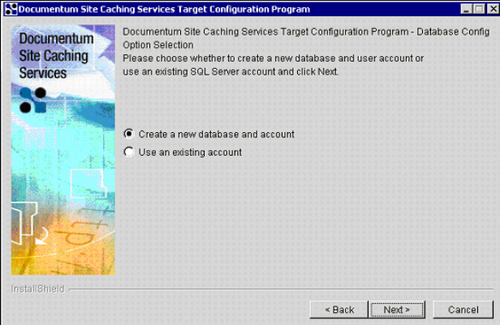
Figure 7.15: Setting up a database account
- Choose the existing ODBC data source from the dropdown and provide the database system user name and password. Click the Next button.
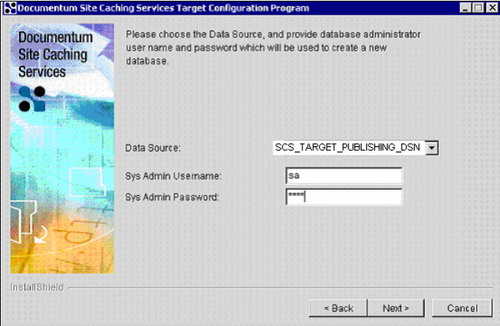
Figure 7.16: Choosing existing data source
- Either choose the default database name and related information or provide the database parameters (data device file path and log device file path) yourself. Click the Next button.
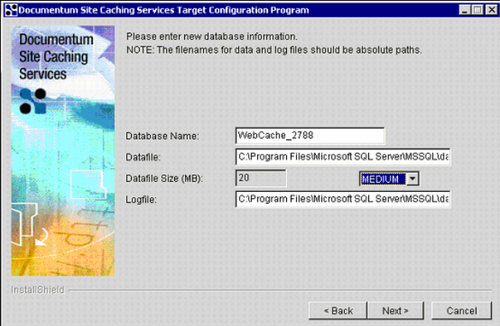
Figure 7.17: Specifying database information
- Provide the database user's name and password and click the Next button.
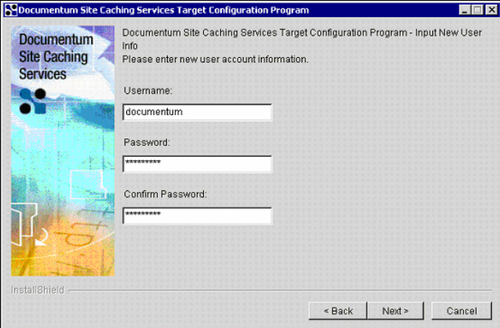
Figure 7.18: Specifying database user credentials
- The JDBC driver and database connection URL information is shown to the user. We can customize the JDBC driver and/or database connection URL by selecting the Customize checkbox. Click the Next button.
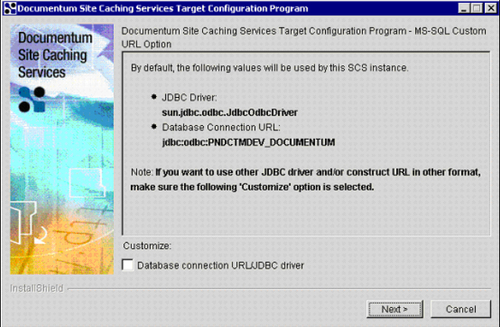
Figure 7.19: Database connection URL and JDBC driver information
- Choose the option to start the SCS Target service and click the Next button.
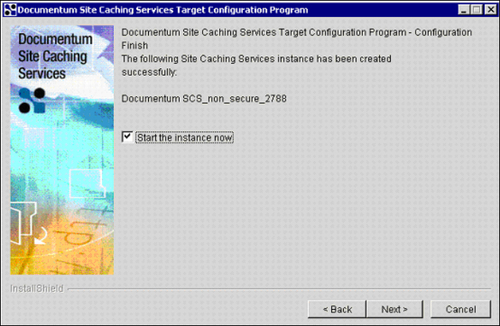
Figure 7.20: Starting SCS Target instance
- Click on Finish to complete the SCS Target installation and configuration process.
We are done with installation of SCS Target 5.2.5 on the web server host. The next task is to apply service pack 2 to it. As part of SCS Target configuration, Documentum modifies the
agent.inifile on SCS Target host at the following location:<SCS Target Installation Directory>adminconfig<SCS Target port>
On Windows, a typical location would be:
C:DocumentumSCSadminconfig2788The following snippet is from the
agent.inifile that stores the database information for SCS Target that we just installed above:target_database_connection=jdbc:odbc:SCS_TARGET_PUBLISHING_DSN database_user=sa database_user_pass=systempass JDBC_DRIVER=sun.jdbc.odbc.JdbcOdbcDriver database_name=WebCache_2788
We will now install SCS Target 5.2.5 SP2 on the web server host.
- Stop the SCS target service and extract
Site_Caching_Services_ 5.2.5_SP2_all.zipon the web server host. This ZIP contains thewebcache.jarfile. - Copy the extracted
webcache.jarfile at the following location on the web server host:<SCS Target Installation Directory>productjrewinlibext
Example: A typical location on Windows could be:
C:DocumentumSCSproductjrewinlibext - Restart the SCS Target service.
If the SP2 upgrade is not done correctly, the following error message is seen during publishing, if there is a mismatch in the versions of
webcache.jaron the Content Server host and the web server host (for SCS Source and Target):ERROR: Failed to login to the target server. Network error retrieving target result com.documentum.webcache.utils.d; Local class not compatible: stream classdescserialVersionUID=1602290069170353386 local class serialVersionUID=4590497449032455007
That's it! We have finished upgrading SCS Target to SP2. We are now ready to publish content and metadata from Documentum.
