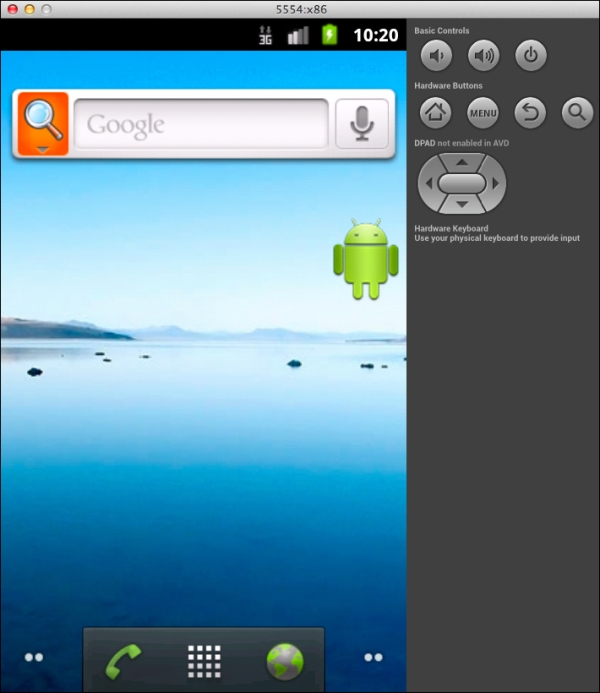
The Android emulator has historically been known to be sluggish compared to developing on a physical device. To help solve this issue, Google has produced a new x86 emulator that supports hardware acceleration on desktop computers. It isn't installed by default in the Android Virtual Device (AVD) Manager, so let's set that up.
The x86 Android Emulator can be installed by performing the following steps:
- Open Xamarin Studio.
- Launch Tools | Open Android SDK Manager….
- Scroll down to Extras; install Intel x86 Emulator Accelerator (HAXM).
- Scroll to Android 4.2.2 (API 17); install Intel x86 Atom System Image.
- Optionally, install any other packages you are interested in. At a minimum, make sure you have everything that the Android SDK Manager selects for you to install by default.
- Close the Android SDK Manager and switch back to Xamarin Studio.
- Launch Tools | Open AVD Manager….
- Click on New….
- Enter an AVD name of your choice, such as
x86 Emulator. - Pick a generic device that will be appropriately sized for your display, such as the 4.0 inch WVGA.
- As Target, make sure you select Intel x86 Atom System Image.
- After creating the device, go ahead and click on Start… to make sure the emulator runs properly.
The emulator will take some time to start up, so it is a good idea to leave the emulator running while performing Android development. Xamarin is using the standard Android tools here, so you would have the same issue while performing Android development with Java. If everything starts properly, you will see an Android boot screen followed by a virtual Android device ready for deploying applications from Xamarin Studio as shown in the following screenshot:

