
All Android packages (apk files) are signed by a certificate or a keystore file to enable their installation on a device. When you are debugging/developing your application, your package is automatically signed by a development certificate that was generated by the Android SDK. It is fine to use this certificate for development or even beta testing; however, it cannot be used on an application distributed to Google Play.
To create a production certificate, we can use a command-line tool included with the Android SDK named keytool. To create your own keystore file, run the following line in a terminal window:
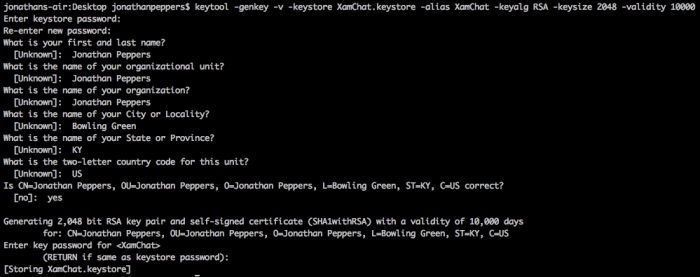
keytool -genkey -v -keystore <filename>.keystore -alias <key-name> -keyalg RSA -keysize 2048 -validity 10000
Replace <filename> and <key-name> with appropriate terms for your application. The keytool command-line tool will then prompt several questions for you to identify the party that is signing the application. This is very similar to an SSL certificate, if you have ever worked with one before. You will also be prompted for a keystore password and a key password; you can let these be the same or change them, depending on how secure you want your key to be.
Your console output will look something like what is shown in the following screenshot:
When complete, you should store your keystore file and password in a very safe place. Once you sign an application with this keystore file and submit it to Google Play, you will not be able to submit updates of the application without signing it with the same certificate. There is no mechanism to retrieve a lost keystore file. If you do happen to lose it, your only option is to remove the existing app from the store and submit a new app that contains your updated changes. This could potentially cause you to lose a lot of users.
To sign an Android package, you can use another command-line tool included with the Android SDK named jarsigner. However, Xamarin Studio simplifies this process by providing a user interface to run your package.
Open your Android project in Xamarin Studio and carry out the following steps to walk through the process of signing an apk file:
- Change your build configuration to Release.
- Select the appropriate project and navigate to Project | Publish Android Application.
- Select the
keystorefile that you just created. - Enter values in the Password, Alias, and Key Password fields you used when creating the key. Click on Forward.
- Choose a directory to deploy the
apkfile and click on Create.
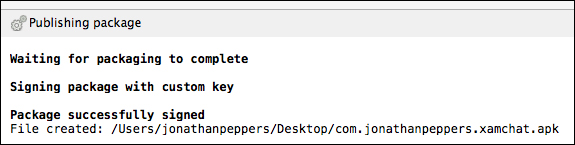
When successful, a pad in Xamarin Studio will appear displaying the progress. The pad that appears looks like what is shown in the following screenshot:
Tip
It is important to note that Xamarin.Android automatically runs a second tool called zipalign after signing the APK. This tool aligns the bytes within an APK to improve the startup time of your app. If you plan on running jarsigner from the command line itself, you must run zipalign as well. Otherwise, the app will crash on startup, and Google Play will also not accept the APK.