
Before we get started with submitting our application to the store, we need to review a short checklist to make sure you are ready to do so. It is a pain to reach a point in the process and realize you have something missing or haven't done something quite right. Additionally, there are a few requirements that will need to be met by a designer or the marketing team, which should not necessarily be left up to the developer.
Make sure you have done the following prior to beginning with the submission:
- Your application's
Info.plistfile is completely filled out. This includes splash screen images, app icons, app name, and other settings that need to be filled out for advanced features. Note that the app name here is what is displayed under the application icon. It can be differ from the App Store name, and unlike the App Store name, it does not have to be unique from all the other apps in the store. - You have at least three names selected for your app on the App Store. A name may be unavailable even if it is not currently taken on the App Store, as it could have been previously taken by a developer for an app that was removed from the store for some reason.
- You have a large 1024 x 1024 app icon image. There isn't a need to include this file in the application, unless you are distributing enterprise or ad-hoc builds through iTunes (the desktop application).
- You have at least one screenshot per device that your application is targeting. This includes iPhone 4 retina, iPhone 5, and iPad retina sized screenshots for a universal iOS application. However, I would strongly recommend filling out all five screenshot slots.
- You have a well-written and edited description for the App Store.
- You have selected a set of keywords to improve the search results for your application.
Once you have double-checked the preceding checklist, we can begin the process for submission. Our first step will be to create a provisioning profile for App Store distribution.
Let's begin creating a new provisioning profile by carrying out the following steps:
- Navigate to http://developer.apple.com/ios.
- Click on Certificates, Identifiers & Profiles in the right-hand navigation bar.
- Click on Provisioning Profiles.
- Click on the plus button in the top-right corner of the window.
- Select App Store under Distribution and click on Continue.
- Select your app ID. You should have created one already in Chapter 7, Deploying and Testing on Devices; click on Continue.
- Select the certificate for the provisioning profile. Normally, there will be only one option here. Click on Continue.
- Give the profile an appropriate name such as
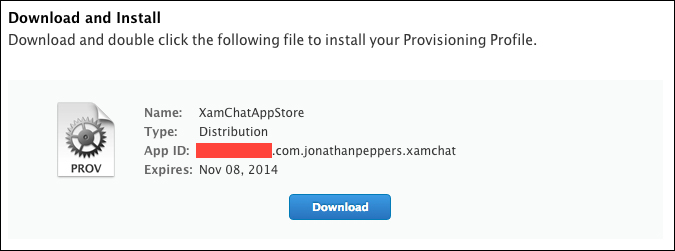
MyAppAppStore. Click on Generate. - Once complete, you can download and install the profile manually or synchronize your provisioning profiles in Xcode under Preferences | Accounts, as we did earlier in the book.
You will arrive at the following screen when successful:
For our next set of steps, we will start filling out the details of your application to be displayed on the Apple App Store.
We can begin by performing the following set of steps to set up your app in iTunes Connect:
- Navigate to http://itunesconnect.apple.com and log in.
- Click on Manage Your Apps.
- Click on Add New App in the top-left corner of the window.
- Enter an app name to be displayed on the App Store.
- Enter a value in the SKU Number field. This is used to identify your app in reports.
- In the Bundle ID field, enter the same bundle ID for which we just created a provisioning profile and click on Continue.
- Select your app ID. You should have already created one in Chapter 7, Deploying and Testing on Devices; click on Continue.
- Select inputs for your app's Price Tier and Availability Date fields and then click on Continue.
- Fill out the Version Number and Copyright fields.
- Select the primary and secondary Category options for your app.
- Fill out the Rating information for your app.
- Fill out your app's Description, Keywords, and Support URL fields.
- Enter a value to the App Review Contact Information field. Leave out the information of the primary developer of the application.
- Upload an icon using the Large App Icon and Screenshots options for each device your app supports.
- Click on Save.
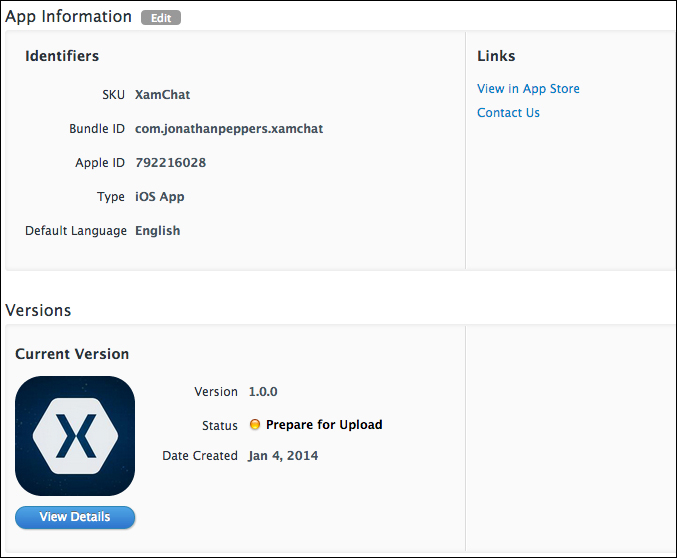
There are a lot of optional fields too. Make sure you fill out Review Notes or Demo Account Information if there is any additional information the app review team will require to review your application. When complete, you will see your application with the status Prepare for Upload as shown the in the following screenshot:
Now we need to notify iTunes Connect that we are ready to upload our application. Click on View Details and then on Ready to Upload Binary. You must then answer a few questions to comply with international export laws. The status of your application will then change to Waiting for Upload, and you'll receive a confirmation e-mail.
Our last step for App Store submission is to provide the binary file containing our application to the store. We need to create the Release build of our application, signed with the distribution provisioning profile we created earlier in this chapter.
Xamarin Studio makes this very simple. We can configure the build as follows:
- Click on the solution configuration dropdown in the top-left corner of Xamarin Studio and select AppStore.
- By default, Xamarin Studio will set all the configuration options that you need to submit this build configuration.
- Next, select your iOS application project and click on Build | Archive.
After a few moments, Xamarin Studio will open the archived builds menu which looks like what is shown in the following screenshot:

The process creates a xarchive file that is stored in ~/Library/Developer/Xcode/Archives. The Validate… button will check your archive for any potential errors that could occur during upload, while Distribute… will actually submit the application to the store. Sadly, at the time of writing this book, the Distribute… button merely launches the Application Loader application, which cannot upload xarchive files. Until Xamarin works this out, you can access these options from the archive in Xcode under Window | Organizer in the Archives tab.
Go ahead and locate the archive in Xcode; you may have to restart Xcode if it does not appear and perform the following steps:
- Click on Distribute…. Don't worry, it will validate the archive before uploading.
- Select Submit to the iOS App Store and click on Next.
- Log in with your credentials for iTunes Connect and click on Next.
- Select the appropriate provisioning profile for the application and click on Submit.
After several moments, depending on the size of your application, you will get a confirmation screen and the status of your application will change to Upload Received. The following screenshot shows what a confirmation screen looks like:

After a few minutes, you will receive an e-mail confirmation that the upload was received and the status of your application will change to Waiting for Review. At this point, you have no control on the status of your application while it's waiting in line to be reviewed by an Apple employee. This can take one to two weeks, depending on the current workload of apps to be reviewed and the time of year. Updates will also go through this same process, but the wait time is generally a bit shorter than a new app submission.
Luckily, there are a few situations where you can fast track this process. If you navigate to https://developer.apple.com/appstore/contact/?topic=expedite, you can request an expedited app review. Your issue must either be a critical bug fix or a time-sensitive event related to your application. Apple doesn't guarantee accepting an expedite request, but it can be a lifesaver in times of need.
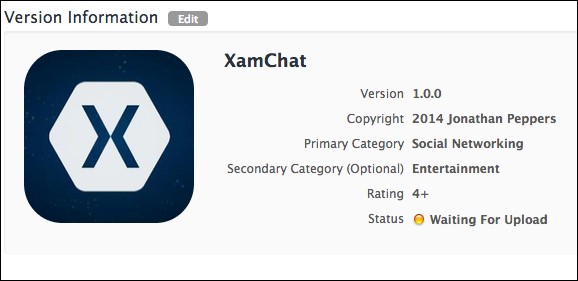
Additionally, if something goes wrong with a build you submitted, you can cancel the submission by going to Manage Your Apps from the main dashboard, then selecting your application and clicking on View Details on the version you want to edit. Under Version Information | Binary Details, you can select Reject this Binary to cancel the submission. In situations where you discover a bug after submission, this allows you to upload a new build in its place. The following screenshot shows the binary file details:
