The last major feature of Xamarin.Mobile is the ability to access photos in order to give users the ability to add their own content to your applications. Using a class called MediaPicker, you can pull photos from the device's camera or photo library and optionally display your own UI for the operation.
Let's create an application that loads an image from the camera or photo library on the press of a button and displays it on the screen. To begin with, create a Single View Application project by going to iOS | iPhone Storyboard | Single View Application in Xamarin Studio. Make sure you add Xamarin.Mobile to the project from the Component Store.
Now, let's implement a screen with two UIButtons and a UIImageView as follows:
- Open the
MainStoryboard.storyboardfile. Delete any existing controllers created by the project template. - Create
UIViewControllerwith oneUIImageViewand twoUIButtonsnamedLibraryandCamera. - Set the class of
UITableViewControllertoContactsController, found under the Identity Inspector in Xcode. - Create outlets for each view in the controller named
imageView,library, andcamerarespectively. - Save the storyboard file and return to Xamarin Studio.
Now, open PhotoController.cs and add the following code in ViewDidLoad:
MediaPicker picker;
public override void ViewDidLoad()
{
  base.ViewDidLoad();
  picker = new MediaPicker();
  if (!picker.IsCameraAvailable)
    camera.Enabled = false;
  camera.TouchUpInside += OnCamera;
  library.TouchUpInside += OnLibrary;
}
Note that we have to check IsCameraAvailable and disable the camera button. There are iOS devices such as the first generation iPad that could possibly not have a camera. Besides this, we just need to create an instance of MediaPicker that can be used when each button is clicked.
Now, let's add a method for each button's TouchUpInside event and a couple of other helper methods as follows:
async void OnCamera (object sender, EventArgs e)
{
  try
  {
    var file = await picker.TakePhotoAsync(
      new StoreCameraMediaOptions());
    imageView.Image = ToImage(file);
  }
  catch
  {
    ShowError();
  }
}
async void OnLibrary (object sender, EventArgs e)
{
  try
  {
    var file = await picker.PickPhotoAsync();
    imageView.Image = ToImage(file);
  }
  catch
  {
    ShowError();
  }
}
UIImage ToImage(MediaFile file)
{
  using (var stream = file.GetStream())
  {
    using (var data = NSData.FromStream(stream))
    {
      return UIImage.LoadFromData(data);
    }
  }
}
void ShowError()
{
  new UIAlertView("Oops!","Something went wrong, try again later.", null, "Ok").Show();
}
Using MediaPicker is pretty straightforward; you merely have to call TakePhotoAsync or PickPhotoAsync to retrieve a MediaFile instance. Then, you can call GetStream to do what you want with the image data. In our case, we created UIImage to display directly in UIImageView. It is also necessary to use a try-catch block in case something unexpected happens or the user cancels.
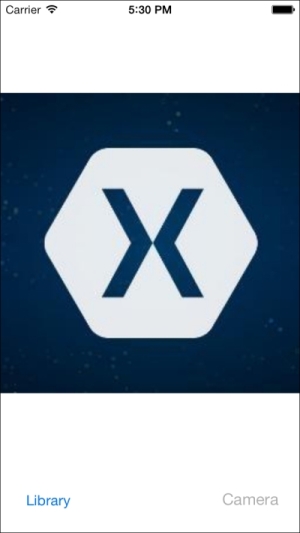
You should now be able to run the app and select a photo to be viewed on the screen. The following screenshot shows a nice Xamarin logo that I selected from the photo library in my iOS simulator:
In comparison to iOS, we have to use a slightly different pattern on Android to retrieve photos from the camera or photo library. A common pattern in Android is it calls StartActivityForResult to launch an activity from another application. When this activity is completed, OnActivityResult will be called from your activity. Because of this, Xamarin.Mobile could not use the same APIs on Android as the other platforms. To start our example, create an Android Application project by going to Android | Android Application in Xamarin Studio. Make sure you add Xamarin.Mobile to the project from the Component Store.
Let's create two Buttons and an ImageView to mimic our UI on iOS as follows:
- Open the
Main.axmlfile from thelayoutfolder under theResourcesdirectory in the Android designer. - Remove the default button from the project template and add two new
ButtonsnamedLibraryandCamera. - Set their Id fields to
@+id/libraryand@+id/camera, respectively. - Create an
ImageViewwith Id of@+id/imageView. - Save the file and open
MainActivity.csso that we can make changes to our code.
As usual, remove any extra code that was created by the project template. Next, add a using statement for Xamarin.Media. Then, we can add a new OnCreate method and some member variables for our activity as follows:
MediaPicker picker;
ImageView imageView;
protected override void OnCreate(Bundle bundle)
{
  base.OnCreate(bundle);
  SetContentView(Resource.Layout.Main);
  var library = FindViewById<Button>(Resource.Id.library);
  var camera = FindViewById<Button>(Resource.Id.camera);
  imageView = FindViewById<ImageView>(Resource.Id.imageView);
  picker = new MediaPicker(this);
  library.Click += OnLibrary;
  camera.Click += OnCamera;
  if (!picker.IsCameraAvailable)
    camera.Enabled = false;
}
We retrieved the instance of our views and created a new MediaPicker by passing our activity as Context to its constructor. We hooked up some Click event handlers, and disabled the camera button since a camera is not available.
Next, let's implement the two Click event handlers as follows:
void OnLibrary (object sender, EventArgs e)
{
  var intent = picker.GetPickPhotoUI();
  StartActivityForResult (intent, 1);
}
void OnCamera (object sender, EventArgs e)
{
  var intent = picker.GetTakePhotoUI(new StoreCameraMediaOptions
  {
    Name = "test.jpg",Directory = "PhotoPicker"
  });
  StartActivityForResult (intent, 1);
}
In each case, we make a call to GetPickPhotoUI or GetTakePhotoUI in order to get an instance of an Android Intent object. This object is used to start new activities within an application. StartActivityForResult will also start the Intent object, expecting a result to be returned from the new activity. We also set some values with StoreCameraMediaOptions to specify a filename and temporary directory to store the photo.
Next, we need to implement OnActivityResult in order to handle what will happen when the new activity is completed:
protected async override void OnActivityResult(int requestCode, Result resultCode, Intent data)
{
  if (resultCode == Result.Canceled)
  return;
  var file = await data.GetMediaFileExtraAsync(this);
  using (var stream = file.GetStream())
  {
    imageView.SetImageBitmap(await BitmapFactory.DecodeStreamAsync(stream));
  }
}
If this is successful, we retrieve MediaFile and load Bitmap with the returned Stream. Next, all that is needed is to call SetImageBitmap to display the image on the screen.
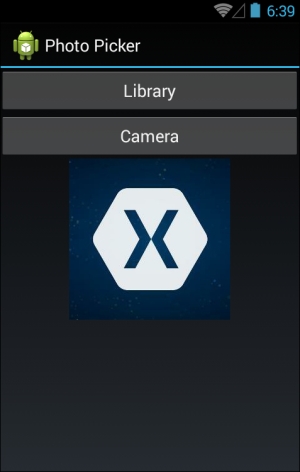
You should now be able to run the application and load photos to be displayed on the screen as shown in the following screenshot: