
Positioning a First–Person Shooter Gun
In most first-person shooter games, the player’s weapon stays in the middle of the screen throughout the entire game. The easiest way to accomplish this is to move the weapon along with the camera. Let’s create a simple game that has a small cylinder as our weapon. Our goal is to have the cylinder positioned at the bottom of the screen that moves along with the movement of the player. Start by opening the program called demo13-08.bb. Save the file with a new name and make sure that the files sky.jpg and grass1.jpg are copied to the same folder as the program.
The first thing we’ll do is create a weapon for our game. In this case, our weapon will be a simple cylinder that is slightly stretched to give it the look of a cannon. Add the following code:
sky_tex = LoadTexture ( "sky.jpg" )
EntityTexture sky, sky_tex
;Creating the Weapon
gun=CreateCylinder(12)
EntityColor gun, 100,100,100
ScaleEntity gun, 0.1, 0.6, 0.1
PositionEntity gun, 48, 1, 52
; This following code makes our program run
While Not KeyDown( 1 )
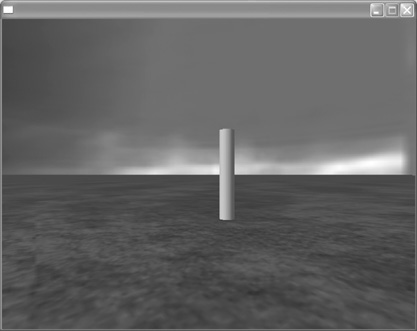
Run the program now to see what you’ve created. We’ve created a cylinder, given it a gray color, and slightly stretched it. Your screen should look the same as Figure 13.18.
Figure 13.18. At this point your gun should look like this cylinder.
We’ve created a cylinder that will act as our gun, but it still needs to be rotated and positioned properly.
Our next step is to rotate and position the “gun” so that it is sticking out from the bottom of our screen. To do this, we will change the PositionEntity gun coordinates and add a RotateEntity gun command. Let’s start rotating our gun by adding the following line in bold:
;Creating the Weapon
gun=CreateCylinder(12)
EntityColor gun, 100, 100, 100
ScaleEntity gun, 0.1, 0.6, 0.1
PositionEntity gun, 48, 1, 52
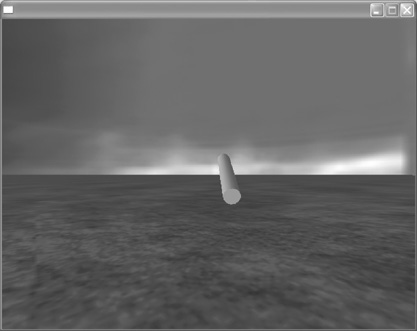
RotateEntity gun, 55, 0, 45When you run the program now, your gun should be rotated as in Figure 13.19.
Figure 13.19. We’ve rotated the gun along the x and z axes to make it appear like it’s pointing outward and upward.
Now that we have our gun rotated, we need to reposition it so that it appears at the bottom of our screen. To do this, simply change the coordinates of the PositionEntity gun line as seen in bold:
;Creating the Weapon
gun=CreateCylinder(12)
EntityColor gun, 100, 100, 100
ScaleEntity gun, 0.1, 0.8, 0.1
PositionEntity gun, 49.2, 0.02, 50.3
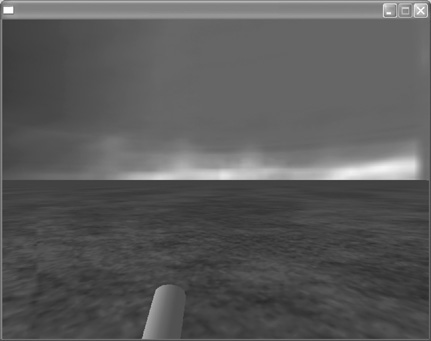
RotateEntity gun, 55, 0, 45Run the program now. The gun should be positioned as you see in Figure 13.20.
Figure 13.20. We’ve positioned the gun at the bottom of the screen. It’s almost ready to start blowing away enemies!
As the program is running, use the left and right arrow keys to move. See the problem? While the camera moves, the gun stays still and therefore quickly moves off the screen. To resolve this problem, we will associate the gun with the camera by making the camera the parent entity of the gun. I touched on parent entities earlier in the book, but to recap: by making an entity a parent of another object, you are in essence “gluing” them together. Whenever you move the parent item, the child item will move along with it. In this instance, the gun will be the child, and the camera will be the parent. The following code in bold is how we create a parent for the gun:
;Creating the Weapon
gun=CreateCylinder(12)
EntityColor gun, 100, 100, 100
ScaleEntity gun, 0.1, 0.8, 0.1
PositionEntity gun, 49.2, 0.02, 50.3
RotateEntity gun, 55, 0, 45
EntityParent gun,camera
Run the program now, and you’ll see that wherever you move, the gun follows along because we have attached the camera and the gun using the EntityParent command. When using the EntityParent command, the first element after EntityParent is the object you want to be the child (in this case, gun), which is followed by a comma and the next element, the parent itself (in this case, camera).