Creating a Cone
Let’s start by entering the code for creating a cone and then going through each line to see what we have accomplished.
; demo05-01.bb - Creating a Basic Cone
; ------------------
Graphics3D 640,480
SetBuffer BackBuffer()
Const ESC_KEY = 1
; Create camera
camera = CreateCamera()
; Create a light
light = CreateLight()
; This is the code for creating the cone
cone = CreateCone()
PositionEntity cone,0,0,5
; This following code makes our program run
While Not KeyDown(ESC_KEY)
RenderWorld
Flip
Wend
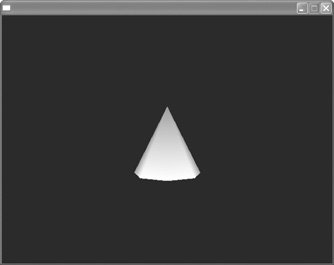
EndYou can find this code on the CD; it is titled demo05-01.bb. Open it up into Blitz3D and press the Run button to see the masterpiece you have created. With any luck, what you see on your screen should look exactly like what you see in Figure 5.7. After you are done admiring your beautiful work, press the Esc key to close the window and return to our programming session.
Figure 5.7. The demo05-01.bb program.
Now let’s take a closer look at the code itself to see what we’ve done. In the previous chapter, we touched briefly on some of the code that was necessary to start our program, see our screen, and make things run, so here we will only concentrate on the specific code we used to create our cone:
; This is the code for creating the cone
cone = CreateCone()
PositionEntity
cone,0,0,5
The first part of the code is cone=. This is what we are calling our cone. If you were to create a game with several cones, you’d want to create a separate name for each cone—for example, cone1=, bigcone=, smallcone=, and smallshape=. The point I’m trying to get across is that this first part of the code is simply a name you are giving your shape. You can call it anything; it doesn’t even have to have the word “cone” in the name. You’ll see this in practice in our next exercise.
The next part of the code is the CreateCone() command. This command tells Blitz3D to create a cone and give it the name you specified.
The next line of the code indicates where you would like to put your cone on the screen. As you learned earlier, your 3D world is broken up into x, y, and z values.
Using the PositionEntity command, you tell Blitz3D where to position a specific object in the 3D world. In the command we used, PositionEntity cone,0,0,5, we told Blitz3D to position the object called cone to the values on the screen where x=0, y=0, and z=5.
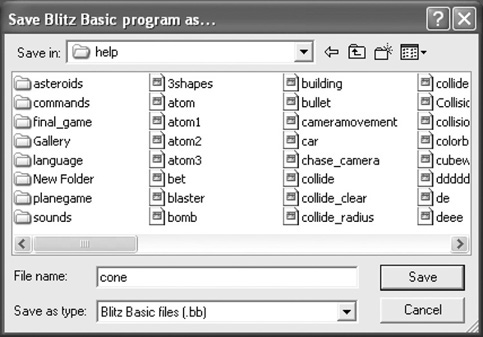
Now that you’ve created a cone, save your “game” so that you can always return back to this point. Click File > Save As to open a dialog box (see Figure 5.8) where you can select a directory in which to save your program. Call the program “cone” and then press the Save button.
Figure 5.8. Make sure to save your files often.